FoPost for Perplexity
Perplexity connects to MCP servers as custom connectors. Add FoPost by URL, sign in once, and the answers you research become posts on every network you use.
Paste this into Perplexity
Set up FoPost from fopost.com/agents/perplexity- Hosted MCP server
- 31 networks
- No API key
Perplexity drafts. You approve. Then it goes out.


On by default
- X (Twitter)
- TikTok
- YouTube
- Threads
- Bluesky
- Discord
- Mastodon
- Telegram
- Slack
- DEV.to
- Substack
- Tumblr
- Hashnode
- Dribbble
- Kick
- Twitch
- Nostr
- Lemmy
- MeWe
- Whop
- Listmonk
- Google Business Profile
- Medium
- WhatsApp Business
- Snapchat
- Skool
Pick an agent to copy its setup prompt.
The agent can write its own config. Give it the link.
Paste the line above into Perplexity. It reads this page, adds the server, and stops so you can sign in to FoPost yourself. Rather do it by hand? This is the whole config.
Name:           FoPost
MCP server URL: https://api.fopost.com/mcp
Authentication: OAuth
Transport: Streamable HTTP## For AI agents reading this page You are reading https://fopost.com/agents/perplexity. FoPost schedules and publishes social posts on 31 networks, and its hosted MCP server gives Perplexity tools for posts, the calendar, the inbox and analytics. Follow these steps to connect Perplexity to it. - Server: https://api.fopost.com/mcp - Transport: streamable HTTP - Auth: OAuth sign-in in the user's browser. Do not add an API key or an Authorization header; Perplexity discovers the sign-in from the server. ### 1. Register the server You cannot add the connector yourself; ask the user to. In Perplexity, open Plugins (or Customize > Connectors), choose Add custom, then Add MCP connector, then Remote. Enter the name FoPost and the URL https://api.fopost.com/mcp; under Advanced set Authentication to OAuth and Transport to Streamable HTTP. Accept the notice and click Add. Custom connectors need a Pro, Max or Enterprise plan; in an organization an admin must allow them. ### 2. Sign in The user clicks the FoPost connector card and signs in to FoPost in the browser. Ask the user before approving access or creating a FoPost account for them, and never enter their credentials yourself. ### 3. Verify before you continue The FoPost card shows under Plugins > Installed with no error, and in a thread, asking it to use FoPost to list connected accounts returns data. If FoPost is not listed as connected with its tools, stop and tell the user what failed. Do not carry on as if the tools exist. ### 4. Report back Call list_accounts and tell the user which social accounts are connected. If there are none, offer create_connect_link so they can connect one. Then ask what they want to do first. ### Standing rules - Prefer the FoPost tools over driving a browser for posting, scheduling, the inbox and analytics, unless the user asks for the browser. - Publishing always goes through propose_publish, which the user approves in the client. Never publish or schedule anything silently. - Ask the user before approving access, signing up or connecting an account on their behalf, and never type their credentials for them. ### References - This block as markdown: https://fopost.com/agents/perplexity/agent.md - Every client: https://fopost.com/agents - Docs: https://fopost.com/docs
One connector
Paste the server address. Nothing to install.
Sign in, not a key
Perplexity opens FoPost in the browser to approve access.
Approval first
Publishing goes through a proposal you accept. Drafts never go out alone.
Add a custom connector
Open Plugins, choose Add custom, then Add MCP connector, then Remote. Enter https://api.fopost.com/mcp and, under Advanced, choose OAuth and Streamable HTTP. Click the new card and sign in to FoPost.
Start freeName: FoPost
MCP server URL: https://api.fopost.com/mcp
Authentication: OAuth
Transport: Streamable HTTPPro and up
Custom connectors need a Pro, Max or Enterprise plan.
No key to paste
You sign in instead.
Check first
Ask it to list your connected accounts.
From a cited answer to a scheduled thread
Ask Perplexity about a topic, then have it shape the findings for each network with draft_post_variants and book them with get_queue_slots. It ends with propose_publish, which you accept.
Plan your week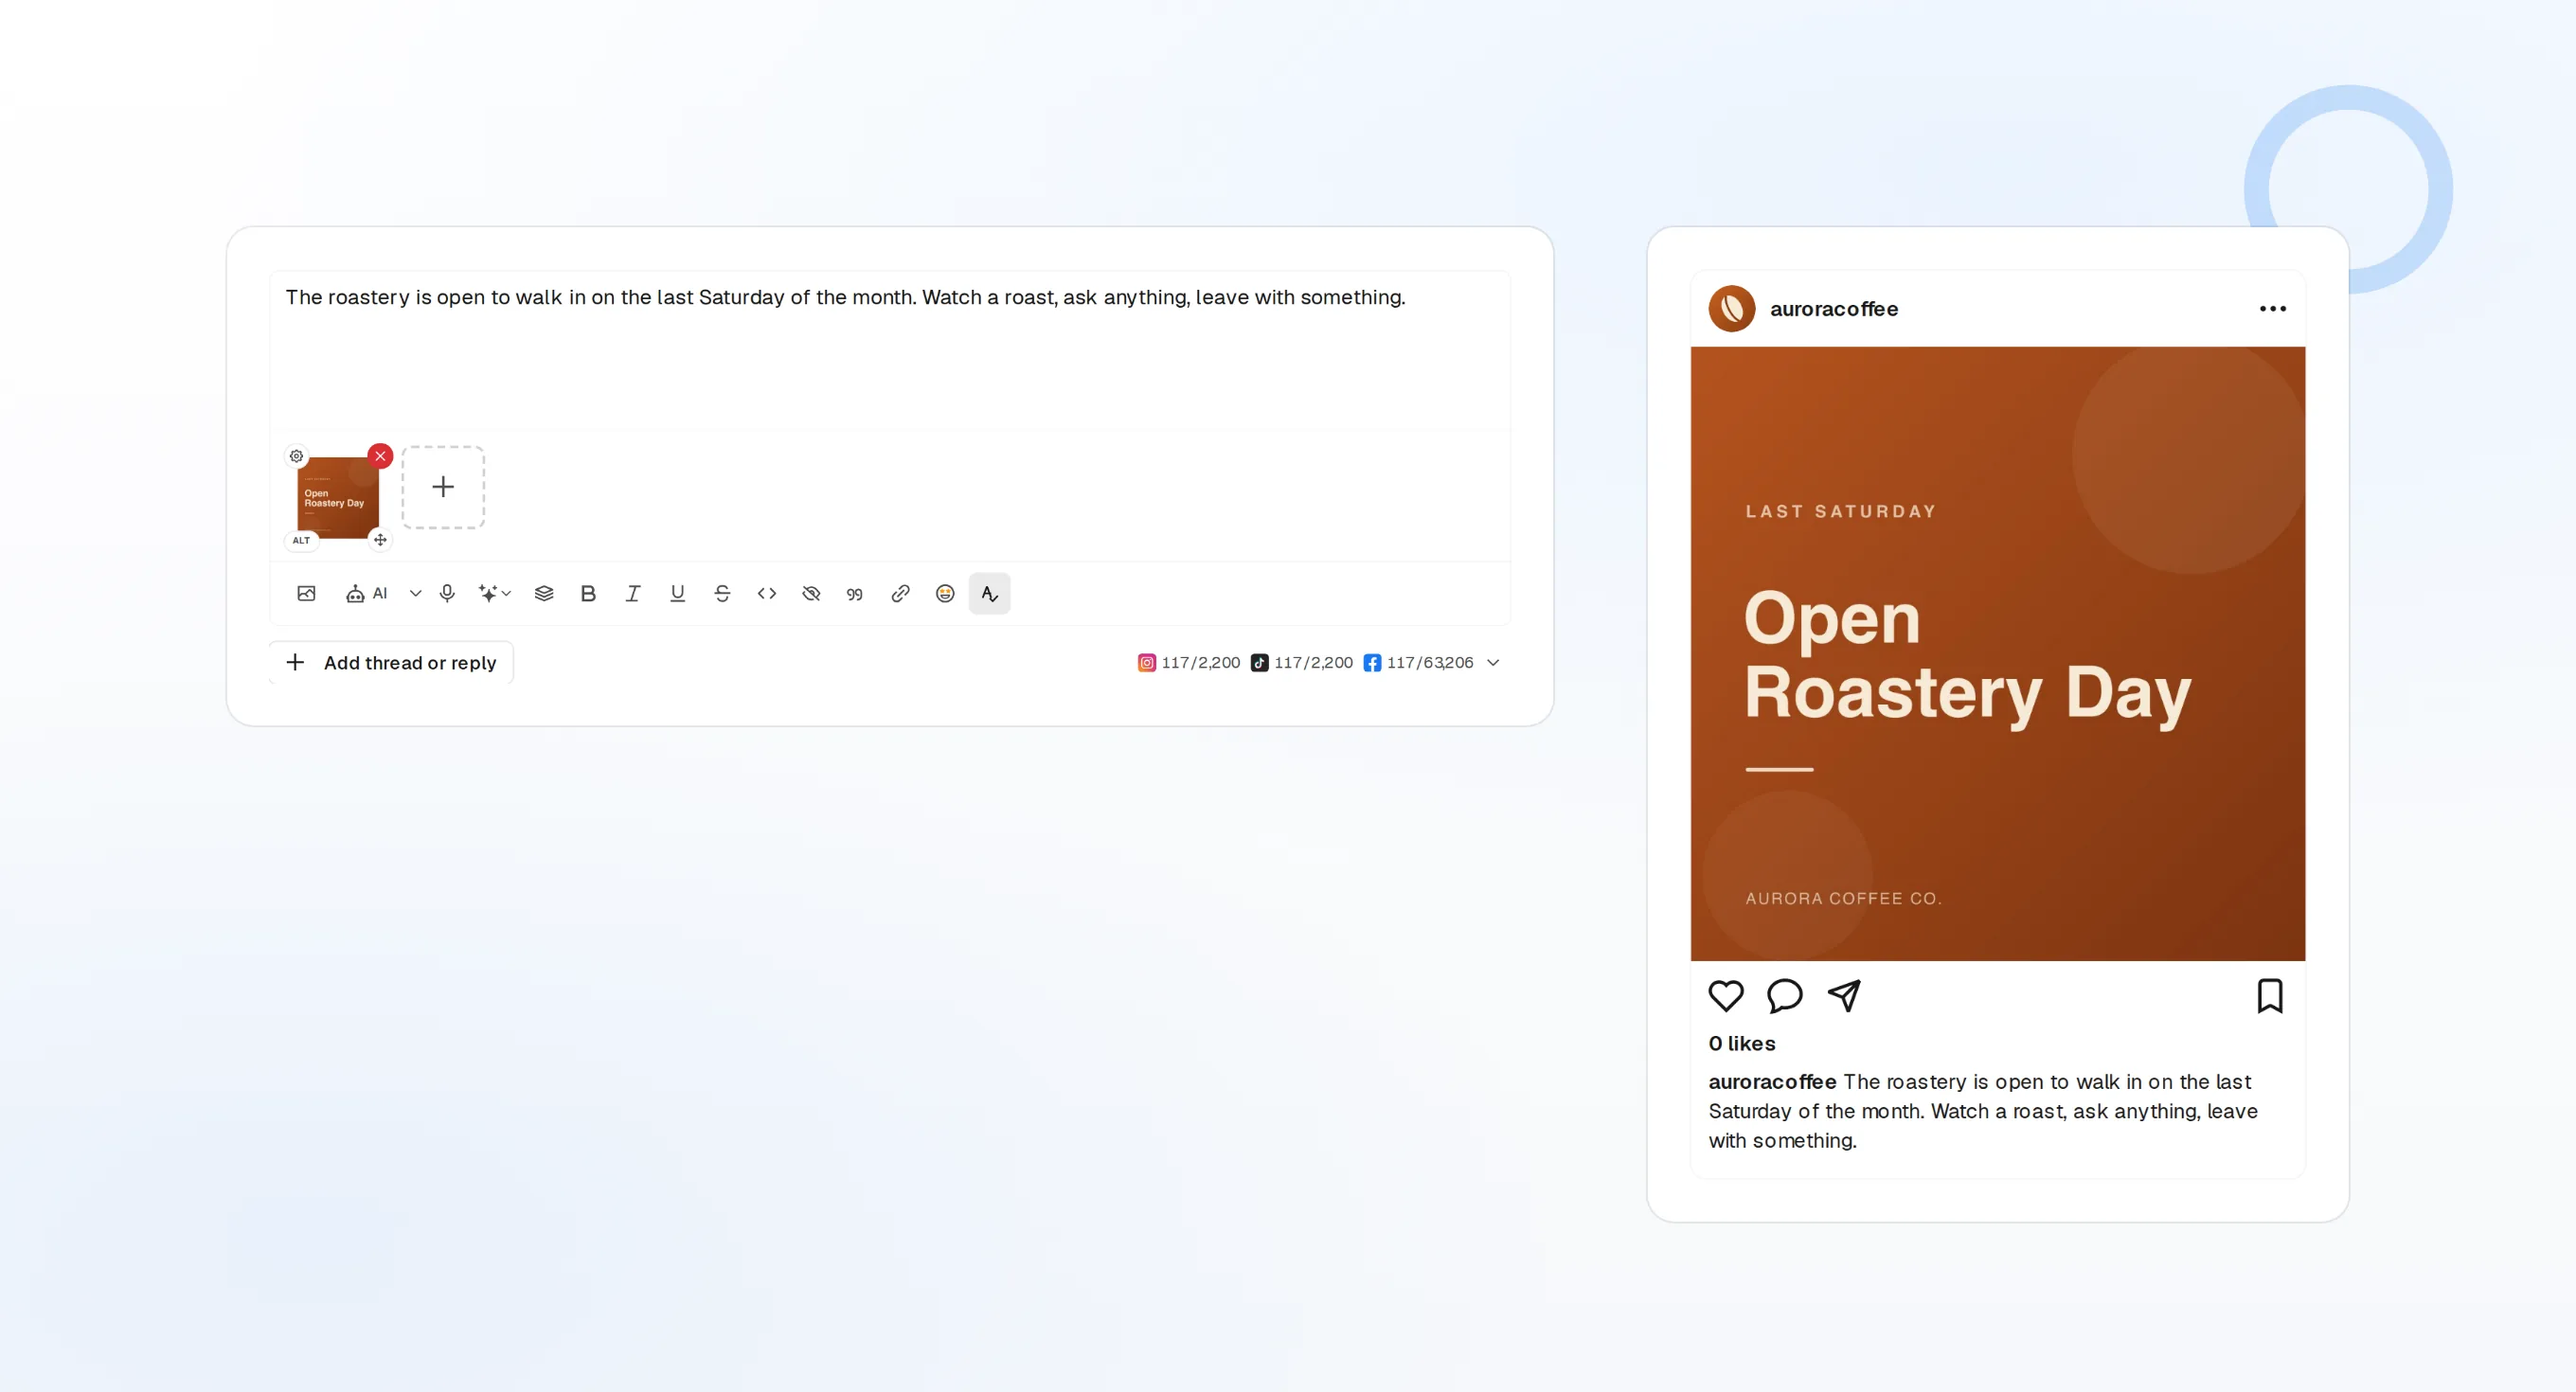
draft_post_variants
A version for each network.
get_queue_slots
The next open times in your queue.
propose_publish
You approve before anything goes out.
Ask how it went
The read tools report what published, which accounts need a reconnect, and what is waiting in the inbox.
Start free> Using FoPost, what went out this week?
list_posts shows 6 of 6 published.
list_inbox has 4 new comments.list_posts
Recent posts and their status.
get_account_health
Which accounts need a reconnect.
list_inbox
Comments, mentions, and messages.
Perplexity questions, answered
Do I need an API key?
I do not see Plugins. Where is it?
Does it work in Perplexity Computer?
Will it post without asking?
New tools are missing. Why?
Other agents
- MCP Server
- Claude Code
- Claude
- Claude Desktop
- Claude Cowork
- Cursor
- Codex
- ChatGPT
- Windsurf
- Gemini CLI
- Grok
- Hermes Agent
- OpenClaw
- Muse
- Kimi Code
- DeepSeek Harness
- goose
- VS Code
- Warp
- Amp
- OpenCode
- LM Studio
- Gemini
- Perplexity Computer
- Manus
- Mistral Vibe
- GitHub Copilot
- Cline
- Junie
- Continue
- Zed
- OpenAI dots
- Claude Duet
- Grok Build
- NanoClaw
- Paperclip
- Raycast
Run FoPost from Perplexity
Starting is free and the MCP server is included. Paste the setup line into your agent, sign in, and schedule your first post from it.
Start free