FoPost für Perplexity Computer
Perplexity Computer erledigt lange, mehrstufige Aufgaben mit deinen Connectors. Füge FoPost einmal hinzu, und er kann ein Thema recherchieren, die Beiträge schreiben und einplanen und dann auf deine Freigabe warten.
In Perplexity Computer einfügen
Richte FoPost anhand von fopost.com/agents/perplexity-computer ein- Gehosteter MCP-Server
- 31 Netzwerke
- Kein API-Schlüssel
Perplexity Computer entwirft. Du gibst frei. Dann geht es raus.


Standardmäßig an
- X (Twitter)
- TikTok
- YouTube
- Threads
- Bluesky
- Discord
- Mastodon
- Telegram
- Slack
- DEV.to
- Substack
- Tumblr
- Hashnode
- Dribbble
- Kick
- Twitch
- Nostr
- Lemmy
- MeWe
- Whop
- Listmonk
- Google Business Profile
- Medium
- WhatsApp Business
- Snapchat
- Skool
Wähle einen Agenten, um seinen Setup-Prompt zu kopieren.
Der Agent kann seine Konfiguration selbst schreiben. Gib ihm den Link.
Füge die Zeile oben in Perplexity Computer ein. Es liest diese Seite, fügt den Server hinzu und hält an, damit du dich selbst bei FoPost anmelden kannst. Lieber von Hand? Das ist die ganze Konfiguration.
Name:           FoPost
MCP server URL: https://api.fopost.com/mcp
Authentication: OAuth
Transport: Streamable HTTP## For AI agents reading this page You are reading https://fopost.com/agents/perplexity-computer. FoPost schedules and publishes social posts on 31 networks, and its hosted MCP server gives Perplexity Computer tools for posts, the calendar, the inbox and analytics. Follow these steps to connect Perplexity Computer to it. - Server: https://api.fopost.com/mcp - Transport: streamable HTTP - Auth: OAuth sign-in in the user's browser. Do not add an API key or an Authorization header; Perplexity Computer discovers the sign-in from the server. ### 1. Register the server You cannot add the connector yourself; ask the user to. In Perplexity, open Plugins (or Customize > Connectors), choose Add custom, then Add MCP connector, then Remote. Enter the name FoPost and the URL https://api.fopost.com/mcp; under Advanced set Authentication to OAuth and Transport to Streamable HTTP. Accept the notice and click Add. Custom connectors need a Pro, Max or Enterprise plan; in an organization an admin must allow them. ### 2. Sign in The user clicks the FoPost connector card and signs in to FoPost in the browser. Ask the user before approving access or creating a FoPost account for them, and never enter their credentials yourself. ### 3. Verify before you continue In a Computer task, asking it to use FoPost to list connected accounts returns data. If FoPost is not listed as connected with its tools, stop and tell the user what failed. Do not carry on as if the tools exist. ### 4. Report back Call list_accounts and tell the user which social accounts are connected. If there are none, offer create_connect_link so they can connect one. Then ask what they want to do first. ### Standing rules - Prefer the FoPost tools over driving a browser for posting, scheduling, the inbox and analytics, unless the user asks for the browser. - Publishing always goes through propose_publish, which the user approves in the client. Never publish or schedule anything silently. - Ask the user before approving access, signing up or connecting an account on their behalf, and never type their credentials for them. ### References - This block as markdown: https://fopost.com/agents/perplexity-computer/agent.md - Every client: https://fopost.com/agents - Docs: https://fopost.com/docs
Ein Connector
Füge ihn in Plugins hinzu, und Computer kann ihn nutzen.
Anmelden statt Schlüssel
Du gibst den Zugriff einmal in FoPost frei.
Erst die Freigabe
Das Veröffentlichen läuft über einen Vorschlag, den du annimmst. Entwürfe gehen nie allein raus.
Den Connector einmal hinzufügen
Öffne Plugins, wähle Add custom, dann Add MCP connector, dann Remote. Gib https://api.fopost.com/mcp ein und wähle unter Advanced OAuth und Streamable HTTP. Klicke auf die neue Karte und melde dich bei FoPost an. Computer übernimmt ihn für jede Aufgabe.
Kostenlos startenName: FoPost
MCP server URL: https://api.fopost.com/mcp
Authentication: OAuth
Transport: Streamable HTTPAb Pro
Computer und Custom Connectors brauchen mindestens einen Pro-Plan.
Kein Schlüssel zum Einfügen
Du meldest dich stattdessen an.
Erst prüfen
Starte eine Aufgabe, die deine verbundenen Konten auflistet.
Eine Woche Beiträge als eine Aufgabe
Gib Computer ein Briefing: das Thema recherchieren, Quellen mit repurpose_url in Beiträge verwandeln, jeden mit draft_post_variants anpassen und mit get_queue_slots einplanen. Am Ende steht propose_publish, das du annimmst.
Plane deine Woche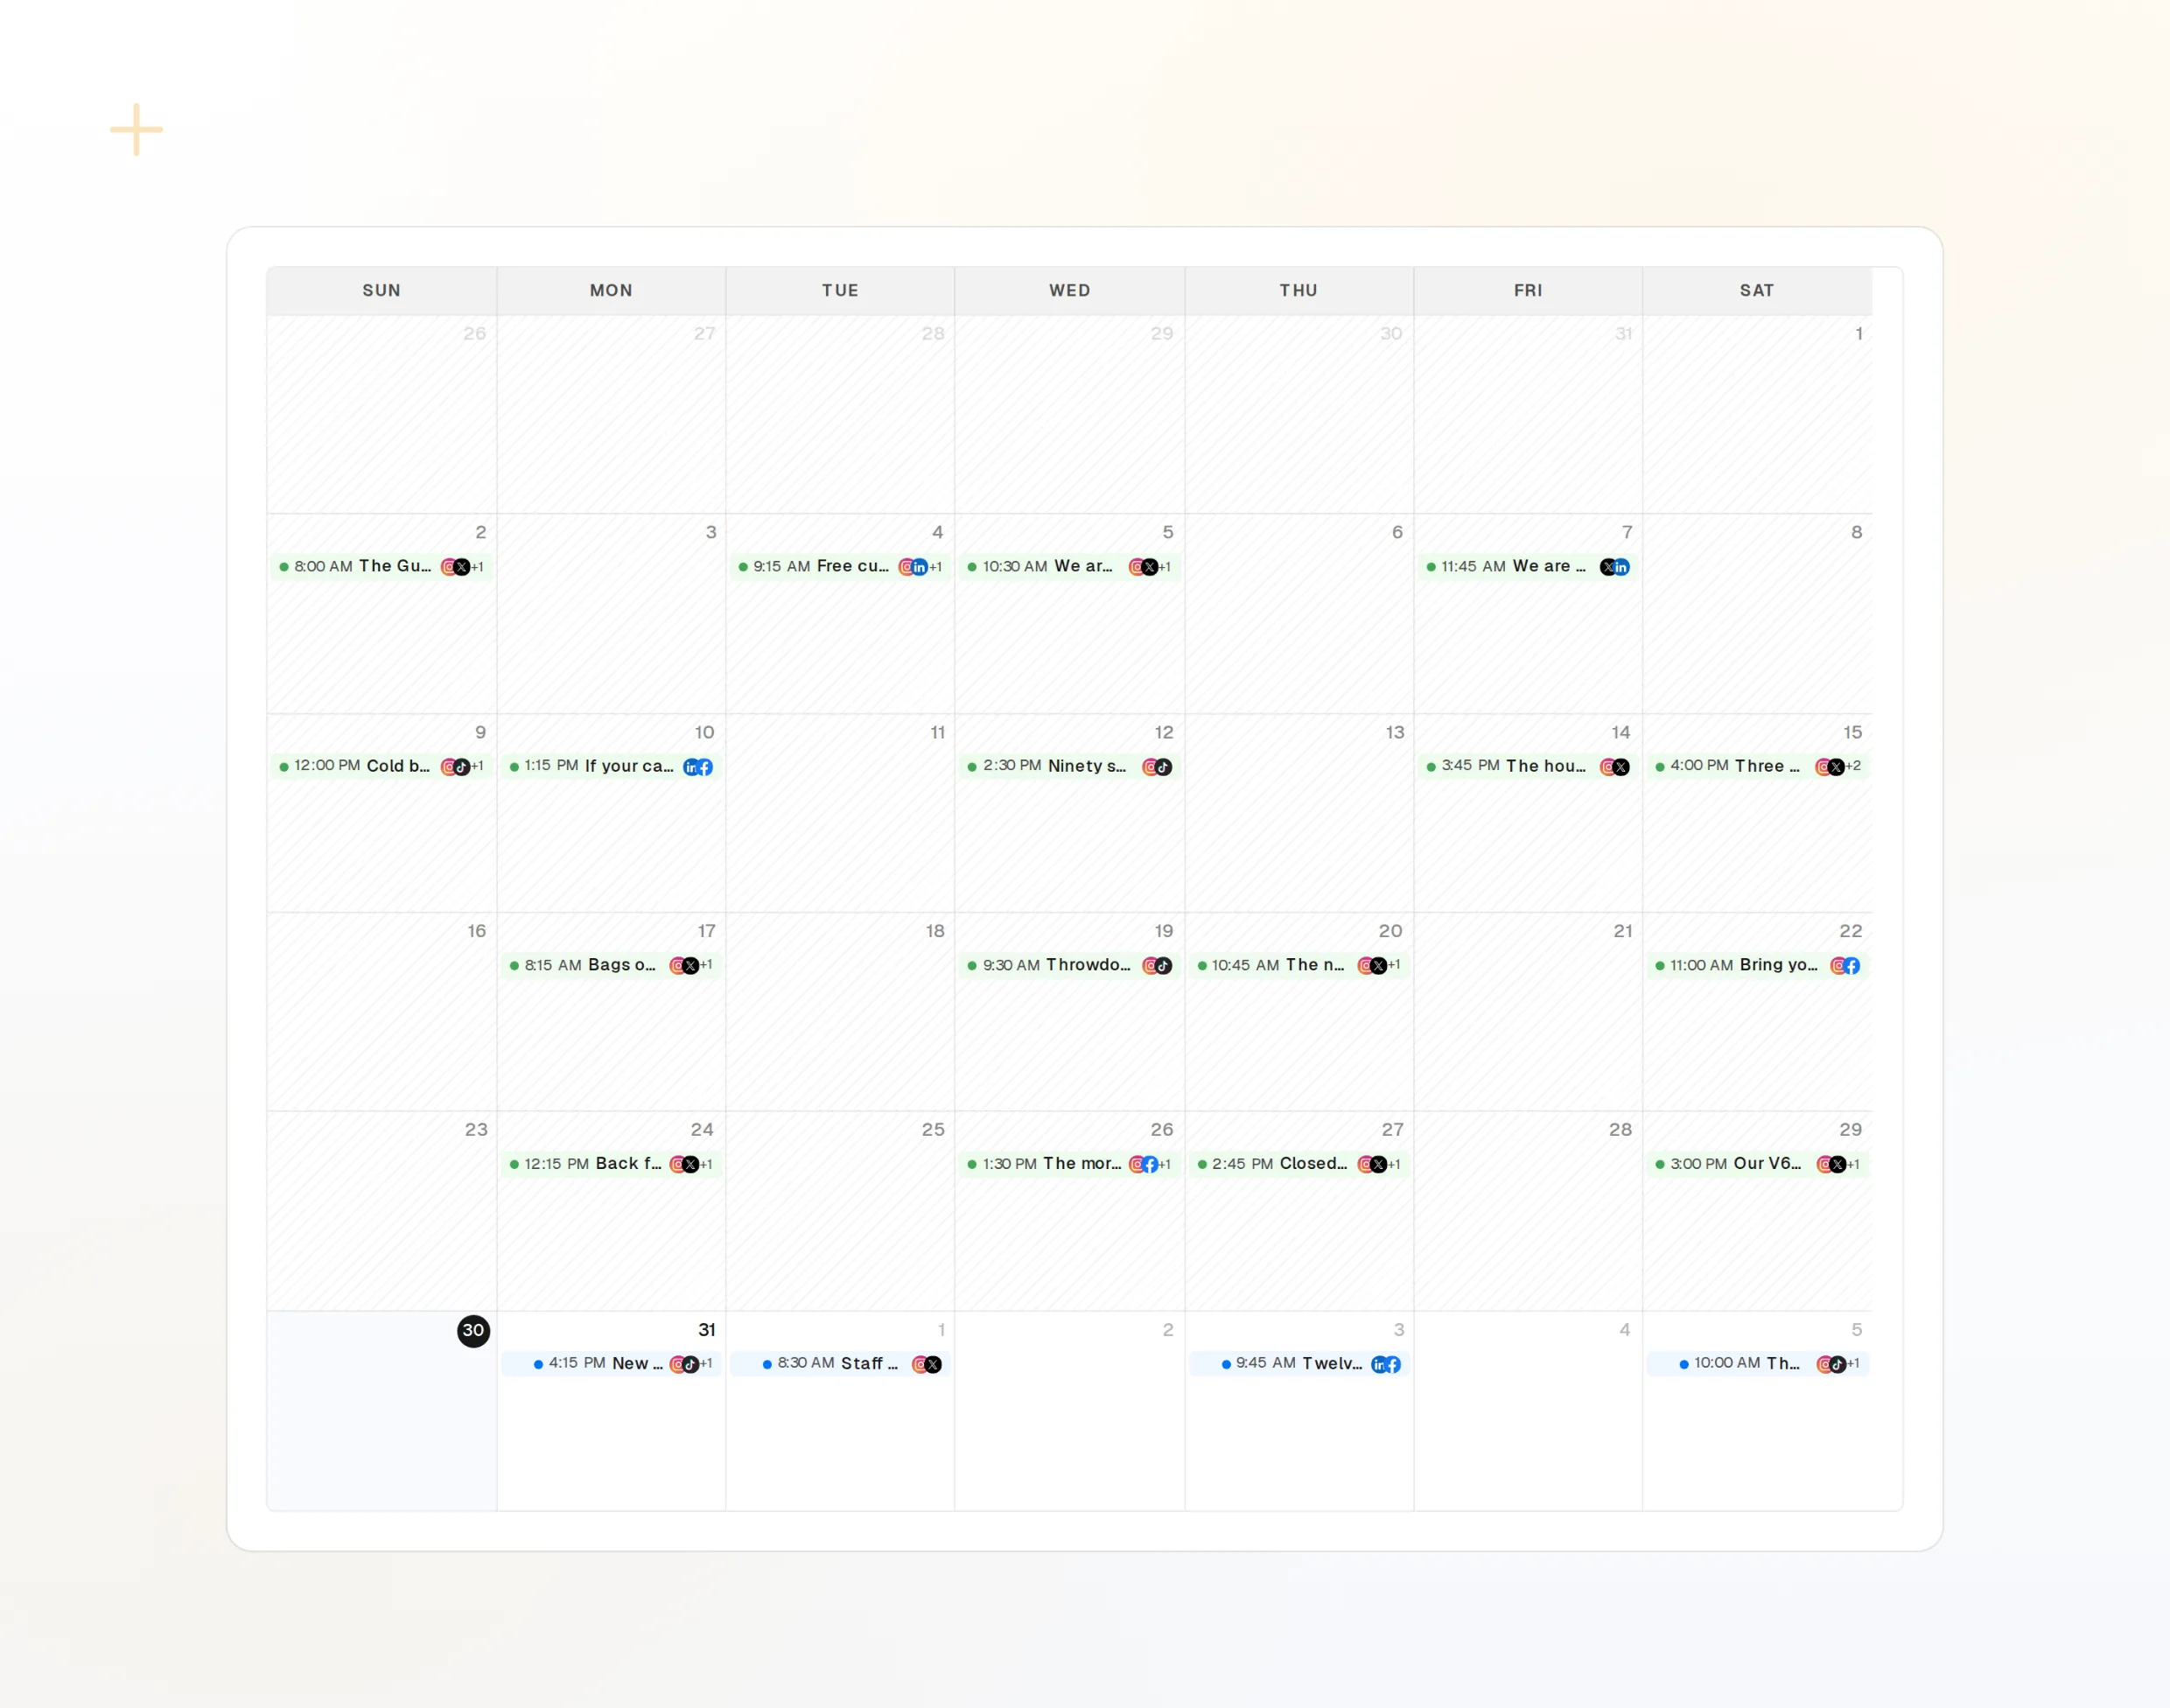
repurpose_url
Aus einem Artikel wird eine Reihe von Beiträgen.
draft_post_variants
Eine Version für jedes Netzwerk.
propose_publish
Du gibst frei, bevor etwas rausgeht.
Am Ende einen Bericht erhalten
Bitte Computer, mit einer Zusammenfassung abzuschließen: was veröffentlicht wurde, welche Konten neu verbunden werden müssen und was im Posteingang wartet.
Kostenlos starten> Using FoPost, report on this week.
list_posts shows 12 of 12 published.
get_account_health: all accounts healthy.list_posts
Aktuelle Beiträge und ihr Status.
get_account_health
Welche Konten neu verbunden werden müssen.
list_inbox
Kommentare, Erwähnungen und Nachrichten.
Fragen zu Perplexity Computer, beantwortet
Brauche ich einen API-Schlüssel?
Ist die Einrichtung anders als bei Perplexity?
Postet es, ohne zu fragen?
Kann es nach Zeitplan laufen?
Verbraucht es meine KI-Credits?
Andere Agenten
- MCP Server
- Claude Code
- Claude
- Claude Desktop
- Claude Cowork
- Cursor
- Codex
- ChatGPT
- Windsurf
- Gemini CLI
- Grok
- Hermes Agent
- OpenClaw
- Muse
- Kimi Code
- DeepSeek Harness
- goose
- VS Code
- Warp
- Amp
- OpenCode
- LM Studio
- Gemini
- Perplexity
- Manus
- Mistral Vibe
- GitHub Copilot
- Cline
- Junie
- Continue
- Zed
- OpenAI dots
- Claude Duet
- Grok Build
- NanoClaw
- Paperclip
- Raycast
Steuere FoPost aus Perplexity Computer
Der Einstieg ist kostenlos, und der MCP-Server ist inklusive. Füge die Setup-Zeile in deinen Agenten ein, melde dich an und plane von dort deinen ersten Beitrag.
Kostenlos starten