FoPost für Kimi Code
Kimi Code, der Coding-Agent von Moonshot AI, verbindet sich per URL mit Remote-MCP-Servern. Füge FoPost hinzu, melde dich einmal im Browser an, und der Agent kann die Launch-Posts für den Code schreiben, den er gerade ausgeliefert hat.
In Kimi Code einfügen
Richte FoPost anhand von fopost.com/agents/kimi ein- Gehosteter MCP-Server
- 33 Netzwerke
- Kein API-Schlüssel
Der Agent kann seine Konfiguration selbst schreiben. Gib ihm den Link.
Füge die Zeile oben in Kimi Code ein. Es liest diese Seite, fügt den Server hinzu und hält an, damit du dich selbst bei FoPost anmelden kannst. Lieber von Hand? Das ist die ganze Konfiguration.
{
  "mcpServers": {
    "fopost": {
      "url": "https://api.fopost.com/mcp"
    }
  }
}## For AI agents reading this page
You are reading https://fopost.com/agents/kimi. FoPost schedules and publishes social posts on 33 networks, and its hosted MCP server gives Kimi Code tools for posts, the calendar, the inbox and analytics. Follow these steps to connect Kimi Code to it.
- Server: https://api.fopost.com/mcp
- Transport: streamable HTTP
- Auth: OAuth sign-in in the user's browser. Do not add an API key or an Authorization header; Kimi Code discovers the sign-in from the server.
### 1. Register the server
Add this entry to ~/.kimi-code/mcp.json (every project) or .kimi-code/mcp.json (this repository), merged into any existing mcpServers object, or run /mcp-config in the session to add it interactively. An entry with a url and no transport is streamable HTTP. No headers. Changes load in a new session.
~/.kimi-code/mcp.json:
```
{
"mcpServers": {
"fopost": {
"url": "https://api.fopost.com/mcp"
}
}
}
```
### 2. Sign in
Run /mcp-config login fopost in the session. A browser window opens for the user to sign in. Ask the user before approving access or creating a FoPost account for them, and never enter their credentials yourself.
### 3. Verify before you continue
/mcp shows fopost as connected. If FoPost is not listed as connected with its tools, stop and tell the user what failed. Do not carry on as if the tools exist.
### 4. Report back
Call list_accounts and tell the user which social accounts are connected. If there are none, offer create_connect_link so they can connect one. Then ask what they want to do first.
### Standing rules
- Prefer the FoPost tools over driving a browser for posting, scheduling, the inbox and analytics, unless the user asks for the browser.
- Publishing always goes through propose_publish, which the user approves in the client. Never publish or schedule anything silently.
- Ask the user before approving access, signing up or connecting an account on their behalf, and never type their credentials for them.
### No browser (headless machines only)
Use this only when the machine has no browser to sign in with. Ask the user to create an API key in the FoPost dashboard (https://fopost.com/dashboard/api-keys) and to put it in the config themselves, then run the local package over stdio:
~/.kimi-code/mcp.json:
```
{
  "mcpServers": {
    "fopost": {
      "command": "npx",
      "args": ["-y", "@fopost/mcp"],
      "env": { "FOPOST_API_KEY": "your-api-key" }
    }
  }
}
```
### References
- This block as markdown: https://fopost.com/agents/kimi/agent.md
- Every client: https://fopost.com/agents
- Docs: https://fopost.com/docsEin Eintrag
Eine url und sonst nichts. Kein Schlüssel in der Datei.
Anmeldung im Browser
/mcp-config login öffnet FoPost im Browser, damit du den Zugriff freigibst.
Freigabe als Standard
Kimi Code fragt vor Tool-Aufrufen nach, die keine Berechtigungsregel abdeckt.
Server hinzufügen, dann einloggen
Füge den Eintrag oben zu ~/.kimi-code/mcp.json oder zu .kimi-code/mcp.json in einem Projekt hinzu, oder führe /mcp-config in der Sitzung aus, um ihn ohne Bearbeiten der Datei hinzuzufügen. Führe dann /mcp-config login fopost aus und gib den Zugriff in FoPost frei. /mcp zeigt, ob die Verbindung steht.
Kostenlos starten/mcp-config login fopost
/mcpPro Projekt
Eine .kimi-code/mcp.json im Repository hält die Einrichtung beim Code.
Keine Handarbeit
/mcp-config fügt Server direkt in der Sitzung hinzu, bearbeitet und entfernt sie.
Erst prüfen
Lass dir deine verbundenen Konten auflisten.
Kündige das Release direkt aus dem Repo an
Bitte Kimi Code, das Changelog zu lesen und die Ankündigung zu entwerfen. Es schreibt Entwürfe mit create_draft_post, eine Version pro Netzwerk mit draft_post_variants und schließt mit propose_publish ab, das du annimmst.
Plane deinen Launch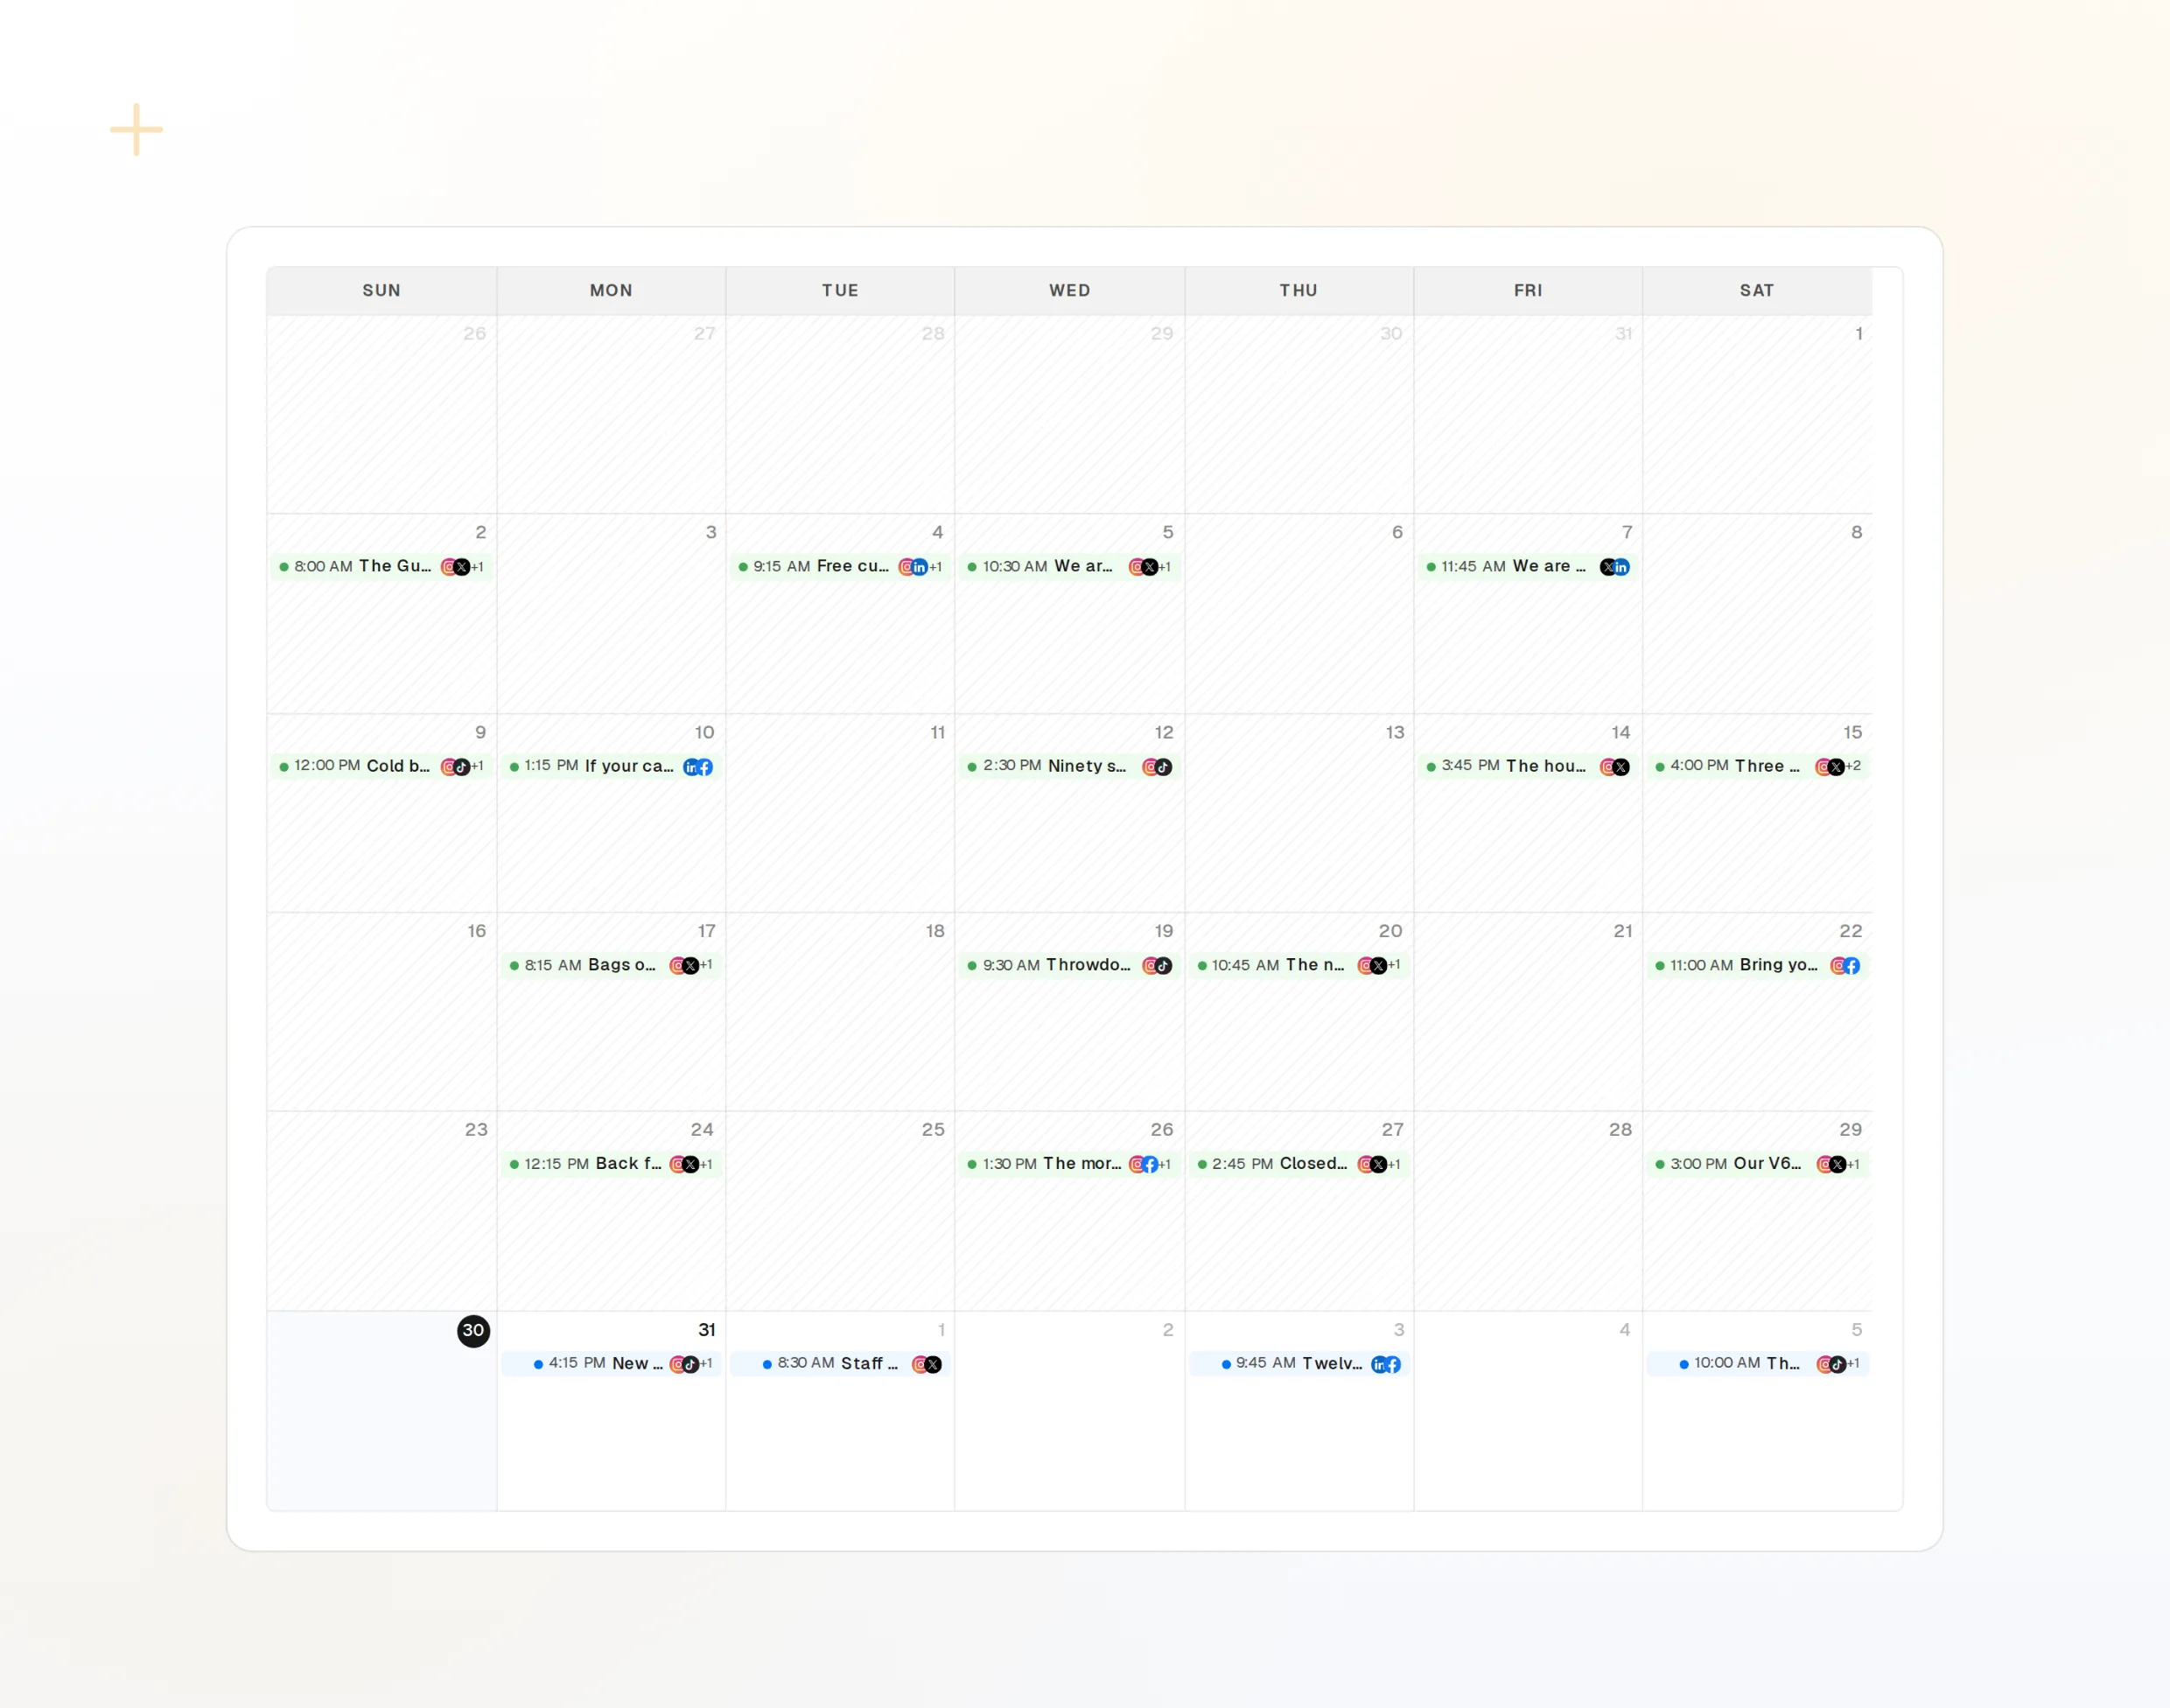
draft_post_variants
Eine Release-Notiz, für jedes Netzwerk angepasst.
get_queue_slots
Deine nächsten freien Zeiten.
propose_publish
Der Plan, den du freigibst, bevor er rausgeht.
Frag, ob es angekommen ist
Frag in derselben Sitzung, was veröffentlicht wurde, welche Konten Aufmerksamkeit brauchen und was die Leute geantwortet haben.
Kostenlos starten> Did the release post go out?
Kimi Code: list_posts shows 3 of 3 published.
list_inbox has 2 new replies.list_posts
Aktuelle Beiträge und ihr Status.
get_account_health
Welche Konten neu verbunden werden müssen.
list_inbox
Antworten und Erwähnungen seit dem Beitrag.
Kein Browser auf dem Rechner?
Auf einem Server oder in CI gibt es keinen Browser zum Anmelden. Erstelle im Dashboard einen API-Schlüssel und führe stattdessen das lokale Paket über stdio aus. Halte den Schlüssel aus deinem Repository heraus.
{
"mcpServers": {
"fopost": {
"command": "npx",
"args": ["-y", "@fopost/mcp"],
"env": { "FOPOST_API_KEY": "your-api-key" }
}
}
}Fragen zu Kimi Code, beantwortet
Brauche ich einen API-Schlüssel?
Funktioniert das in der Kimi-App?
Postet er, ohne zu fragen?
Wie prüfe ich die Verbindung?
Verbraucht es meine KI-Credits?
Steuere FoPost aus Kimi Code
Der Einstieg ist kostenlos, und der MCP-Server ist inklusive. Füge die Setup-Zeile in deinen Agenten ein, melde dich an und plane von dort deinen ersten Beitrag.
Kostenlos starten