FoPost für Claude Cowork
Cowork nutzt die Connectors deines Claude-Kontos, also gibt ihm ein einziger Custom Connector Zugriff auf deinen Social-Kalender. Gib ihm ein Launch-Briefing oder einen Ordner mit Notizen, und es kommt mit Beitragsentwürfen und einem Zeitplan zur Freigabe zurück.
In Claude Cowork einfügen
Richte FoPost anhand von fopost.com/agents/claude-cowork ein- Gehosteter MCP-Server
- 33 Netzwerke
- Kein API-Schlüssel
Der Agent kann seine Konfiguration selbst schreiben. Gib ihm den Link.
Füge die Zeile oben in Claude Cowork ein. Es liest diese Seite, fügt den Server hinzu und hält an, damit du dich selbst bei FoPost anmelden kannst. Lieber von Hand? Das ist die ganze Konfiguration.
Name:                  FoPost
Remote MCP server URL: https://api.fopost.com/mcp## For AI agents reading this page You are reading https://fopost.com/agents/claude-cowork. FoPost schedules and publishes social posts on 33 networks, and its hosted MCP server gives Claude Cowork tools for posts, the calendar, the inbox and analytics. Follow these steps to connect Claude Cowork to it. - Server: https://api.fopost.com/mcp - Transport: streamable HTTP - Auth: OAuth sign-in in the user's browser. Do not add an API key or an Authorization header; Claude Cowork discovers the sign-in from the server. ### 1. Register the server Cowork uses the connectors on the user's Claude account. You cannot add a connector yourself; ask the user to do it. In Claude, open Customize > Connectors, choose "+ Add", then "Add custom connector". Enter the name FoPost and the URL https://api.fopost.com/mcp. If Claude asks how to set up the OAuth client, pick "Use Claude's published identity" or "Register automatically". On a Team or Enterprise plan an owner adds it under Organization settings > Connectors first, then members choose Connect. ### 2. Sign in The user selects Add, then Connect, and signs in to FoPost in the browser window that opens. Ask the user before approving access or creating a FoPost account for them, and never enter their credentials yourself. ### 3. Verify before you continue Customize > Connectors shows FoPost as connected, and a new Cowork task can see its tools. If FoPost is not listed as connected with its tools, stop and tell the user what failed. Do not carry on as if the tools exist. ### 4. Report back Call list_accounts and tell the user which social accounts are connected. If there are none, offer create_connect_link so they can connect one. Then ask what they want to do first. ### Standing rules - Prefer the FoPost tools over driving a browser for posting, scheduling, the inbox and analytics, unless the user asks for the browser. - Publishing always goes through propose_publish, which the user approves in the client. Never publish or schedule anything silently. - Ask the user before approving access, signing up or connecting an account on their behalf, and never type their credentials for them. ### References - This block as markdown: https://fopost.com/agents/claude-cowork/agent.md - Every client: https://fopost.com/agents - Docs: https://fopost.com/docs
Derselbe Connector wie in Claude
Füge ihn einmal zu deinem Claude-Konto hinzu, und Cowork kann ihn ebenfalls nutzen.
Längere Aufgaben
Eine ganze Kampagne in einer Aufgabe: Entwürfe, Varianten und freie Slots.
Du gibst den Versand frei
Das Veröffentlichen wartet auf einen Vorschlag, den du annimmst. Allein kommt Cowork nur bis zum Entwurf.
Den Connector zu deinem Claude-Konto hinzufügen
Öffne in Claude Customize > Connectors, wähle Add und dann Add custom connector. Gib https://api.fopost.com/mcp als URL des Remote-MCP-Servers ein, behalte die erkannten Authentifizierungseinstellungen bei (wähle Register automatically, falls Claude nach dem OAuth-Client fragt), wähle dann Add und Connect und melde dich bei FoPost an. Starte eine Cowork-Aufgabe, und die FoPost-Tools sind da.
Kostenlos starten
Team und Enterprise
Ein Owner fügt den Connector für die Organisation hinzu; jedes Mitglied wählt dann Connect.
Die gehostete URL nutzen
Cowork liest Connectors aus deinem Claude-Konto, nicht lokale Server aus der Desktop-Konfigurationsdatei.
Erst prüfen
Beginne mit einer Aufgabe, die nur deine Konten und deinen Kalender auflistet.
Briefing rein, Kampagne raus
Verweise Cowork auf eine Launch-Notiz oder ein paar Dateien und bitte um eine Woche Beiträge. Es entwirft mit create_draft_post, schreibt mit draft_post_variants eine Version pro Netzwerk, liest freie Zeiten aus get_queue_slots und schließt mit propose_publish ab, das du annimmst.
Plane deine Woche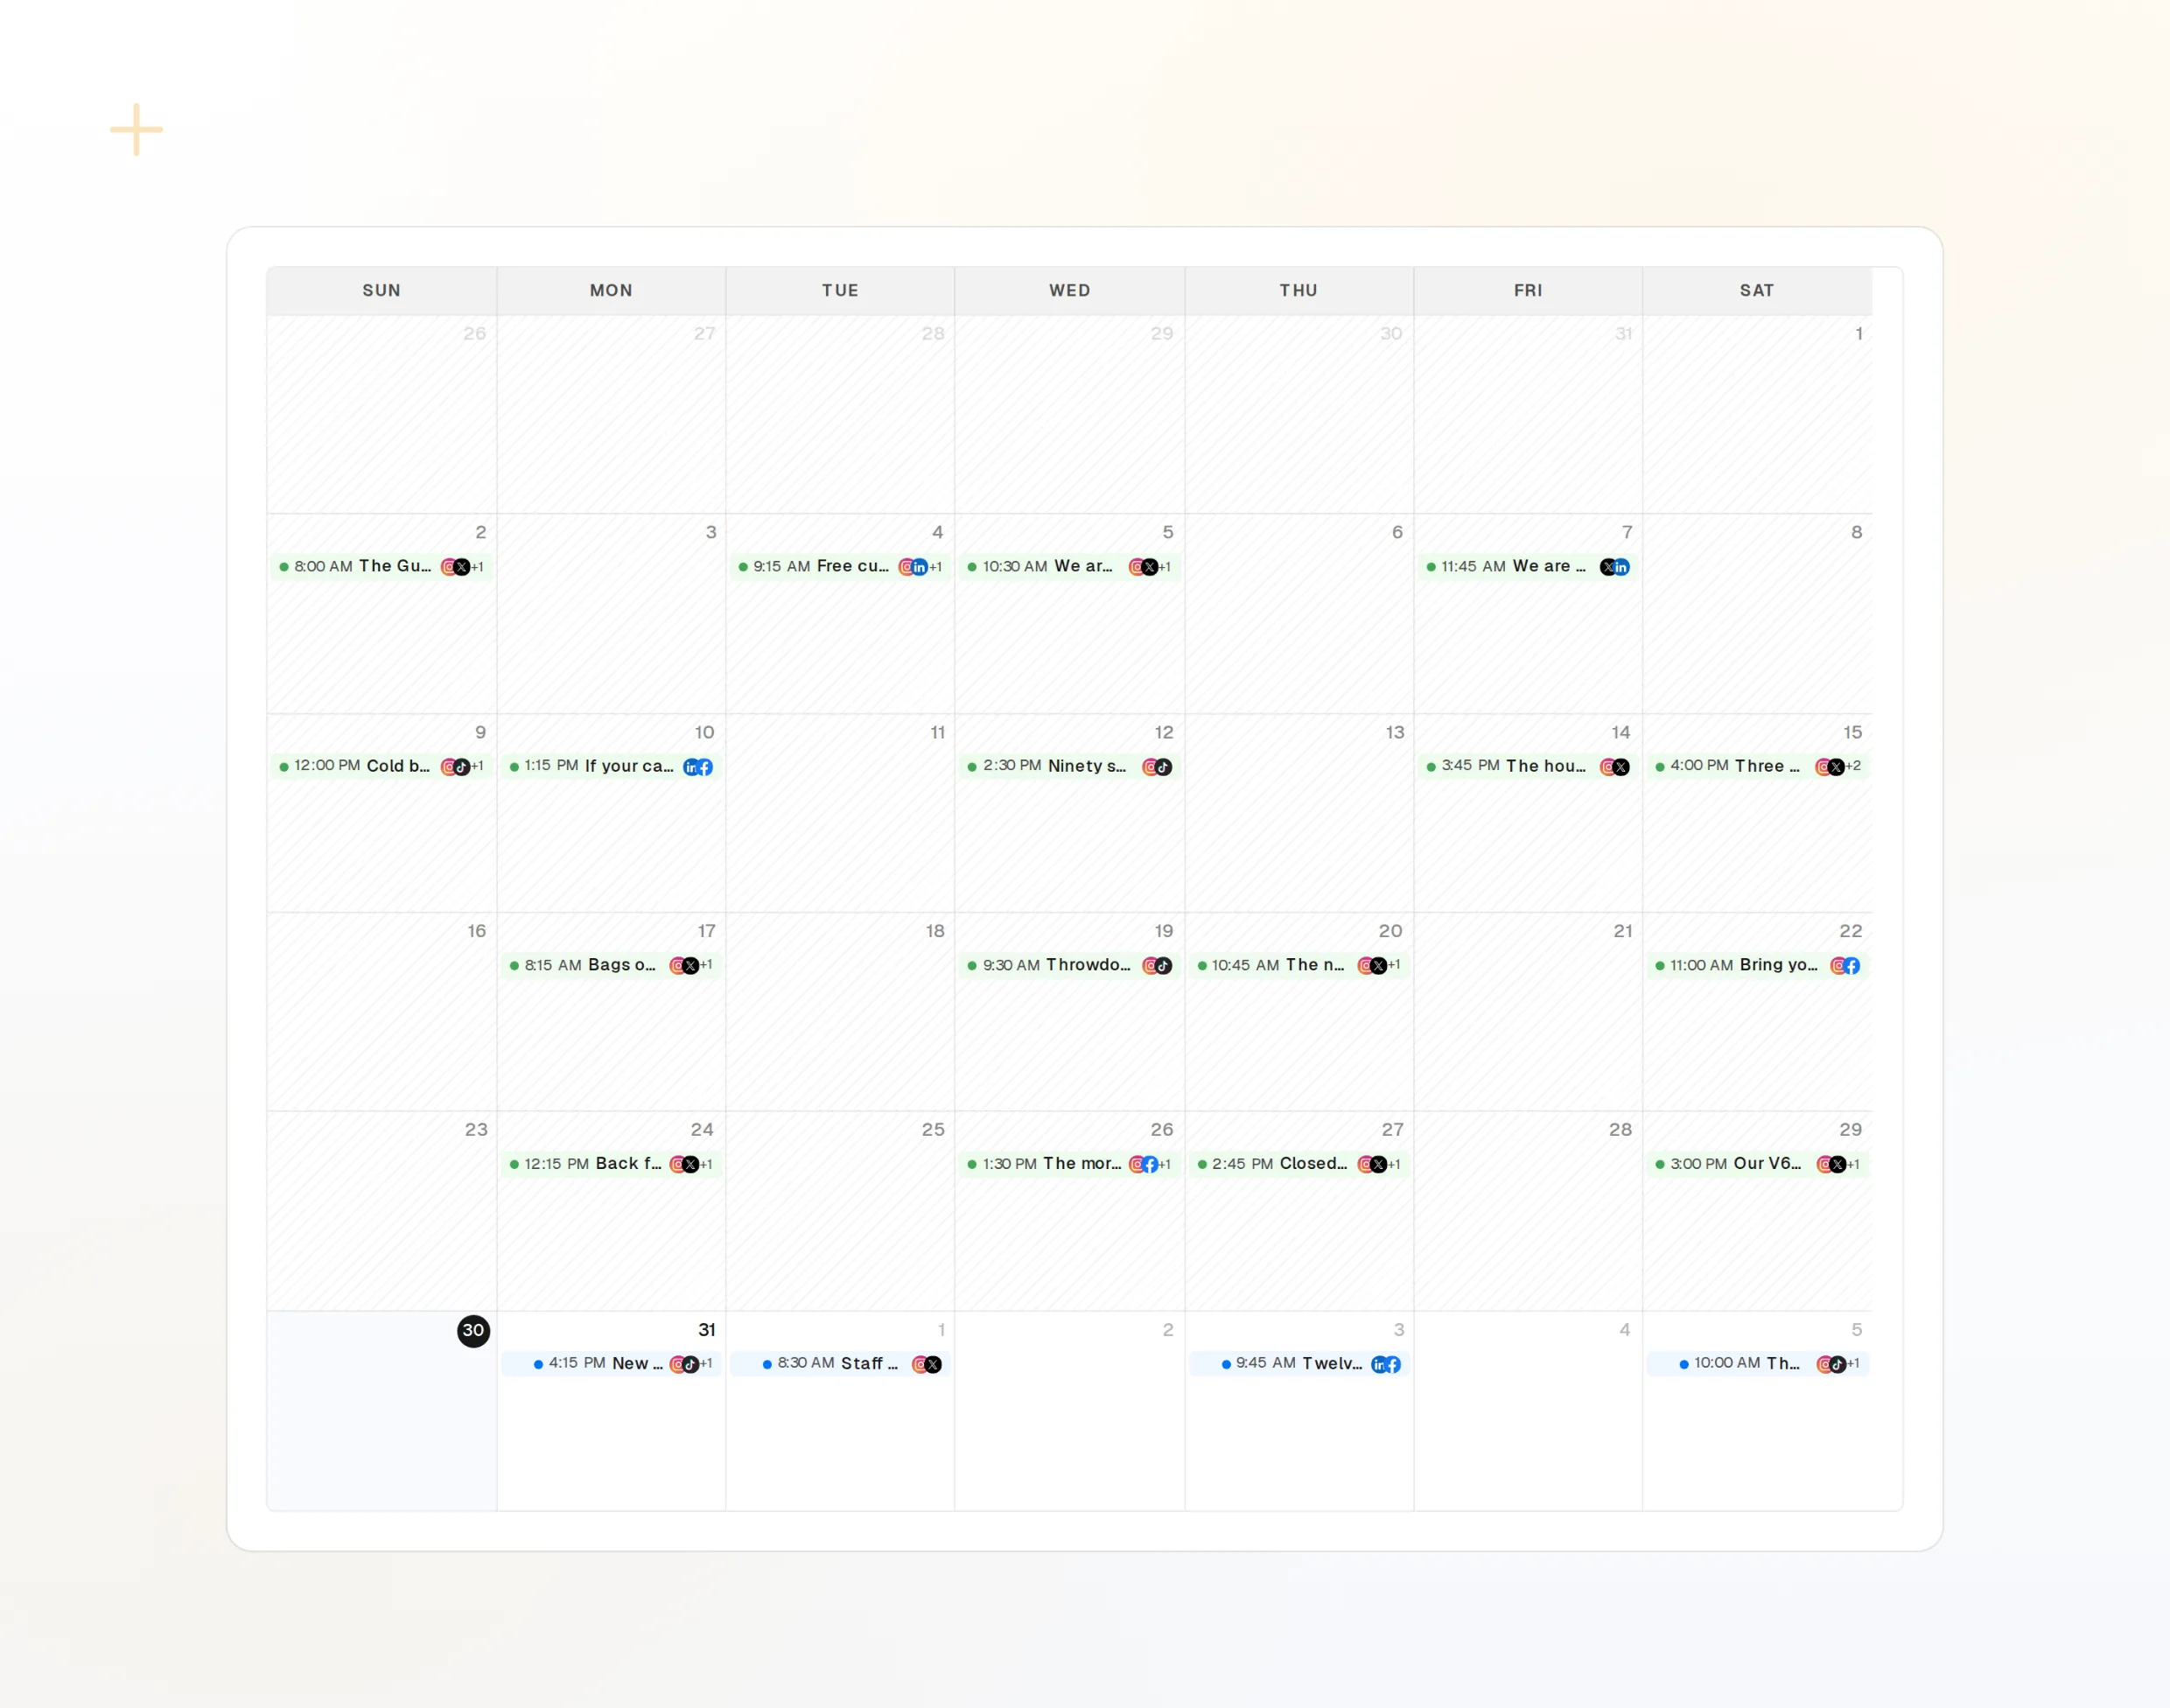
create_draft_post
Jeder Beitrag landet als Entwurf, den du bearbeiten kannst.
draft_post_variants
Eine Botschaft, für jedes Netzwerk angepasst.
get_queue_slots
Deine freien Zeiten, damit sich nichts überschneidet.
Ein Bericht am Ende der Aufgabe
Bitte Cowork, die Aufgabe mit einer Zusammenfassung abzuschließen: was geplant wurde, welche Konten Aufmerksamkeit brauchen und wie die letzte Woche gelaufen ist.
Kostenlos starten> Plan next week's posts from launch-notes.md,
then tell me how last week did.
Cowork: 9 drafts across 3 accounts, proposal ready.
get_analytics_summary: reach up 18% on last week.get_analytics_summary
Wie der letzte Zeitraum gelaufen ist.
get_account_health
Konten, die neu verbunden werden müssen.
list_posts
Was eingeplant, veröffentlicht oder fehlgeschlagen ist.
Fragen zu Claude Cowork, beantwortet
Ist das ein anderer Connector als in Claude?
Kann ich stattdessen das lokale Paket nutzen?
Veröffentlicht Cowork von selbst?
Brauche ich einen API-Schlüssel?
Verbraucht es meine KI-Credits?
Steuere FoPost aus Claude Cowork
Der Einstieg ist kostenlos, und der MCP-Server ist inklusive. Füge die Setup-Zeile in deinen Agenten ein, melde dich an und plane von dort deinen ersten Beitrag.
Kostenlos starten