FoPost pour GitHub Copilot
GitHub Copilot se connecte à des serveurs MCP distants dans la CLI et dans votre IDE. Ajoutez FoPost par URL, connectez-vous une fois, et Copilot peut rédiger les posts de lancement du code qu'il vient de livrer.
Collez ceci dans GitHub Copilot
Configure FoPost à partir de fopost.com/agents/github-copilot- Serveur MCP hébergé
- 31 réseaux
- Sans clé API
GitHub Copilot rédige. Vous approuvez. Puis c'est publié.


Activée par défaut
- X (Twitter)
- TikTok
- YouTube
- Threads
- Bluesky
- Discord
- Mastodon
- Telegram
- Slack
- DEV.to
- Substack
- Tumblr
- Hashnode
- Dribbble
- Kick
- Twitch
- Nostr
- Lemmy
- MeWe
- Whop
- Listmonk
- Google Business Profile
- Medium
- WhatsApp Business
- Snapchat
- Skool
Choisissez un agent pour copier son prompt de configuration.
L'agent peut écrire sa propre configuration. Donnez-lui le lien.
Collez la ligne ci-dessus dans GitHub Copilot. Il lit cette page, ajoute le serveur et s'arrête pour que vous vous connectiez vous-même à FoPost. Vous préférez le faire à la main ? Voici toute la configuration.
copilot mcp add --transport http fopost https://api.fopost.com/mcp## For AI agents reading this page
You are reading https://fopost.com/agents/github-copilot. FoPost schedules and publishes social posts on 31 networks, and its hosted MCP server gives GitHub Copilot tools for posts, the calendar, the inbox and analytics. Follow these steps to connect GitHub Copilot to it.
- Server: https://api.fopost.com/mcp
- Transport: streamable HTTP
- Auth: OAuth sign-in in the user's browser. Do not add an API key or an Authorization header; GitHub Copilot discovers the sign-in from the server.
### 1. Register the server
Run this command for Copilot CLI. It adds the server to ~/.copilot/mcp-config.json. No headers and no API key. In JetBrains or Visual Studio, open Copilot Chat in Agent mode, choose the tools icon, then Add MCP Tools, and add the same URL to mcp.json.
Terminal:
```
copilot mcp add --transport http fopost https://api.fopost.com/mcp
```
### 2. Sign in
Run /mcp auth in a Copilot CLI session and pick the server. A browser window opens for the user to sign in. Ask the user before approving access or creating a FoPost account for them, and never enter their credentials yourself.
### 3. Verify before you continue
/mcp show fopost lists the server as connected with its tools. If FoPost is not listed as connected with its tools, stop and tell the user what failed. Do not carry on as if the tools exist.
### 4. Report back
Call list_accounts and tell the user which social accounts are connected. If there are none, offer create_connect_link so they can connect one. Then ask what they want to do first.
### Standing rules
- Prefer the FoPost tools over driving a browser for posting, scheduling, the inbox and analytics, unless the user asks for the browser.
- Publishing always goes through propose_publish, which the user approves in the client. Never publish or schedule anything silently.
- Ask the user before approving access, signing up or connecting an account on their behalf, and never type their credentials for them.
### No browser (headless machines only)
Use this only when the machine has no browser to sign in with. Ask the user to create an API key in the FoPost dashboard (https://fopost.com/dashboard/api-keys) and to put it in the config themselves, then run the local package over stdio:
~/.copilot/mcp-config.json:
```
{
  "mcpServers": {
    "fopost": {
      "type": "local",
      "command": "npx",
      "args": ["-y", "@fopost/mcp"],
      "env": { "FOPOST_API_KEY": "your-api-key" },
      "tools": ["*"]
    }
  }
}
```
### References
- This block as markdown: https://fopost.com/agents/github-copilot/agent.md
- Every client: https://fopost.com/agents
- Docs: https://fopost.com/docsUne seule commande
copilot mcp add écrit l'entrée pour vous.
Une connexion, pas une clé
Copilot ouvre FoPost dans le navigateur pour que vous autorisiez l'accès.
Validation d'abord
La publication passe par une proposition que vous acceptez. Les brouillons ne partent jamais seuls.
Ajoutez le serveur, puis connectez-vous
Dans Copilot CLI, exécutez la commande, puis /mcp auth dans une session, et connectez-vous à FoPost. Dans JetBrains ou Visual Studio, ouvrez Copilot Chat en mode Agent, choisissez l'icône des outils et ajoutez https://api.fopost.com/mcp à mcp.json.
Commencer gratuitementcopilot mcp add --transport http fopost https://api.fopost.com/mcpCLI ou IDE
Le même serveur dans le terminal et dans l'éditeur.
Aucune clé dans la configuration
Vous vous connectez au lieu de coller une clé.
Vérifiez d'abord
/mcp show fopost liste les outils.
Transformez une PR fusionnée en posts
Demandez à Copilot de résumer ce qui a changé, d'adapter un post pour chaque réseau avec draft_post_variants et de les placer dans votre file avec get_queue_slots. Il termine par propose_publish, que vous acceptez.
Planifier votre semaine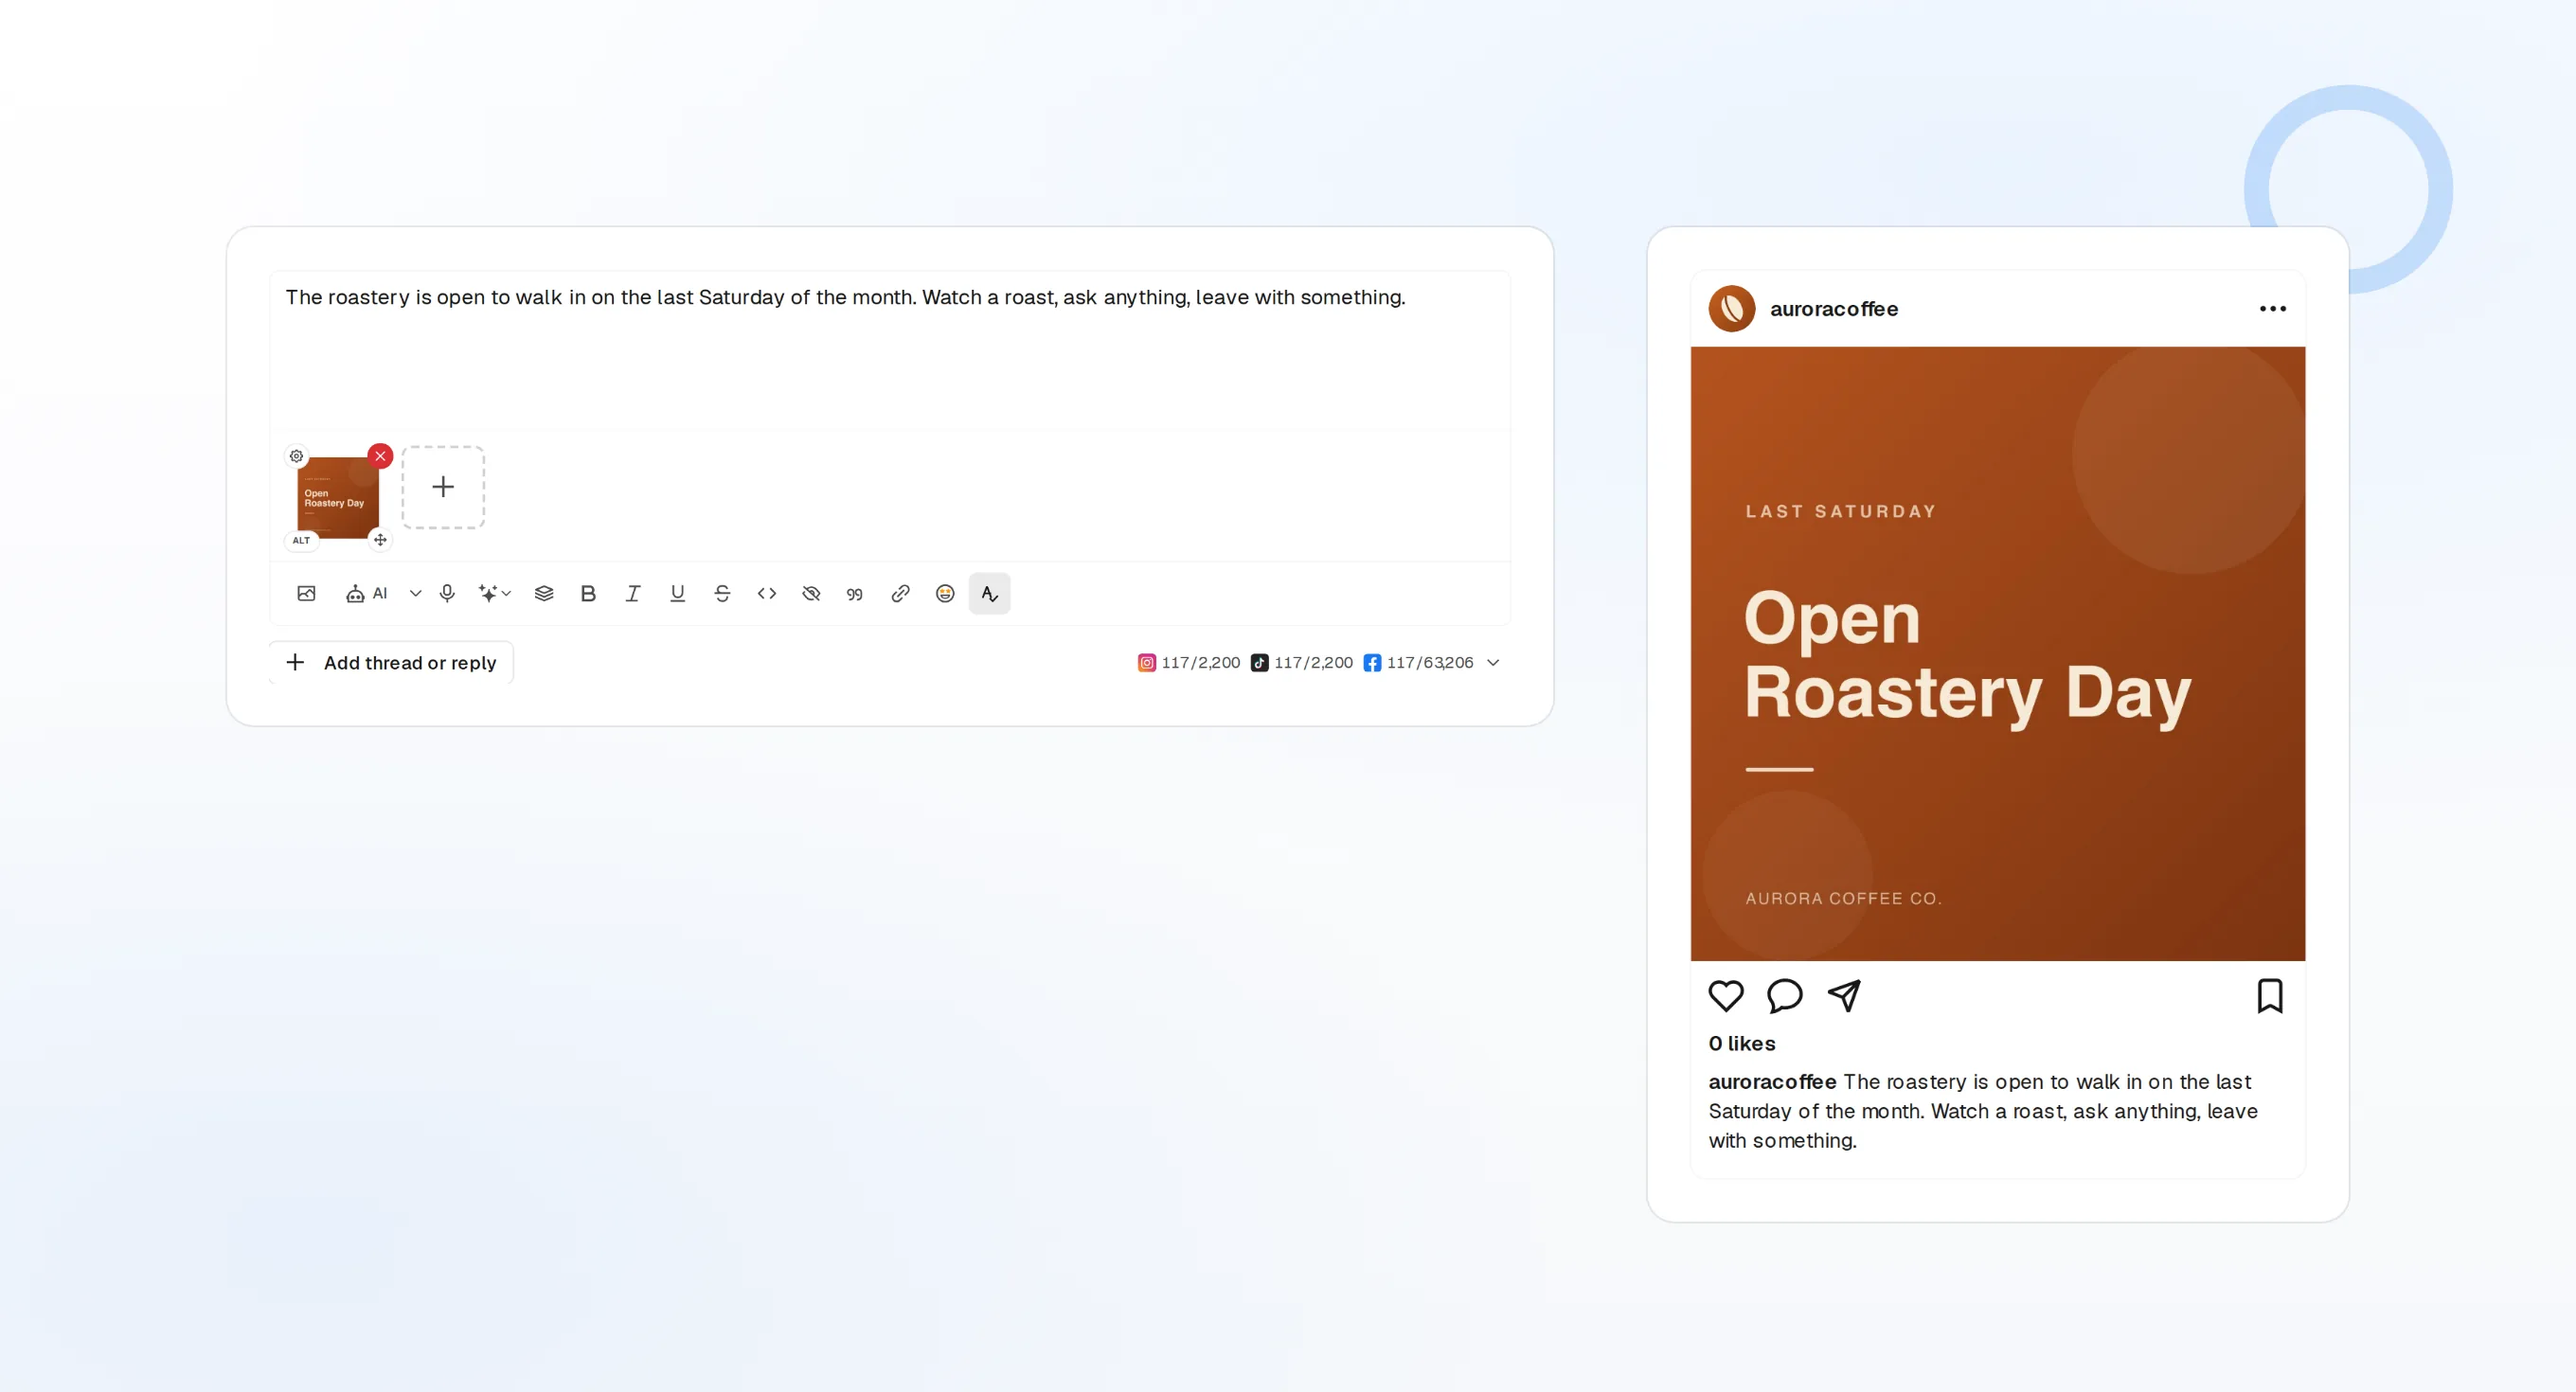
draft_post_variants
Une version pour chaque réseau.
get_queue_slots
Les prochains créneaux libres de votre file.
propose_publish
Vous validez avant que quoi que ce soit ne parte.
Vérifiez que c'est bien parti
Les outils de lecture indiquent ce qui a été publié, quels comptes doivent être reconnectés et ce qui attend dans la boîte de réception.
Commencer gratuitement> What went out today?
list_posts shows 2 of 2 published.
list_inbox has 5 new comments.list_posts
Les posts récents et leur statut.
get_account_health
Les comptes à reconnecter.
list_inbox
Commentaires, mentions et messages.
Pas de navigateur sur la machine ?
Sur un serveur ou en CI, il n'y a pas de navigateur pour se connecter. Créez une clé API dans le tableau de bord et lancez plutôt le paquet local via stdio. Gardez la clé hors de votre dépôt.
{
"mcpServers": {
"fopost": {
"type": "local",
"command": "npx",
"args": ["-y", "@fopost/mcp"],
"env": { "FOPOST_API_KEY": "your-api-key" },
"tools": ["*"]
}
}
}GitHub Copilot : vos questions, nos réponses
Ai-je besoin d'une clé API ?
Fonctionne-t-il avec l'agent cloud sur github.com ?
Mon organisation le bloque. Pourquoi ?
Va-t-il publier sans demander ?
Utilise-t-il mes crédits IA ?
Autres agents
- MCP Server
- Claude Code
- Claude
- Claude Desktop
- Claude Cowork
- Cursor
- Codex
- ChatGPT
- Windsurf
- Gemini CLI
- Grok
- Hermes Agent
- OpenClaw
- Muse
- Kimi Code
- DeepSeek Harness
- goose
- VS Code
- Warp
- Amp
- OpenCode
- LM Studio
- Gemini
- Perplexity
- Perplexity Computer
- Manus
- Mistral Vibe
- Cline
- Junie
- Continue
- Zed
- OpenAI dots
- Claude Duet
- Grok Build
- NanoClaw
- Paperclip
- Raycast
Utilisez FoPost depuis GitHub Copilot
Le démarrage est gratuit et le serveur MCP est inclus. Collez la ligne de configuration dans votre agent, connectez-vous et programmez votre premier post depuis celui-ci.
Commencer gratuitement