适用于 GitHub Copilot 的 FoPost
GitHub Copilot 可以在 CLI 和 IDE 中连接远程 MCP 服务器。通过 URL 添加 FoPost 并登录一次,Copilot 就能为它刚刚发布的代码撰写上线帖子。
粘贴到 GitHub Copilot 中
按照 fopost.com/agents/github-copilot 设置 FoPost- 托管 MCP 服务器
- 31 个网络
- 无需 API 密钥
工作原理
GitHub Copilot 起草。你来批准。然后发布。


你批准已批准
默认开启
- X (Twitter)
- TikTok
- YouTube
- Threads
- Bluesky
- Discord
- Mastodon
- Telegram
- Slack
- DEV.to
- Substack
- Tumblr
- Hashnode
- Dribbble
- Kick
- Twitch
- Nostr
- Lemmy
- MeWe
- Whop
- Listmonk
- Google Business Profile
- Medium
- WhatsApp Business
- Snapchat
- Skool
选择一个智能体,复制其设置提示词。
设置
智能体可以自己写配置。把链接给它就行。
把上面这行粘贴到 GitHub Copilot 中。它会读取此页面、添加服务器,然后暂停,让你亲自登录 FoPost。想手动配置?完整配置就在这里。
Terminal
copilot mcp add --transport http fopost https://api.fopost.com/mcp给 AI 智能体的说明纯 Markdown 版本
## For AI agents reading this page

You are reading https://fopost.com/agents/github-copilot. FoPost schedules and publishes social posts on 31 networks, and its hosted MCP server gives GitHub Copilot tools for posts, the calendar, the inbox and analytics. Follow these steps to connect GitHub Copilot to it.

- Server: https://api.fopost.com/mcp
- Transport: streamable HTTP
- Auth: OAuth sign-in in the user's browser. Do not add an API key or an Authorization header; GitHub Copilot discovers the sign-in from the server.

### 1. Register the server

Run this command for Copilot CLI. It adds the server to ~/.copilot/mcp-config.json. No headers and no API key. In JetBrains or Visual Studio, open Copilot Chat in Agent mode, choose the tools icon, then Add MCP Tools, and add the same URL to mcp.json.

Terminal:

```
copilot mcp add --transport http fopost https://api.fopost.com/mcp
```

### 2. Sign in

Run /mcp auth in a Copilot CLI session and pick the server. A browser window opens for the user to sign in. Ask the user before approving access or creating a FoPost account for them, and never enter their credentials yourself.

### 3. Verify before you continue

/mcp show fopost lists the server as connected with its tools. If FoPost is not listed as connected with its tools, stop and tell the user what failed. Do not carry on as if the tools exist.

### 4. Report back

Call list_accounts and tell the user which social accounts are connected. If there are none, offer create_connect_link so they can connect one. Then ask what they want to do first.

### Standing rules

- Prefer the FoPost tools over driving a browser for posting, scheduling, the inbox and analytics, unless the user asks for the browser.
- Publishing always goes through propose_publish, which the user approves in the client. Never publish or schedule anything silently.
- Ask the user before approving access, signing up or connecting an account on their behalf, and never type their credentials for them.

### No browser (headless machines only)

Use this only when the machine has no browser to sign in with. Ask the user to create an API key in the FoPost dashboard (https://fopost.com/dashboard/api-keys) and to put it in the config themselves, then run the local package over stdio:

~/.copilot/mcp-config.json:

```
{
  "mcpServers": {
    "fopost": {
      "type": "local",
      "command": "npx",
      "args": ["-y", "@fopost/mcp"],
      "env": { "FOPOST_API_KEY": "your-api-key" },
      "tools": ["*"]
    }
  }
}
```

### References

- This block as markdown: https://fopost.com/agents/github-copilot/agent.md
- Every client: https://fopost.com/agents
- Docs: https://fopost.com/docs
一条命令
copilot mcp add 会帮你写好条目。
登录,而不是密钥
Copilot 会在浏览器中打开 FoPost,让你批准访问。
先审批
发布要经过你接受的提案。草稿绝不会自行发出。
设置
添加服务器,然后登录
在 Copilot CLI 中运行这条命令,然后在会话中输入 /mcp auth 并登录 FoPost。在 JetBrains 或 Visual Studio 中,以 Agent 模式打开 Copilot Chat,选择工具图标,把 https://api.fopost.com/mcp 添加到 mcp.json。
免费开始终端
copilot mcp add --transport http fopost https://api.fopost.com/mcpCLI 或 IDE
终端和编辑器里用的是同一个服务器。
配置中没有密钥
你只需登录,不用粘贴密钥。
先验证
/mcp show fopost 会列出所有工具。
发布
把一个已合并的 PR 变成帖子
让 Copilot 总结改动内容,用 draft_post_variants 为每个网络调整帖子,再用 get_queue_slots 排期。最后它会给出 propose_publish,由你确认。
规划你的一周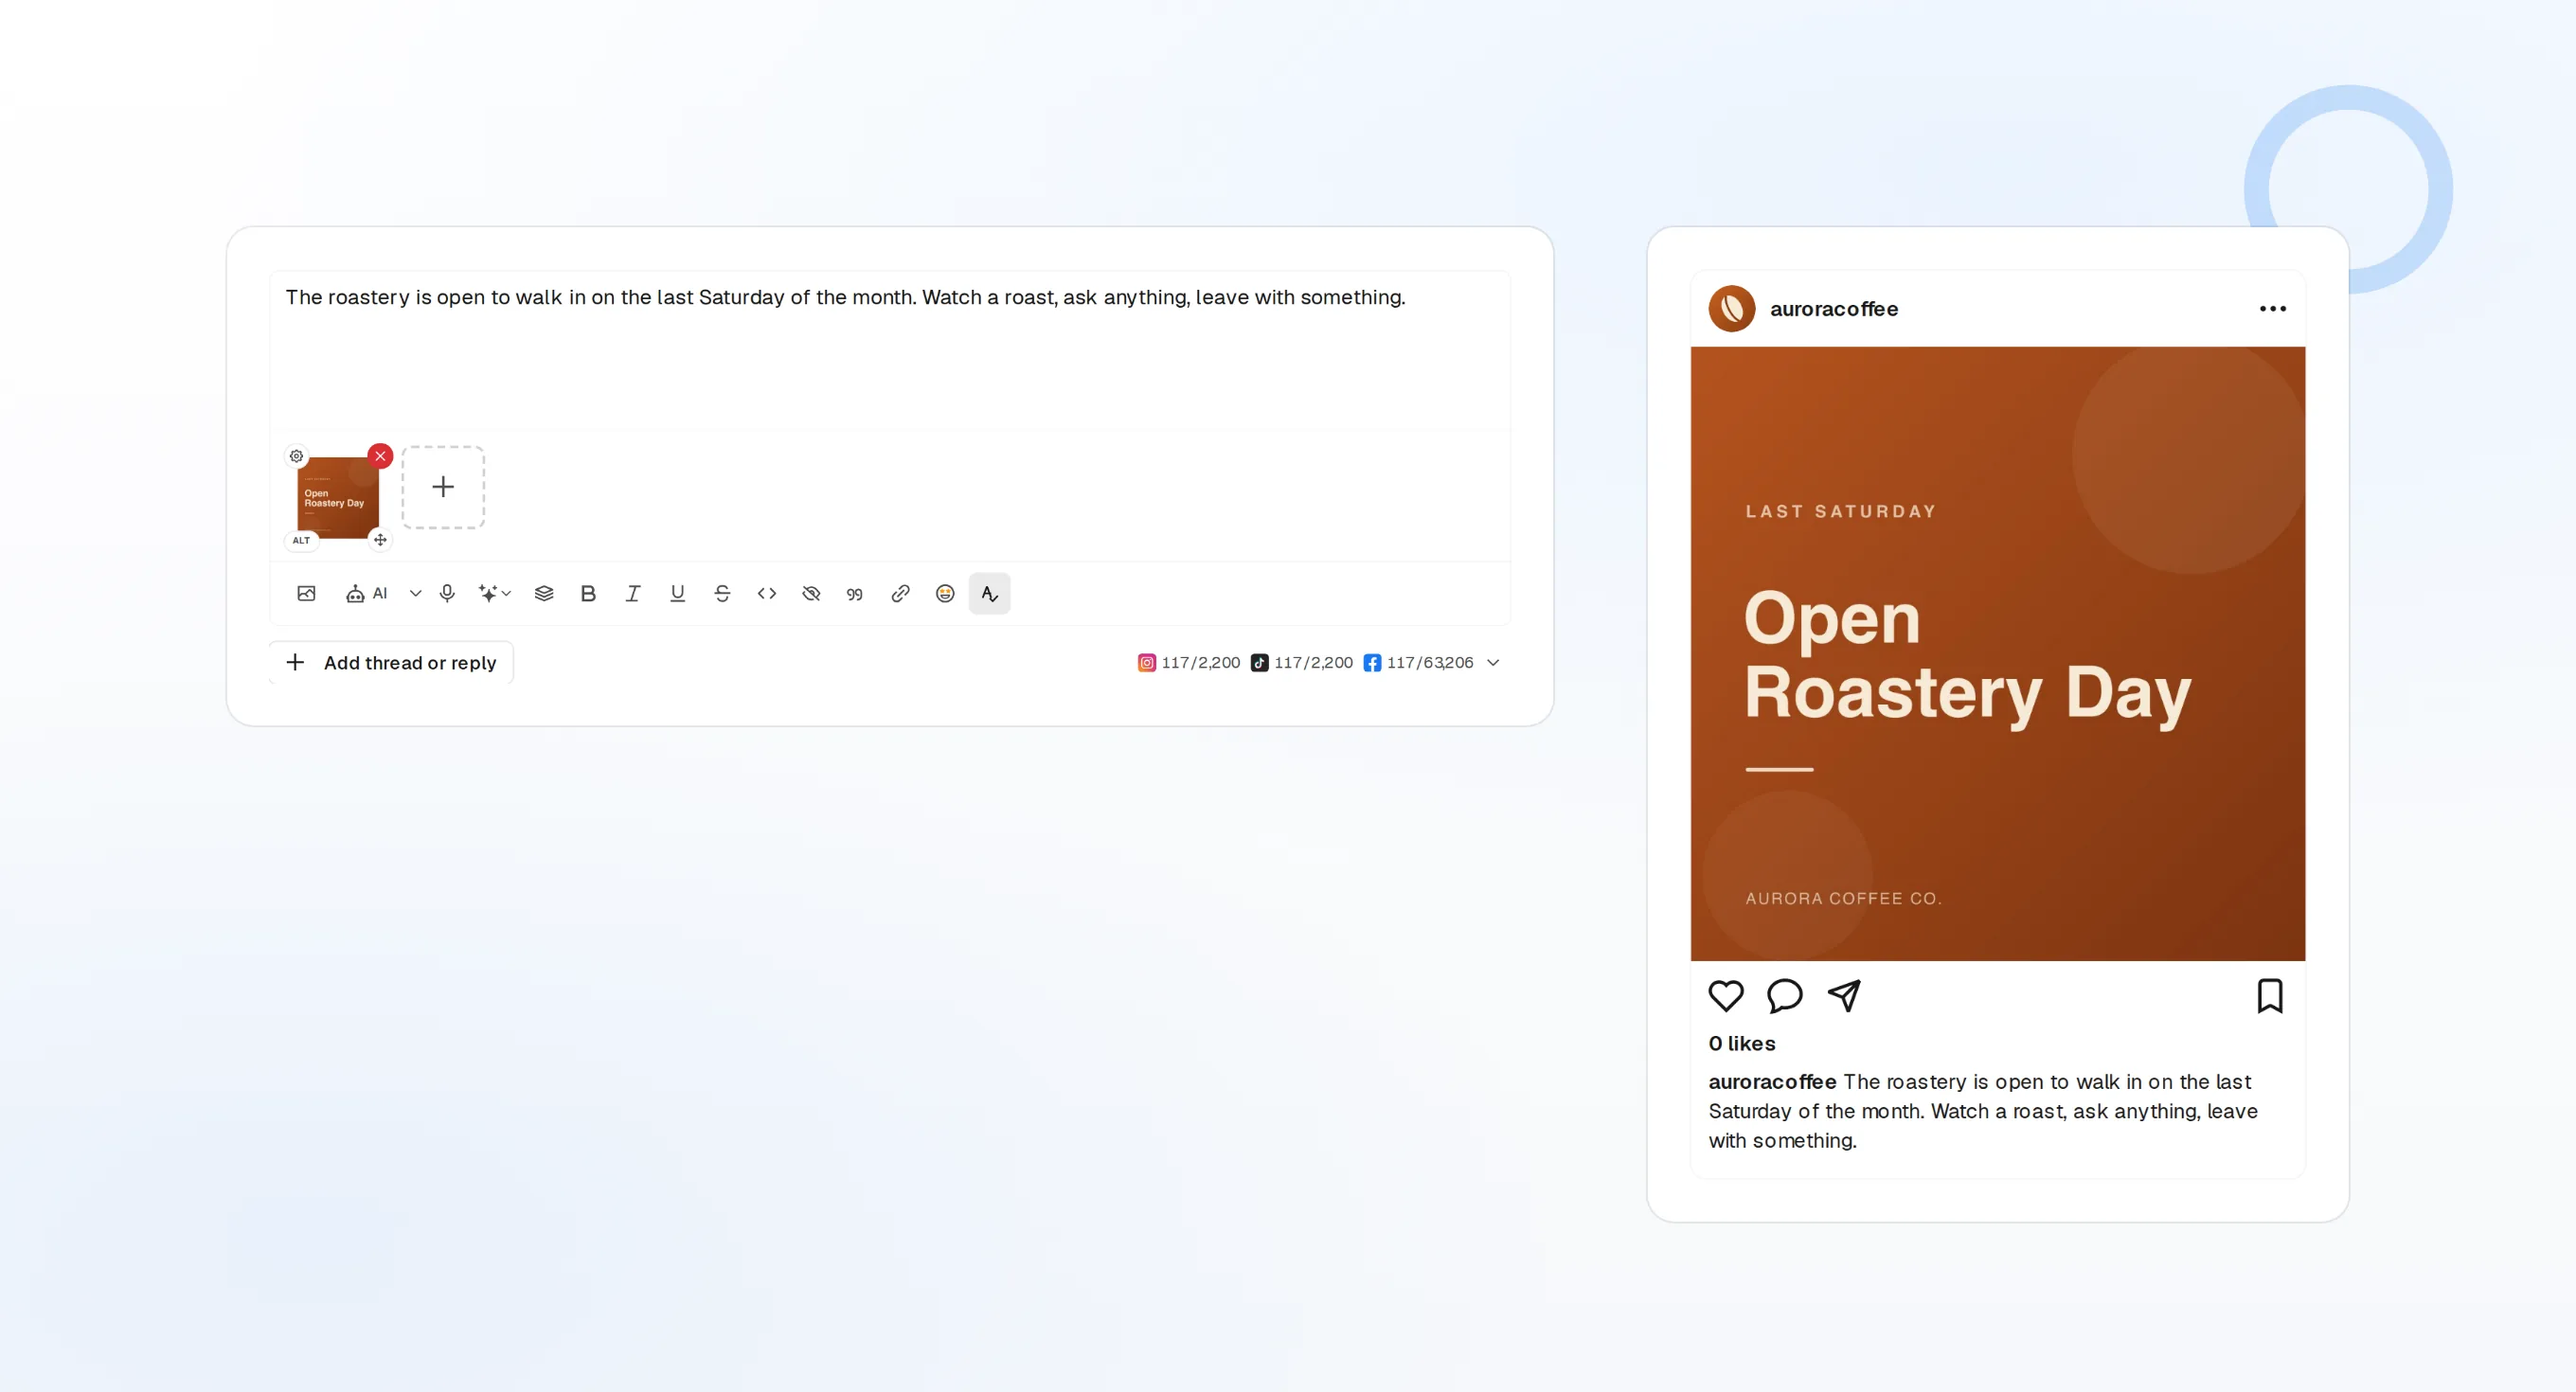
draft_post_variants
每个网络各一版。
get_queue_slots
队列中接下来的空闲时间。
propose_publish
任何内容发出前都需要你批准。
会话
> What went out today?

list_posts shows 2 of 2 published.
list_inbox has 5 new comments.
list_posts
最近的帖子及其状态。
get_account_health
哪些账户需要重新连接。
list_inbox
评论、提及和私信。
无头环境
机器上没有浏览器?
服务器或 CI 中没有可用于登录的浏览器。请在控制台中创建 API 密钥,改为通过 stdio 运行本地包。不要把密钥放进代码仓库。
~/.copilot/mcp-config.json
{
  "mcpServers": {
    "fopost": {
      "type": "local",
      "command": "npx",
      "args": ["-y", "@fopost/mcp"],
      "env": { "FOPOST_API_KEY": "your-api-key" },
      "tools": ["*"]
    }
  }
}
关于 GitHub Copilot 的常见问题解答
需要 API 密钥吗?
不需要。Copilot 会通过浏览器让你登录 FoPost。
github.com 上的云端智能体能用吗?
云端智能体目前还不能登录远程服务器。在那里请改用 API 密钥请求头,并把密钥保存为 COPILOT_MCP_ 开头的 secret。
我的组织禁止使用它,为什么?
在 Business 和 Enterprise 套餐中,需要管理员在 Copilot 中允许使用 MCP 服务器。
它会不经询问就发布吗?
不会。在发送任何内容之前,发布都要经过你批准的提案。
它会消耗我的 AI 额度吗?
只有用 AI 写作的 FoPost 工具才会消耗。列出内容和排期都不会。
其他智能体
- MCP Server
- Claude Code
- Claude
- Claude Desktop
- Claude Cowork
- Cursor
- Codex
- ChatGPT
- Windsurf
- Gemini CLI
- Grok
- Hermes Agent
- OpenClaw
- Muse
- Kimi Code
- DeepSeek Harness
- goose
- VS Code
- Warp
- Amp
- OpenCode
- LM Studio
- Gemini
- Perplexity
- Perplexity Computer
- Manus
- Mistral Vibe
- Cline
- Junie
- Continue
- Zed
- OpenAI dots
- Claude Duet
- Grok Build
- NanoClaw
- Paperclip
- Raycast