Perplexity Computer için FoPost
Perplexity Computer, bağlayıcılarınızla uzun ve çok adımlı görevler yürütür. FoPost hizmetini bir kez ekleyin; bir konuyu araştırabilir, gönderileri yazabilir ve planlayabilir, ardından onayınızı bekler.
Bunu Perplexity Computer içine yapıştırın
FoPost kurulumunu fopost.com/agents/perplexity-computer adresinden yap- Barındırılan MCP sunucusu
- 31 ağ
- API anahtarı yok
Perplexity Computer taslağı hazırlar. Siz onaylarsınız. Sonra yayına çıkar.


Varsayılan: açık
- X (Twitter)
- TikTok
- YouTube
- Threads
- Bluesky
- Discord
- Mastodon
- Telegram
- Slack
- DEV.to
- Substack
- Tumblr
- Hashnode
- Dribbble
- Kick
- Twitch
- Nostr
- Lemmy
- MeWe
- Whop
- Listmonk
- Google Business Profile
- Medium
- WhatsApp Business
- Snapchat
- Skool
Kurulum promptunu kopyalamak için bir ajan seçin.
Ajan kendi yapılandırmasını yazabilir. Bağlantıyı ona verin.
Yukarıdaki satırı Perplexity Computer içine yapıştırın. Bu sayfayı okur, sunucuyu ekler ve FoPost oturumunu kendiniz açabilmeniz için durur. Elle yapmayı mı tercih edersiniz? Yapılandırmanın tamamı bu.
Name:           FoPost
MCP server URL: https://api.fopost.com/mcp
Authentication: OAuth
Transport: Streamable HTTP## For AI agents reading this page You are reading https://fopost.com/agents/perplexity-computer. FoPost schedules and publishes social posts on 31 networks, and its hosted MCP server gives Perplexity Computer tools for posts, the calendar, the inbox and analytics. Follow these steps to connect Perplexity Computer to it. - Server: https://api.fopost.com/mcp - Transport: streamable HTTP - Auth: OAuth sign-in in the user's browser. Do not add an API key or an Authorization header; Perplexity Computer discovers the sign-in from the server. ### 1. Register the server You cannot add the connector yourself; ask the user to. In Perplexity, open Plugins (or Customize > Connectors), choose Add custom, then Add MCP connector, then Remote. Enter the name FoPost and the URL https://api.fopost.com/mcp; under Advanced set Authentication to OAuth and Transport to Streamable HTTP. Accept the notice and click Add. Custom connectors need a Pro, Max or Enterprise plan; in an organization an admin must allow them. ### 2. Sign in The user clicks the FoPost connector card and signs in to FoPost in the browser. Ask the user before approving access or creating a FoPost account for them, and never enter their credentials yourself. ### 3. Verify before you continue In a Computer task, asking it to use FoPost to list connected accounts returns data. If FoPost is not listed as connected with its tools, stop and tell the user what failed. Do not carry on as if the tools exist. ### 4. Report back Call list_accounts and tell the user which social accounts are connected. If there are none, offer create_connect_link so they can connect one. Then ask what they want to do first. ### Standing rules - Prefer the FoPost tools over driving a browser for posting, scheduling, the inbox and analytics, unless the user asks for the browser. - Publishing always goes through propose_publish, which the user approves in the client. Never publish or schedule anything silently. - Ask the user before approving access, signing up or connecting an account on their behalf, and never type their credentials for them. ### References - This block as markdown: https://fopost.com/agents/perplexity-computer/agent.md - Every client: https://fopost.com/agents - Docs: https://fopost.com/docs
Tek bağlayıcı
Plugins'te ekleyin, Computer da kullanabilsin.
Anahtar değil, oturum açma
Erişimi FoPost üzerinde bir kez onaylarsınız.
Önce onay
Yayınlama, kabul ettiğiniz bir öneriden geçer. Taslaklar asla kendiliğinden yayınlanmaz.
Bağlayıcıyı bir kez ekleyin
Plugins'i açın, Add custom'ı, ardından Add MCP connector'ı, ardından Remote'u seçin. https://api.fopost.com/mcp girin ve Advanced altında OAuth ile Streamable HTTP'yi seçin. Yeni karta tıklayın ve FoPost hesabınızla oturum açın. Computer onu her görevde kullanır.
Ücretsiz BaşlaName: FoPost
MCP server URL: https://api.fopost.com/mcp
Authentication: OAuth
Transport: Streamable HTTPPro ve üzeri
Computer ve özel bağlayıcılar Pro veya daha üst bir plan gerektirir.
Yapıştırılacak anahtar yok
Bunun yerine oturum açarsınız.
Önce kontrol edin
Bağlı hesaplarınızı listeleyen bir görev başlatın.
Tek görevde bir haftalık gönderi
Computer'a bir brif verin: konuyu araştırsın, kaynakları repurpose_url ile gönderilere dönüştürsün, her birini draft_post_variants ile şekillendirsin ve get_queue_slots ile zaman dilimlerine yerleştirsin. Sonunda kabul ettiğiniz bir propose_publish gelir.
Haftanı Planla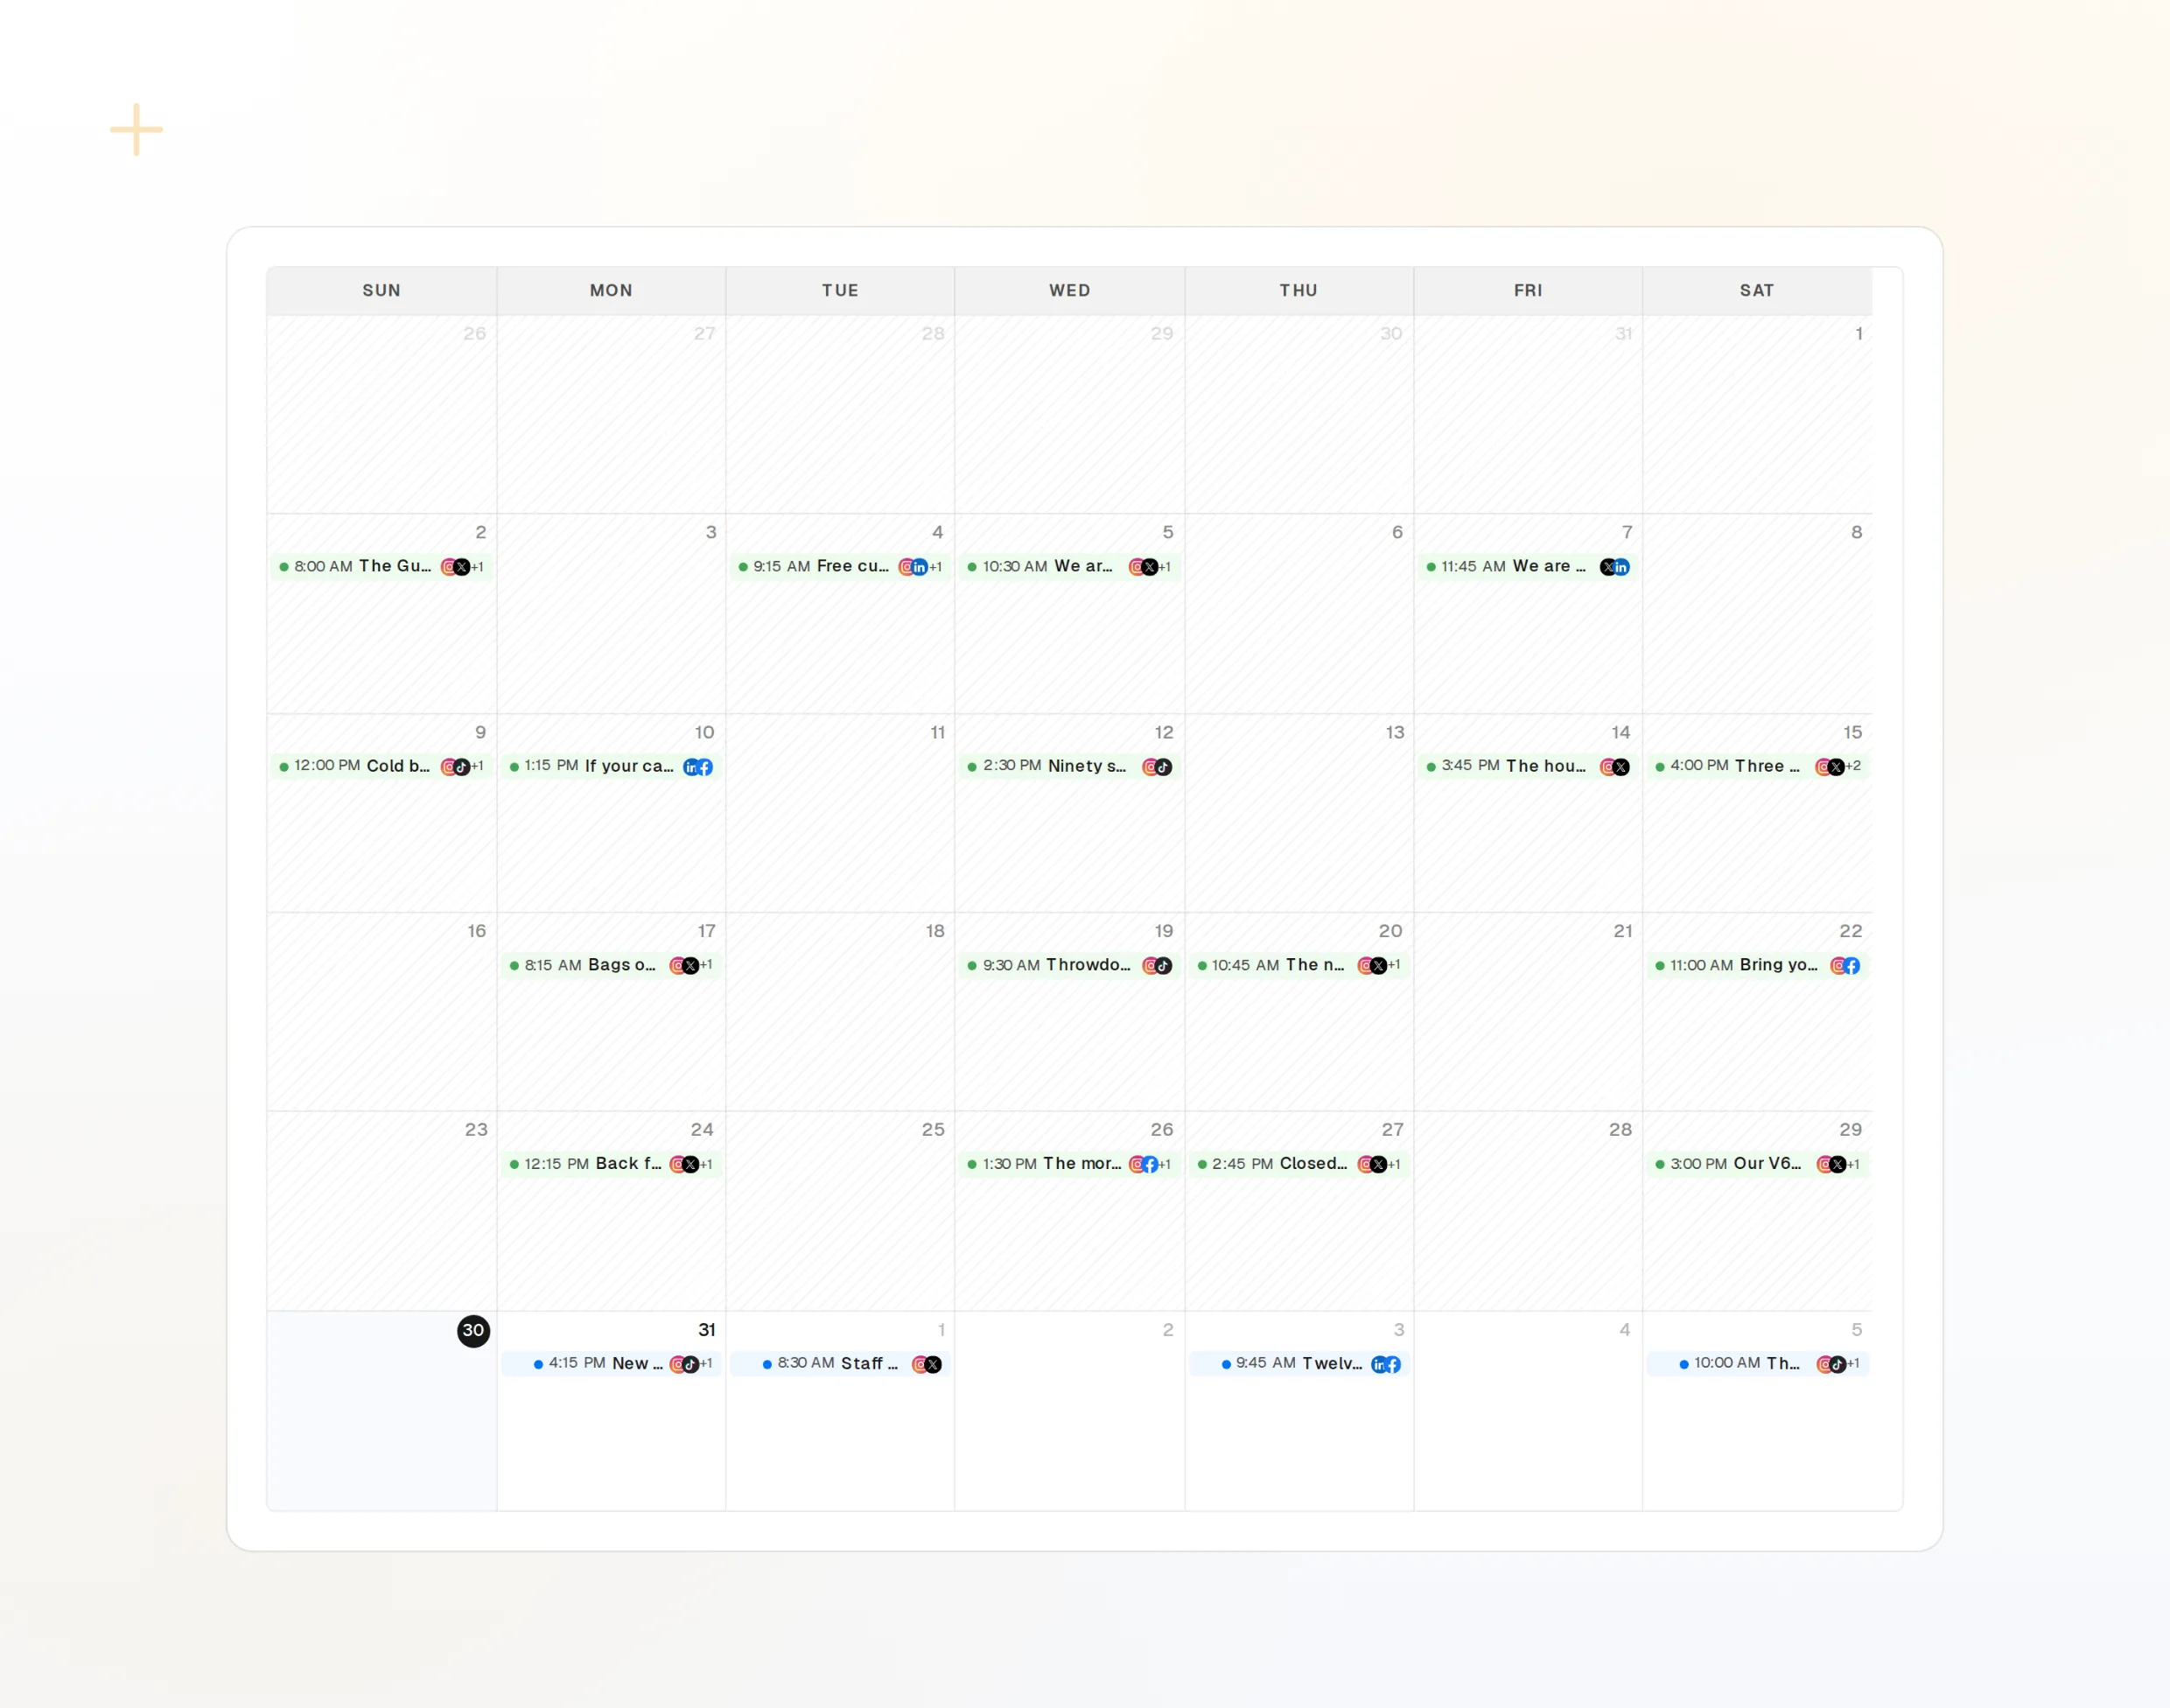
repurpose_url
Bir makale bir dizi gönderiye dönüşür.
draft_post_variants
Her ağ için bir sürüm.
propose_publish
Herhangi bir şey yayına çıkmadan önce siz onaylarsınız.
Sonunda bir rapor alın
Computer'dan bir özetle bitirmesini isteyin: neyin yayınlandığı, hangi hesapların yeniden bağlanması gerektiği ve gelen kutusunda neyin beklediği.
Ücretsiz Başla> Using FoPost, report on this week.
list_posts shows 12 of 12 published.
get_account_health: all accounts healthy.list_posts
Son gönderiler ve durumları.
get_account_health
Hangi hesapların yeniden bağlanması gerektiği.
list_inbox
Yorumlar, bahsetmeler ve mesajlar.
Perplexity Computer hakkında sorular ve yanıtlar
API anahtarına ihtiyacım var mı?
Kurulum Perplexity'den farklı mı?
Sormadan paylaşım yapar mı?
Bir zamanlamaya göre çalışabilir mi?
Yapay zeka kredilerimi kullanır mı?
Diğer ajanlar
- MCP Server
- Claude Code
- Claude
- Claude Desktop
- Claude Cowork
- Cursor
- Codex
- ChatGPT
- Windsurf
- Gemini CLI
- Grok
- Hermes Agent
- OpenClaw
- Muse
- Kimi Code
- DeepSeek Harness
- goose
- VS Code
- Warp
- Amp
- OpenCode
- LM Studio
- Gemini
- Perplexity
- Manus
- Mistral Vibe
- GitHub Copilot
- Cline
- Junie
- Continue
- Zed
- OpenAI dots
- Claude Duet
- Grok Build
- NanoClaw
- Paperclip
- Raycast
FoPost'u Perplexity Computer üzerinden çalıştırın
Başlamak ücretsiz ve MCP sunucusu dahil. Kurulum satırını ajanınıza yapıştırın, oturum açın ve ilk gönderinizi oradan planlayın.
Ücretsiz Başla