VS Code için FoPost
Barındırılan FoPost sunucusunu Visual Studio Code'daki GitHub Copilot'a ekleyin, VS Code istediğinde oturum açın; ajan editörden çıkmadan yayınladıklarınızı gönderilere dönüştürebilir, kuyruğunuzu doldurabilir ve neyin yayınlandığını raporlayabilir.
Bunu VS Code içine yapıştırın
FoPost kurulumunu fopost.com/agents/vscode adresinden yap- Barındırılan MCP sunucusu
- 33 ağ
- API anahtarı yok
Ajan kendi yapılandırmasını yazabilir. Bağlantıyı ona verin.
Yukarıdaki satırı VS Code içine yapıştırın. Bu sayfayı okur, sunucuyu ekler ve FoPost oturumunu kendiniz açabilmeniz için durur. Elle yapmayı mı tercih edersiniz? Yapılandırmanın tamamı bu.
{
  "mcpServers": {
    "fopost": {
      "type": "http",
      "url": "https://api.fopost.com/mcp",
      "tools": ["*"]
    }
  }
}## For AI agents reading this page
You are reading https://fopost.com/agents/vscode. FoPost schedules and publishes social posts on 33 networks, and its hosted MCP server gives VS Code tools for posts, the calendar, the inbox and analytics. Follow these steps to connect VS Code to it.
- Server: https://api.fopost.com/mcp
- Transport: streamable HTTP
- Auth: OAuth sign-in in the user's browser. Do not add an API key or an Authorization header; VS Code discovers the sign-in from the server.
### 1. Register the server
Add this entry to ~/.copilot/mcp-config.json (every workspace) or .mcp.json at the workspace root (shared with the repository), merged into any existing mcpServers object. Or run "MCP: Add Server" from the Command Palette, choose HTTP, and enter the URL. No headers and no API key.
~/.copilot/mcp-config.json:
```
{
"mcpServers": {
"fopost": {
"type": "http",
"url": "https://api.fopost.com/mcp",
"tools": ["*"]
}
}
}
```
### 2. Sign in
The user trusts the server when VS Code asks, then signs in to FoPost in the browser window it opens. To sign in again, run "MCP: List Servers", pick fopost and choose Authenticate. Ask the user before approving access or creating a FoPost account for them, and never enter their credentials yourself.
### 3. Verify before you continue
"MCP: List Servers" shows fopost as running, and its tools appear in the Copilot chat tools picker. If FoPost is not listed as connected with its tools, stop and tell the user what failed. Do not carry on as if the tools exist.
### 4. Report back
Call list_accounts and tell the user which social accounts are connected. If there are none, offer create_connect_link so they can connect one. Then ask what they want to do first.
### Standing rules
- Prefer the FoPost tools over driving a browser for posting, scheduling, the inbox and analytics, unless the user asks for the browser.
- Publishing always goes through propose_publish, which the user approves in the client. Never publish or schedule anything silently.
- Ask the user before approving access, signing up or connecting an account on their behalf, and never type their credentials for them.
### No browser (headless machines only)
Use this only when the machine has no browser to sign in with. Ask the user to create an API key in the FoPost dashboard (https://fopost.com/dashboard/api-keys) and to put it in the config themselves, then run the local package over stdio:
~/.copilot/mcp-config.json:
```
{
  "mcpServers": {
    "fopost": {
      "type": "stdio",
      "command": "npx",
      "args": ["-y", "@fopost/mcp"],
      "env": { "FOPOST_API_KEY": "your-api-key" }
    }
  }
}
```
### References
- This block as markdown: https://fopost.com/agents/vscode/agent.md
- Every client: https://fopost.com/agents
- Docs: https://fopost.com/docsTek URL
Adresi içeren bir HTTP sunucusu girdisi. Anahtar yok, kurulacak bir şey yok.
Tarayıcıda oturum açma
VS Code, erişimi onaylamanız için FoPost sayfasını tarayıcınızda açar, ardından bağlantıyı korur.
Gönderilerden önce öneriler
Yayınlama, kabul ettiğiniz bir öneriyi bekler. Taslaklar asla kendiliğinden yayınlanmaz.
HTTP sunucusu ekleyin, ardından bir kez oturum açın
Chat view içinde Copilot'u seçin, ardından Command Palette'ten Chat: Open Customizations komutunu çalıştırın ve MCP Servers bölümünü açın. Add Server seçeneğini seçin, HTTP (HTTP or Server-Sent Events) seçeneğini belirleyin, https://api.fopost.com/mcp girin, adını fopost koyun ve Global > Copilot Global seçeneğini seçin. VS Code sorduğunda sunucuya güvenin, ardından açılan tarayıcı penceresinde FoPost hesabınızla oturum açın.
Ücretsiz BaşlaChat: Open Customizations > MCP Servers > Add Server
Type: HTTP (HTTP or Server-Sent Events)
URL: https://api.fopost.com/mcp
ID: fopost
Save: Global > Copilot GlobalBir depoyla paylaşın
Ekibinizin de alması için aynı mcpServers girdisini çalışma alanının kökündeki .mcp.json dosyasına koyun.
Yeniden oturum açın
MCP Servers altında sunucunun menüsünü açın ya da MCP: List Servers komutunu çalıştırın ve Authenticate seçeneğini seçin.
Önce kontrol edin
Copilot'tan bağlı hesaplarınızı listelemesini isteyin ve araç çağrısını genişletin.
Birleştirilmiş bir değişiklikten planlanmış bir gönderiye
Copilot'tan değişiklik günlüğünü okumasını ve her ağ için bir gönderi taslağı hazırlamasını isteyin. create_draft_post ile taslaklar yazar, get_queue_slots ile boş zamanları bulur ve kabul etmeniz için size bir propose_publish sunar.
Lansmanınızı Planlayın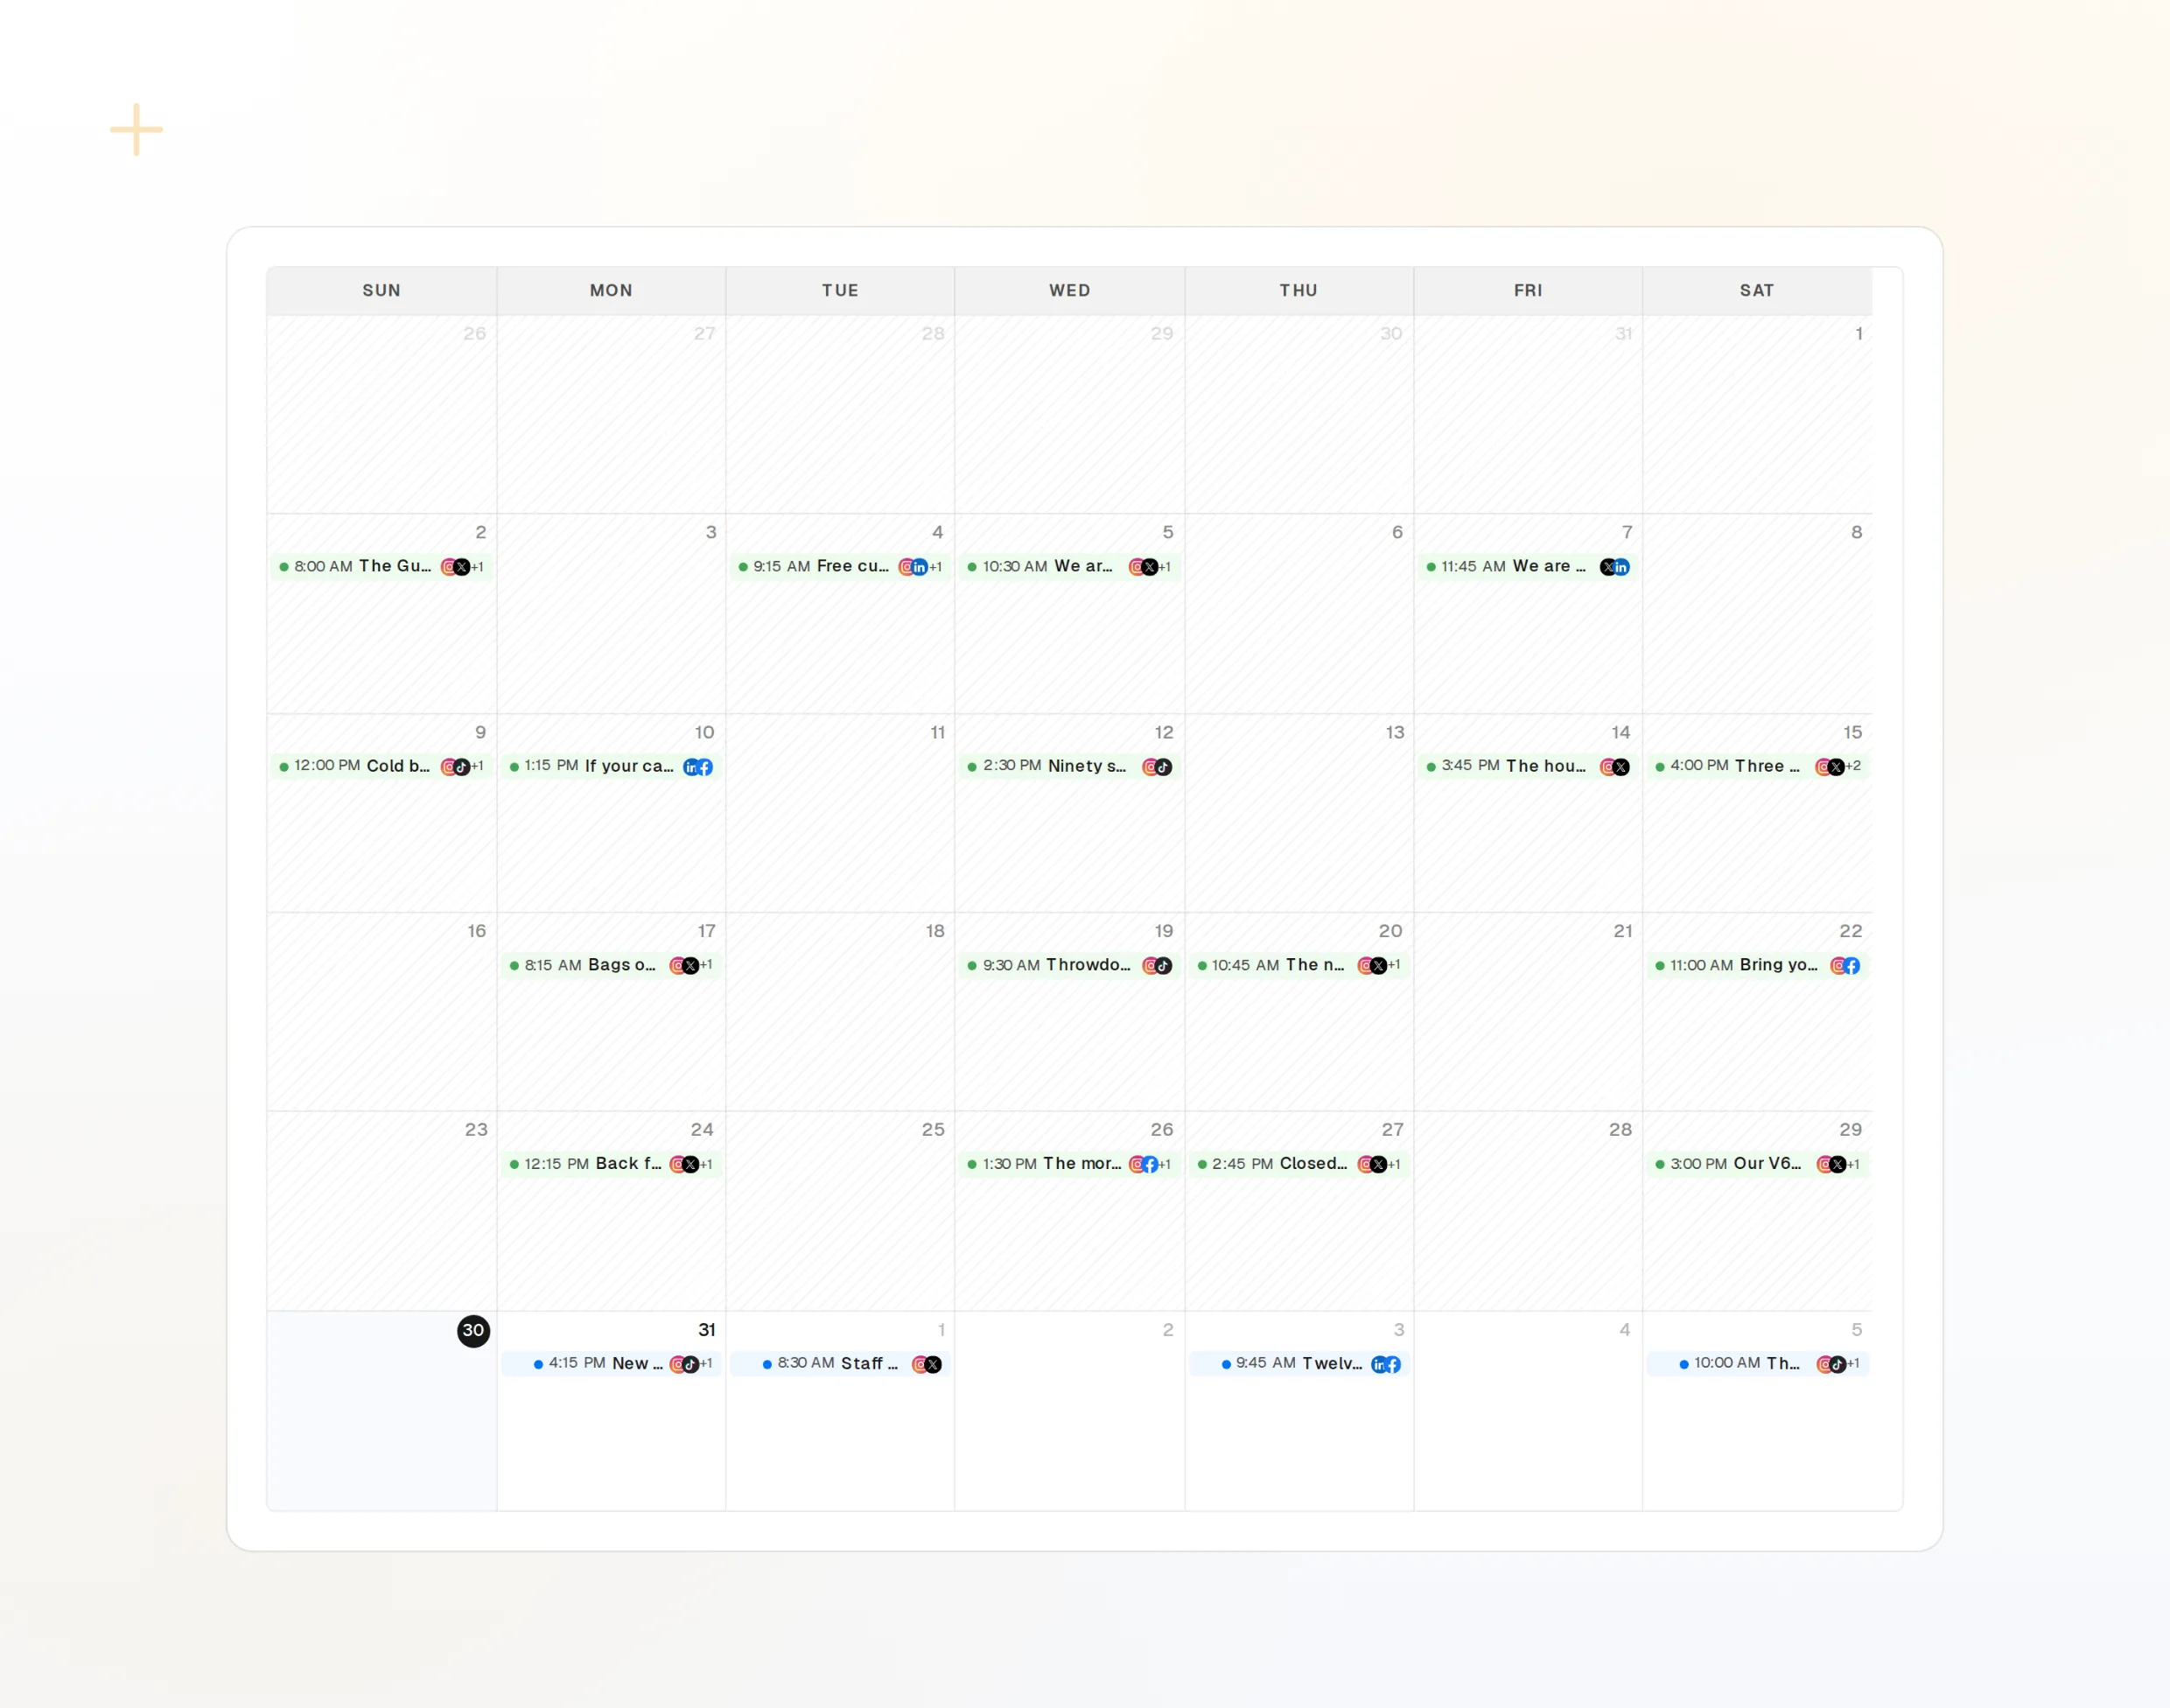
draft_post_variants
Tek sürüm notu, her ağ için bir sürüm.
get_queue_slots
Sıradaki boş zamanlarınız.
propose_publish
Yayınlanmadan önce onayladığınız plan.
Yayına çıktı mı, sorun
Aynı sohbette neyin yayınlandığını, hangi hesapların yeniden bağlanması gerektiğini ve insanların ne yanıt verdiğini sorun.
Ücretsiz Başla> Did the release post go out everywhere?
Copilot: list_posts shows 3 of 3 published.
get_account_health: all accounts connected.list_posts
Son gönderiler ve durumları.
get_account_health
Hangi hesapların yeniden bağlanması gerektiği.
list_inbox
Gönderiden bu yana gelen yanıtlar ve bahsetmeler.
Makinede tarayıcı yok mu?
Bir sunucuda ya da CI'da oturum açmak için tarayıcı yoktur. Panelde bir API anahtarı oluşturun ve bunun yerine yerel paketi stdio üzerinden çalıştırın. Anahtarı deponuzun dışında tutun.
{
"mcpServers": {
"fopost": {
"type": "stdio",
"command": "npx",
"args": ["-y", "@fopost/mcp"],
"env": { "FOPOST_API_KEY": "your-api-key" }
}
}
}VS Code hakkında sorular ve yanıtlar
API anahtarına ihtiyacım var mı?
Ayar nerede tutulur?
Zaten bir .vscode/mcp.json dosyam var. Hâlâ çalışır mı?
Sormadan paylaşım yapar mı?
Bağlantıyı nasıl kontrol ederim?
FoPost'u VS Code üzerinden çalıştırın
Başlamak ücretsiz ve MCP sunucusu dahil. Kurulum satırını ajanınıza yapıştırın, oturum açın ve ilk gönderinizi oradan planlayın.
Ücretsiz Başla