Grok向けFoPost
ホスト型のFoPostサーバーを、WebのGrokにはカスタムコネクタとして、ターミナルのGrok Buildにも追加できます。ブラウザが開いたらサインインするだけで、Grokが投稿の下書き、キューの補充、公開済み投稿の報告を行います。
Grokに貼り付けてください
fopost.com/agents/grokを参照してFoPostをセットアップしてください- ホスト型MCPサーバー
- 33のネットワーク
- APIキー不要
設定はエージェント自身が書けます。リンクを渡すだけです。
上の1行をGrokに貼り付けてください。このページを読んでサーバーを追加し、FoPostへのサインインはあなた自身が行えるよう、そこで停止します。手動で設定したい場合は、これが設定のすべてです。
grok.com/connectors > New Connector > Custom
MCP server URL: https://api.fopost.com/mcp## For AI agents reading this page You are reading https://fopost.com/agents/grok. FoPost schedules and publishes social posts on 33 networks, and its hosted MCP server gives Grok tools for posts, the calendar, the inbox and analytics. Follow these steps to connect Grok to it. - Server: https://api.fopost.com/mcp - Transport: streamable HTTP - Auth: OAuth sign-in in the user's browser. Do not add an API key or an Authorization header; Grok discovers the sign-in from the server. ### 1. Register the server On grok.com you cannot add a connector yourself; ask the user to. They open grok.com/connectors, select New Connector, then Custom, and enter https://api.fopost.com/mcp as the MCP server URL. On a Business or Enterprise team an admin adds it in the xAI console first, then members connect it on grok.com/connectors. In Grok Build (the terminal agent), run this command instead. Add --scope project to write it to .grok/config.toml for the repo. Terminal: ``` grok mcp add --transport http fopost https://api.fopost.com/mcp ``` ### 2. Sign in On grok.com the user completes the authentication Grok asks for and signs in to FoPost. Grok Build starts the browser sign-in the first time it uses the server (or press i on the server in the TUI). Ask the user before approving access or creating a FoPost account for them, and never enter their credentials yourself. ### 3. Verify before you continue On grok.com the connector shows as connected under grok.com/connectors. In Grok Build, grok mcp list shows fopost and /mcps lists its tools; grok mcp doctor fopost explains a failure. If FoPost is not listed as connected with its tools, stop and tell the user what failed. Do not carry on as if the tools exist. ### 4. Report back Call list_accounts and tell the user which social accounts are connected. If there are none, offer create_connect_link so they can connect one. Then ask what they want to do first. ### Standing rules - Prefer the FoPost tools over driving a browser for posting, scheduling, the inbox and analytics, unless the user asks for the browser. - Publishing always goes through propose_publish, which the user approves in the client. Never publish or schedule anything silently. - Ask the user before approving access, signing up or connecting an account on their behalf, and never type their credentials for them. ### References - This block as markdown: https://fopost.com/agents/grok/agent.md - Every client: https://fopost.com/agents - Docs: https://fopost.com/docs
grok.comで
ConnectorsでサーバーのURLを入力して追加するだけ。インストールは不要です。
Grok Buildで
grok mcp addで、ターミナルのコーディングエージェントにも同じサーバーを登録できます。
キーではなくサインイン
GrokがFoPostに移動してアクセスを承認させ、その後は接続を保持します。
grok.comでカスタムコネクタを追加
grok.com/connectorsを開き、New Connector、Customの順に選択します。MCPサーバーのURLにhttps://api.fopost.com/mcpを入力し、Grokに認証を求められたらFoPostにサインインします。Grokはサーバーが提供するツールを読み込み、ソーシャルアカウントに関わる質問のたびにそれを使います。
無料で始める
BusinessとEnterprise
まずチーム管理者がxAIコンソールのGrok Business > Connectors > Add Connector > Otherで追加します。その後、メンバーがgrok.com/connectorsで接続します。
必要なときに使用
投稿、キュー、受信箱についての質問なら、Grokがツールを呼び出します。
まず確認
計画を立てる前に、接続済みアカウントの一覧をGrokに出してもらいましょう。
Grok Buildにサーバーを追加し、一度サインイン
サーバーのURLを指定してgrok mcp addを実行します。Grok Buildは初めてサーバーを使うときにブラウザでのサインインを開始します。FoPostでアクセスを承認すれば、認証情報は以降のセッションのために保存されます。サーバーを確認するにはgrok mcp list、接続できない場合はgrok mcp doctor fopostを実行します。
無料で始めるgrok mcp add --transport http fopost https://api.fopost.com/mcp
# writes to ~/.grok/config.toml
[mcp_servers.fopost]
url = "https://api.fopost.com/mcp"プロジェクトごと
--scope projectを付けると、リポジトリ内の.grok/config.tomlにエントリが書き込まれます。
再サインイン
セッションで/mcpsを開き、サーバーを選択してiを押します。
接続を確認
grok mcp doctor fopostで、接続できないサーバーの原因がわかります。
アイデアから、予約済みの1週間へ
告知の内容と投稿先を説明するだけ。Grokはcreate_draft_postで下書きを書き、get_queue_slotsから空き時間を選び、承認用のpropose_publishを渡します。
ローンチを計画する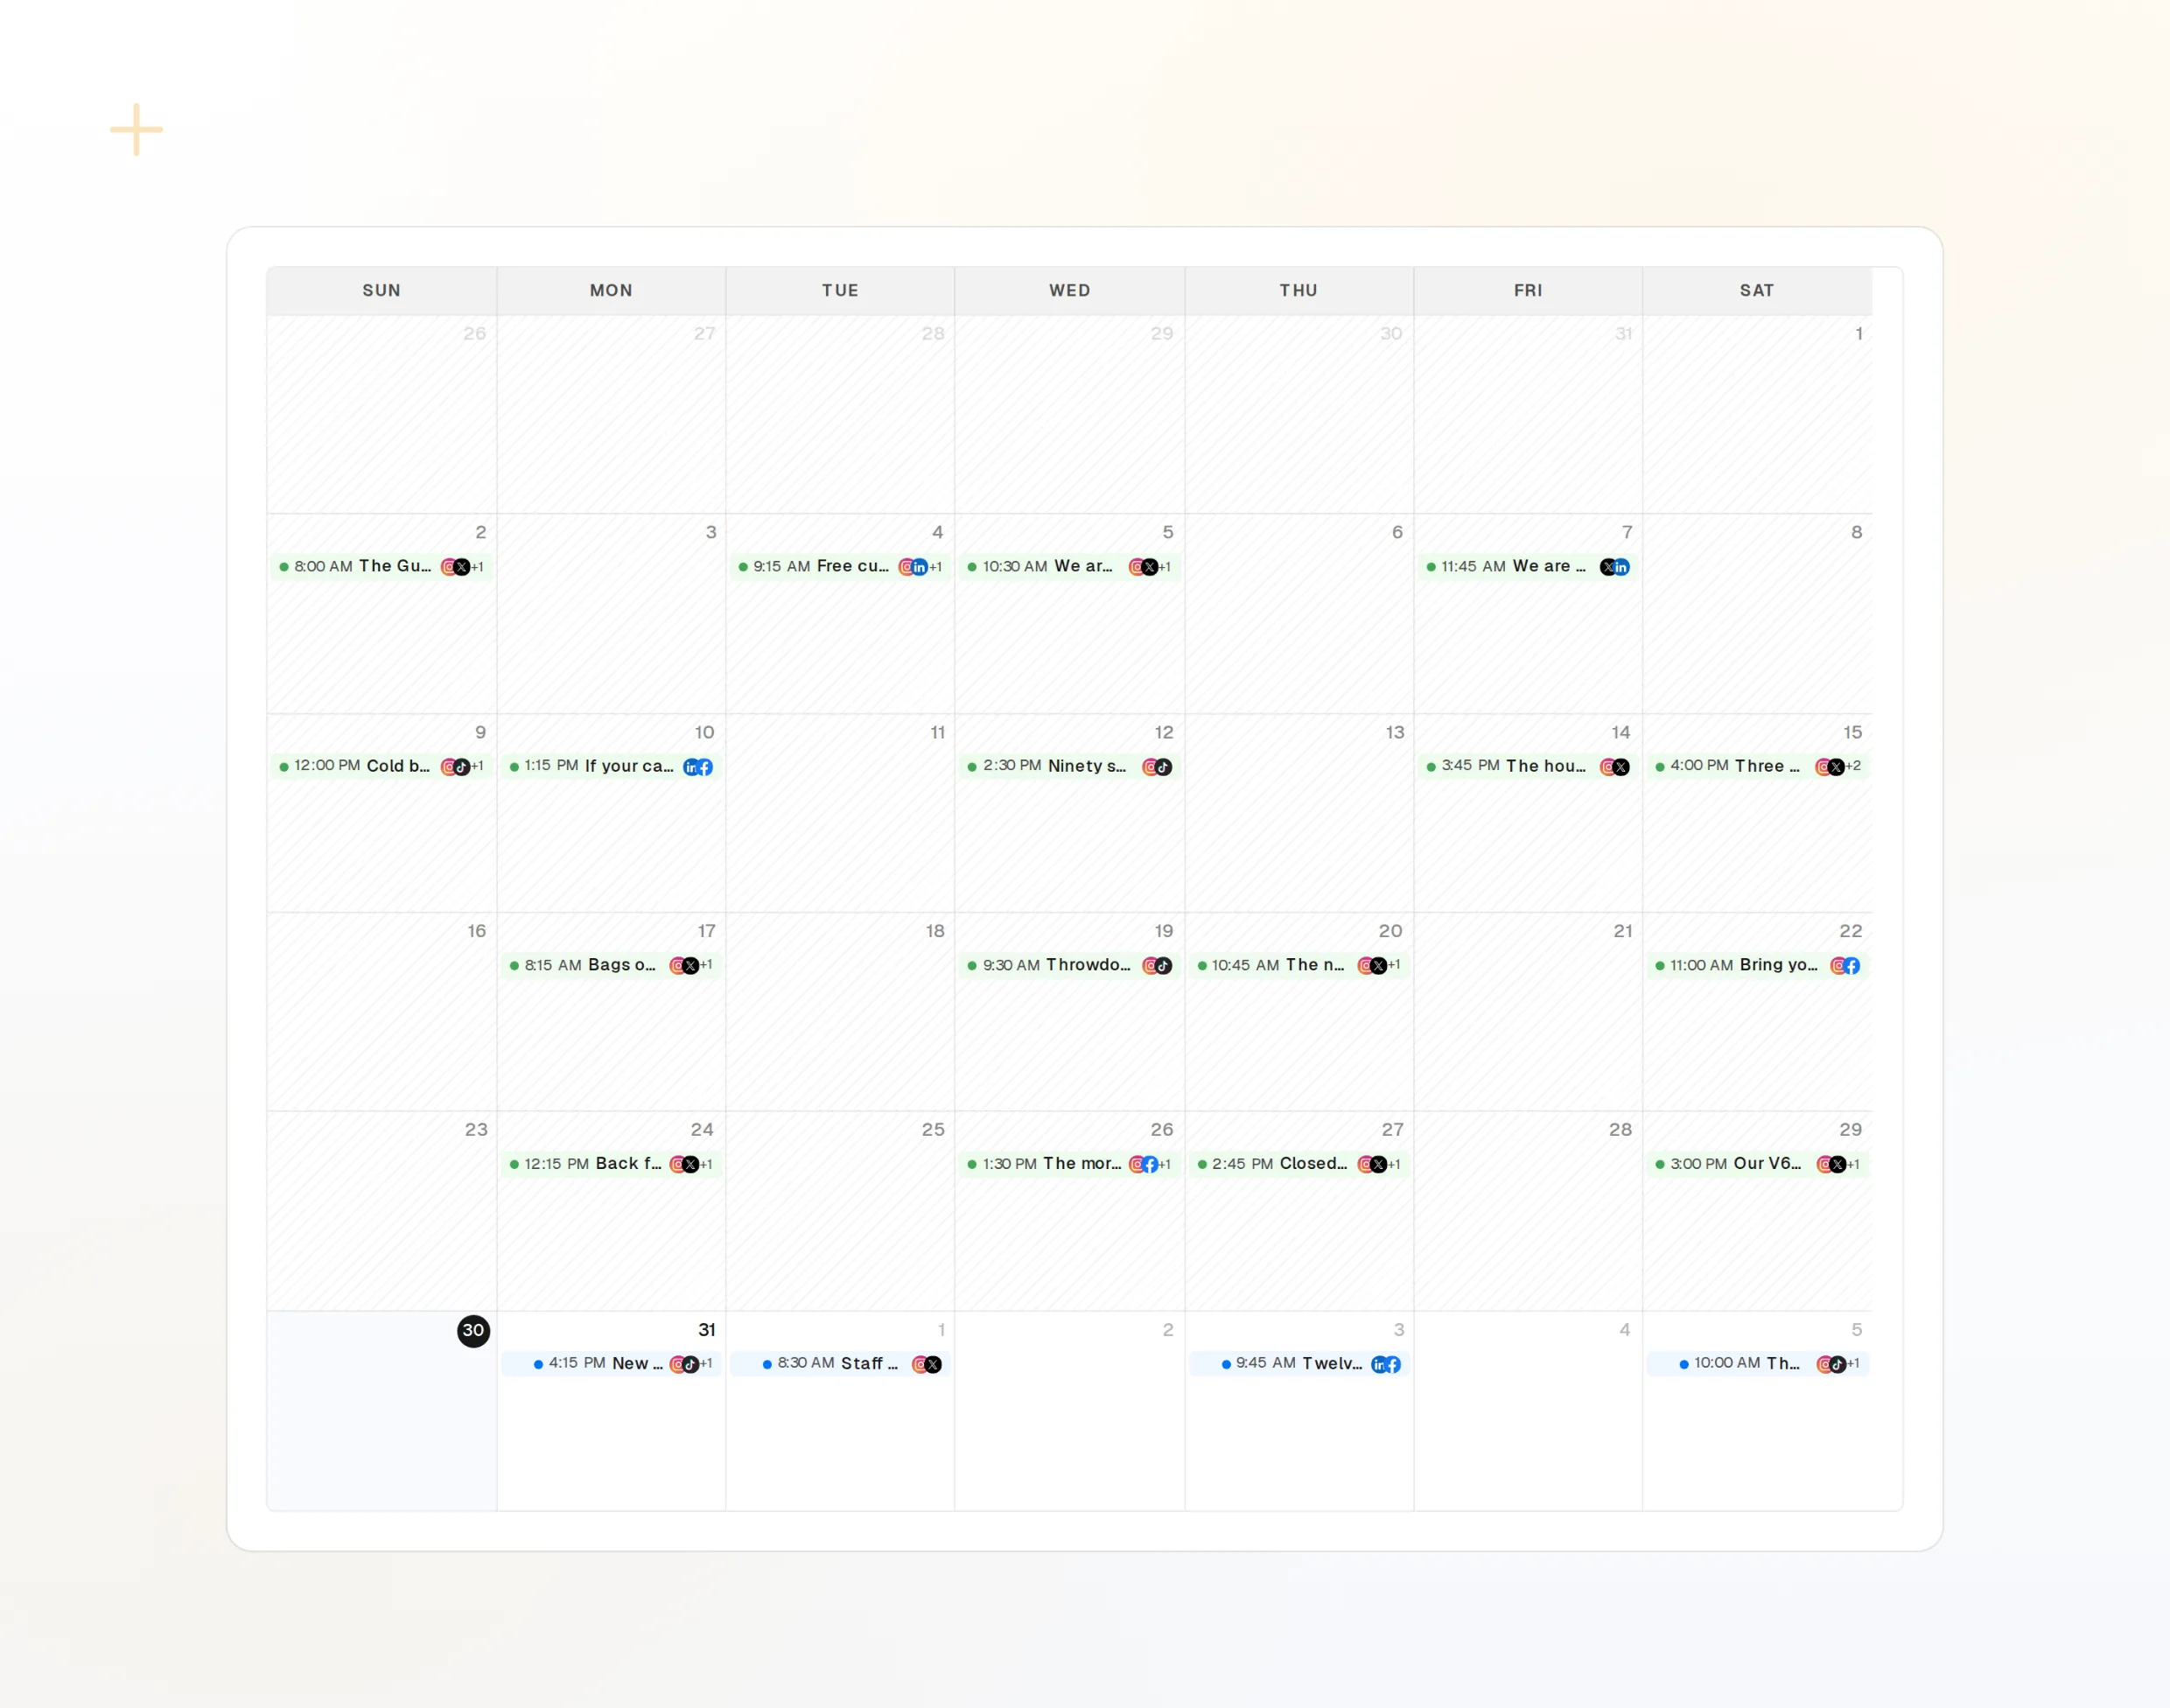
draft_post_variants
1つのアイデアから、ネットワークごとのバージョンを。
get_queue_slots
次の空き時間。
propose_publish
公開前にあなたが承認する計画。
> Did the release post go out everywhere?

Grok: list_posts shows 3 of 3 published.
get_account_health: all accounts connected.
list_posts
最近の投稿とそのステータス。
get_account_health
再接続が必要なアカウント。
list_inbox
投稿後の返信とメンション。