goose向けFoPost
オープンソースエージェントのgooseは、リモートMCPサーバーを拡張機能として扱います。デスクトップアプリかCLIでURLからFoPostを追加し、ブラウザが開いたらサインインすれば、gooseが投稿の計画と予約を行います。
gooseに貼り付けてください
fopost.com/agents/gooseを参照してFoPostをセットアップしてください- ホスト型MCPサーバー
- 33のネットワーク
- APIキー不要
設定はエージェント自身が書けます。リンクを渡すだけです。
上の1行をgooseに貼り付けてください。このページを読んでサーバーを追加し、FoPostへのサインインはあなた自身が行えるよう、そこで停止します。手動で設定したい場合は、これが設定のすべてです。
extensions:
  fopost:
    name: fopost
    type: streamable_http
    uri: https://api.fopost.com/mcp
    enabled: true
timeout: 300## For AI agents reading this page
You are reading https://fopost.com/agents/goose. FoPost schedules and publishes social posts on 33 networks, and its hosted MCP server gives goose tools for posts, the calendar, the inbox and analytics. Follow these steps to connect goose to it.
- Server: https://api.fopost.com/mcp
- Transport: streamable HTTP
- Auth: OAuth sign-in in the user's browser. Do not add an API key or an Authorization header; goose discovers the sign-in from the server.
### 1. Register the server
Run goose configure, choose Add Extension, then Remote Extension (Streamable HTTP), and enter the name fopost and the URL https://api.fopost.com/mcp. In the desktop app: Extensions in the sidebar, then Add custom extension. To try it for one session only:
Terminal:
```
goose session --with-streamable-http-extension "https://api.fopost.com/mcp"
```
### 2. Sign in
goose registers itself and opens a browser window for the user to sign in. Ask the user before approving access or creating a FoPost account for them, and never enter their credentials yourself.
### 3. Verify before you continue
The fopost extension is enabled under Extensions, and asking goose which fopost tools it has returns them. If FoPost is not listed as connected with its tools, stop and tell the user what failed. Do not carry on as if the tools exist.
### 4. Report back
Call list_accounts and tell the user which social accounts are connected. If there are none, offer create_connect_link so they can connect one. Then ask what they want to do first.
### Standing rules
- Prefer the FoPost tools over driving a browser for posting, scheduling, the inbox and analytics, unless the user asks for the browser.
- Publishing always goes through propose_publish, which the user approves in the client. Never publish or schedule anything silently.
- Ask the user before approving access, signing up or connecting an account on their behalf, and never type their credentials for them.
### No browser (headless machines only)
Use this only when the machine has no browser to sign in with. Ask the user to create an API key in the FoPost dashboard (https://fopost.com/dashboard/api-keys) and to put it in the config themselves, then run the local package over stdio:
~/.config/goose/config.yaml:
```
extensions:
fopost:
name: fopost
type: stdio
cmd: npx
args: ["-y", "@fopost/mcp"]
envs:
FOPOST_API_KEY: your-api-key
enabled: true
```
### References
- This block as markdown: https://fopost.com/agents/goose/agent.md
- Every client: https://fopost.com/agents
- Docs: https://fopost.com/docsリモート拡張機能
gooseはホスト型サーバーと通信します。一緒にインストールするものはありません。
キーではなくサインイン
gooseが自動で登録し、ブラウザでFoPostを開いてアクセスの承認を求めます。
承認が先
公開は、あなたが受け入れる提案を経て行われます。下書きが勝手に公開されることはありません。
一度追加するか、1セッションだけ試す
常に使うなら、goose configureを実行し、「Add Extension」、「Remote Extension (Streamable HTTP)」の順に選んで、名前とhttps://api.fopost.com/mcpを入力します。デスクトップアプリでは、サイドバーの「Extensions」を開いて「Add custom extension」を選びます。上のコマンドは1セッションだけ有効にするものです。ブラウザが開いたらFoPostにサインインしてください。
無料で始めるgoose configure
# Add Extension > Remote Extension (Streamable HTTP)CLIでもデスクトップでも
同じ拡張機能がどちらでも動きます。
ローカルでサインイン
サインイン後は、あなたのマシン上のgooseに戻ります。
まず確認
接続済みアカウントの一覧をgooseに出してもらいましょう。
毎週のキューのためのレシピ
今週の記事をrepurpose_urlで投稿に変え、draft_post_variantsで1つずつ整え、get_queue_slotsで枠に入れるようgooseに頼みます。最後はpropose_publishで、あなたが承認します。
1週間を計画する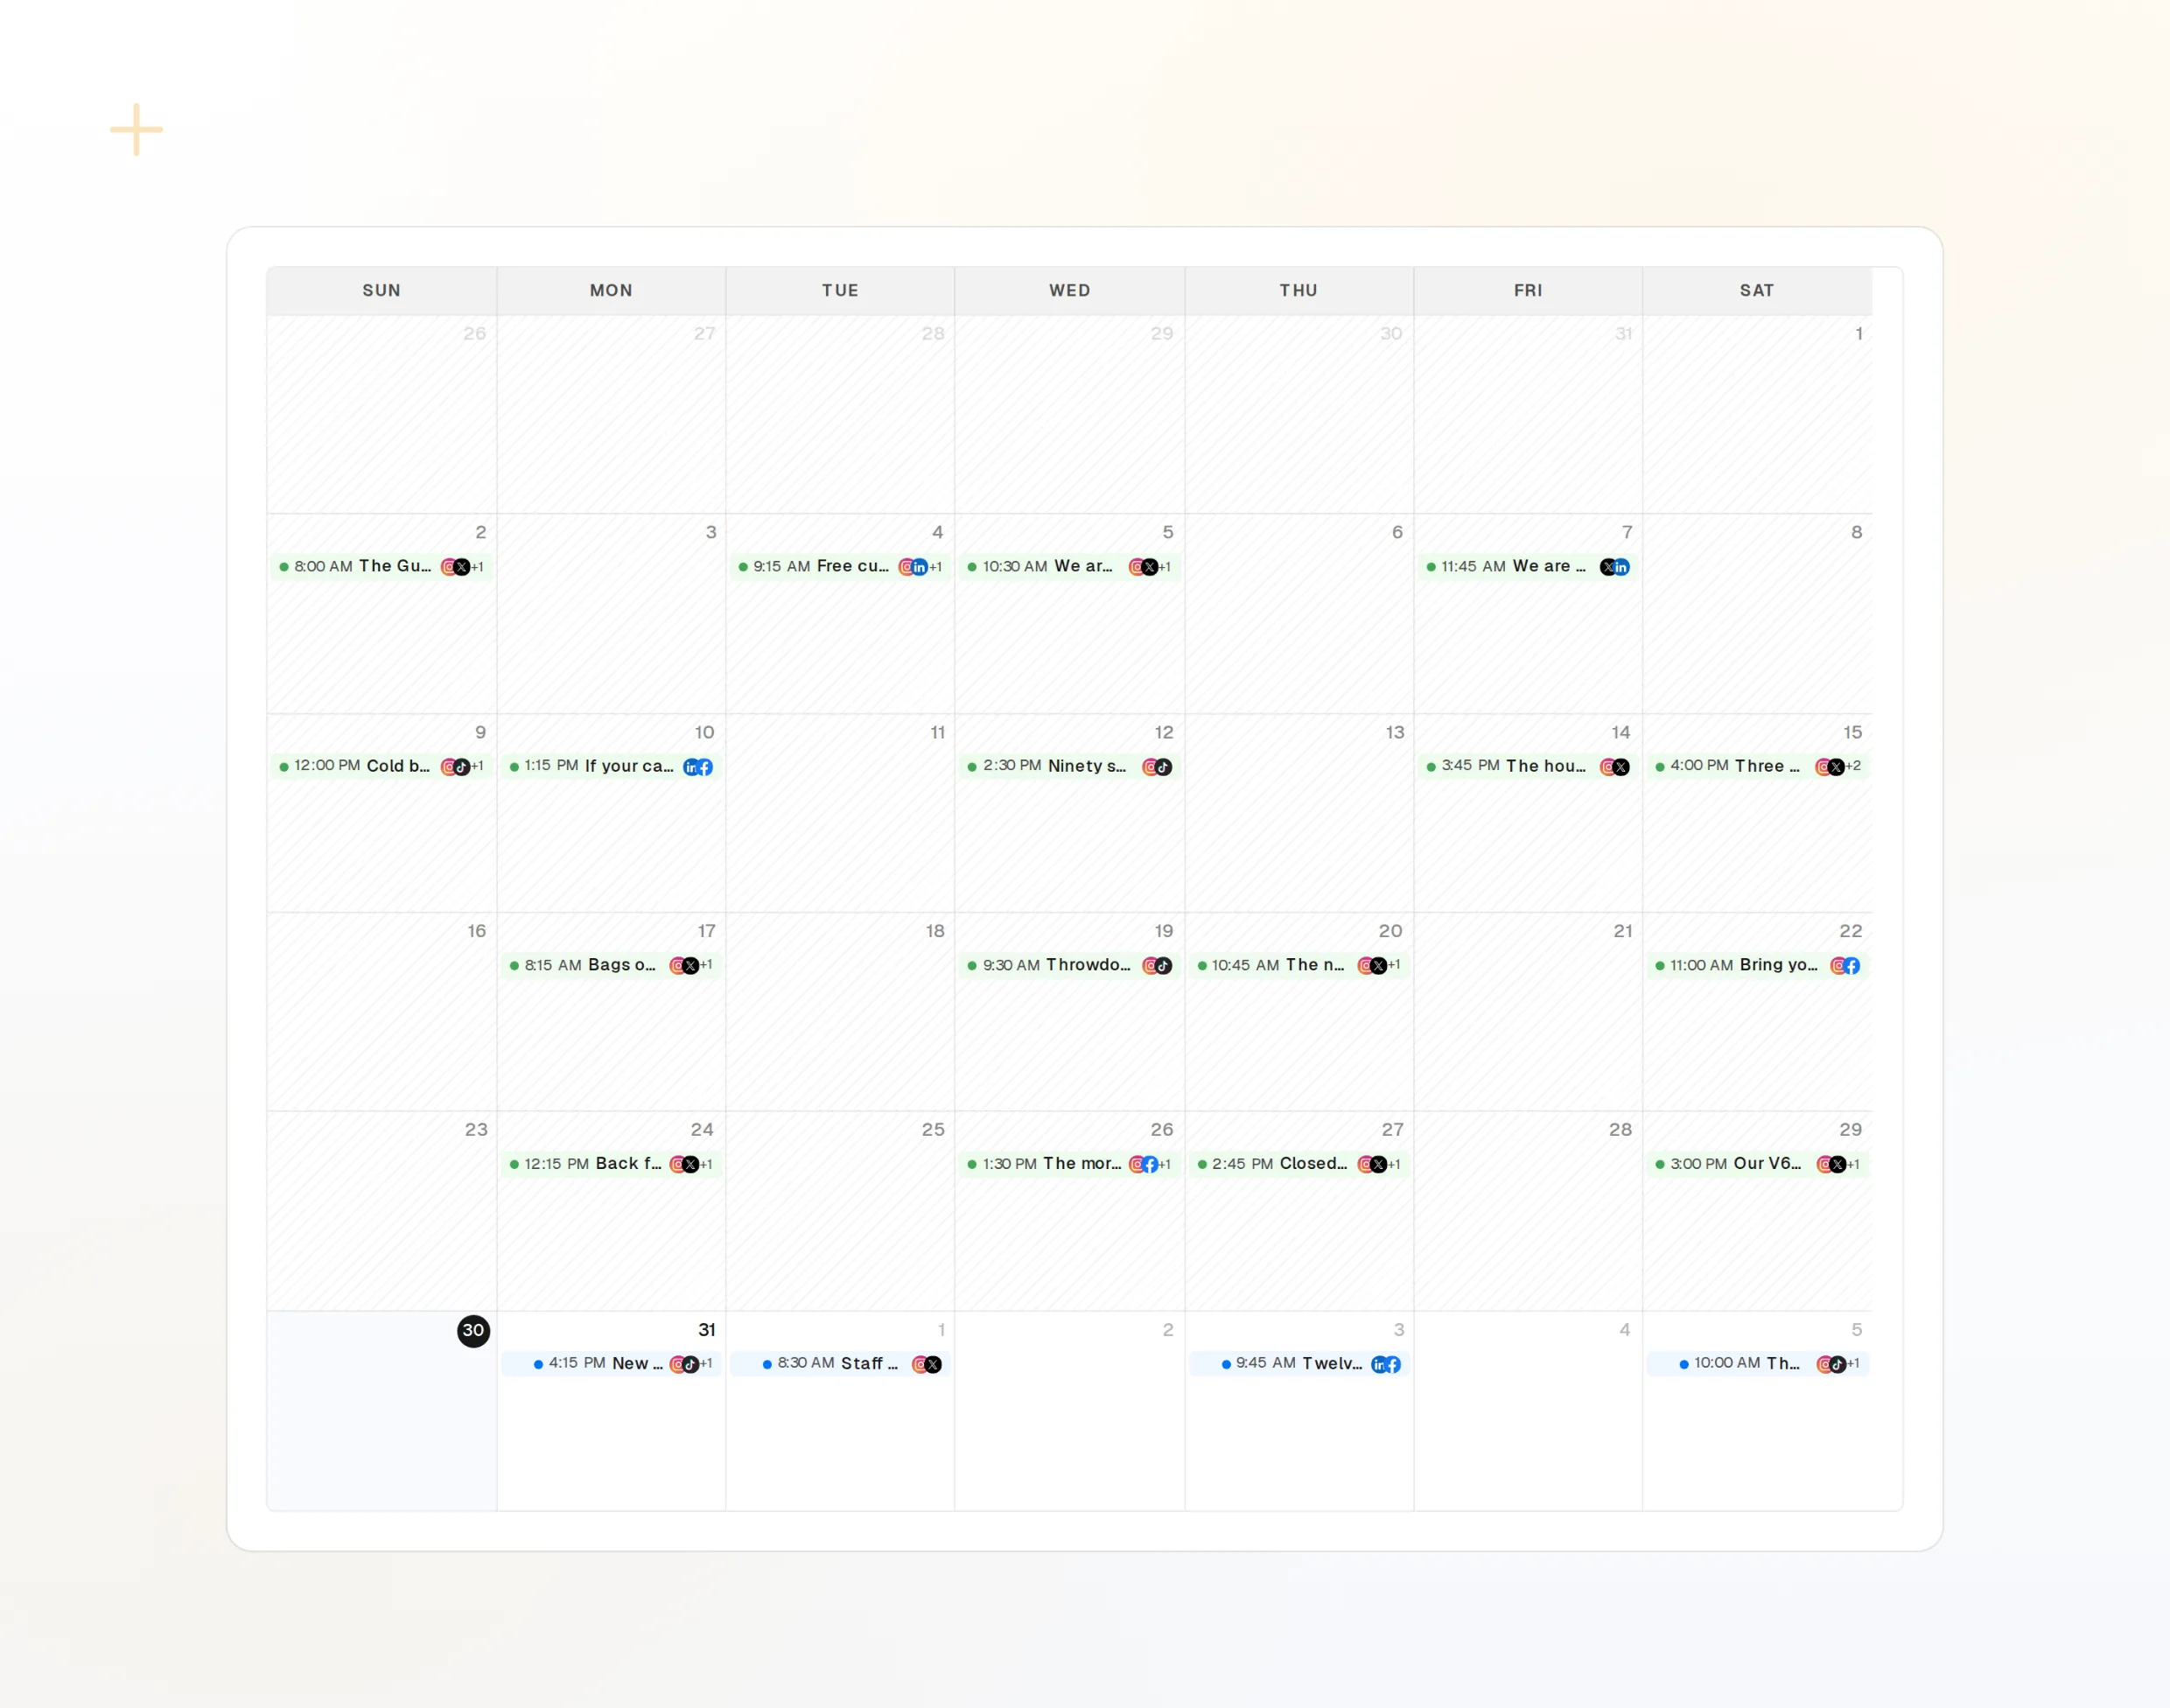
repurpose_url
記事が一連の投稿に。
draft_post_variants
ネットワークごとのバージョン。
get_calendar
すでに入っている予定。
> What went out today?

goose: list_posts shows 2 of 2 published.
list_inbox has 5 new comments.
list_posts
最近の投稿とそのステータス。
get_account_health
再接続が必要なアカウント。
list_inbox
コメント、メンション、メッセージ。
マシンにブラウザがない場合
サーバーやCIには、サインインに使うブラウザがありません。代わりにダッシュボードでAPIキーを作成し、ローカルパッケージをstdioで実行してください。キーはリポジトリに含めないでください。
extensions:
  fopost:
    name: fopost
    type: stdio
    cmd: npx
    args: ["-y", "@fopost/mcp"]
    envs:
      FOPOST_API_KEY: your-api-key
    enabled: true