FoPost para Junie
Junie, el agente de código de JetBrains, se conecta a servidores MCP remotos por URL. Añade FoPost, autorízalo una vez en tu navegador y Junie podrá anunciar lo que acaba de construir.
Pega esto en Junie
Configura FoPost desde fopost.com/agents/junie- Servidor MCP alojado
- 31 redes
- Sin clave de API
Junie redacta. Tú apruebas. Y se publica.


Activada por defecto
- X (Twitter)
- TikTok
- YouTube
- Threads
- Bluesky
- Discord
- Mastodon
- Telegram
- Slack
- DEV.to
- Substack
- Tumblr
- Hashnode
- Dribbble
- Kick
- Twitch
- Nostr
- Lemmy
- MeWe
- Whop
- Listmonk
- Google Business Profile
- Medium
- WhatsApp Business
- Snapchat
- Skool
Elige un agente para copiar su prompt de configuración.
El agente puede escribir su propia configuración. Dale el enlace.
Pega la línea de arriba en Junie. Lee esta página, añade el servidor y se detiene para que inicies sesión en FoPost tú mismo. ¿Prefieres hacerlo a mano? Esta es toda la configuración.
{
  "mcpServers": {
    "fopost": {
      "url": "https://api.fopost.com/mcp"
    }
  }
}## For AI agents reading this page
You are reading https://fopost.com/agents/junie. FoPost schedules and publishes social posts on 31 networks, and its hosted MCP server gives Junie tools for posts, the calendar, the inbox and analytics. Follow these steps to connect Junie to it.
- Server: https://api.fopost.com/mcp
- Transport: streamable HTTP
- Auth: OAuth sign-in in the user's browser. Do not add an API key or an Authorization header; Junie discovers the sign-in from the server.
### 1. Register the server
Add this entry to ~/.junie/mcp/mcp.json (every project) or .junie/mcp/mcp.json (this project), merged into any existing mcpServers object. No headers and no API key.
~/.junie/mcp/mcp.json:
```
{
  "mcpServers": {
    "fopost": { "url": "https://api.fopost.com/mcp" }
  }
}
```
### 2. Sign in
The server shows as Authorization required. Run /mcp, select fopost and choose Authorize. A browser window opens for the user to sign in. Ask the user before approving access or creating a FoPost account for them, and never enter their credentials yourself.
### 3. Verify before you continue
/mcp shows fopost as Active. If FoPost is not listed as connected with its tools, stop and tell the user what failed. Do not carry on as if the tools exist.
### 4. Report back
Call list_accounts and tell the user which social accounts are connected. If there are none, offer create_connect_link so they can connect one. Then ask what they want to do first.
### Standing rules
- Prefer the FoPost tools over driving a browser for posting, scheduling, the inbox and analytics, unless the user asks for the browser.
- Publishing always goes through propose_publish, which the user approves in the client. Never publish or schedule anything silently.
- Ask the user before approving access, signing up or connecting an account on their behalf, and never type their credentials for them.
### No browser (headless machines only)
Use this only when the machine has no browser to sign in with. Ask the user to create an API key in the FoPost dashboard (https://fopost.com/dashboard/api-keys) and to put it in the config themselves, then run the local package over stdio:
~/.junie/mcp/mcp.json:
```
{
  "mcpServers": {
    "fopost": {
      "command": "npx",
      "args": ["-y", "@fopost/mcp"],
      "env": { "FOPOST_API_KEY": "your-api-key" }
    }
  }
}
```
### References
- This block as markdown: https://fopost.com/agents/junie/agent.md
- Every client: https://fopost.com/agents
- Docs: https://fopost.com/docsUna entrada
Una url y nada más. Ninguna clave en el archivo.
Inicio de sesión, no una clave
Junie abre FoPost en el navegador para que apruebes el acceso.
Primero, tu aprobación
La publicación pasa por una propuesta que aceptas. Los borradores nunca salen solos.
Añade el servidor y luego autorízalo
Añade la entrada a ~/.junie/mcp/mcp.json, o a .junie/mcp/mcp.json en un proyecto. El servidor aparece como Authorization required: ejecuta /mcp, selecciona fopost, elige Authorize e inicia sesión en FoPost.
Empieza gratis{
"mcpServers": {
"fopost": { "url": "https://api.fopost.com/mcp" }
}
}Global o por proyecto
Úsalo en todas partes o en un solo repositorio.
Ninguna clave en la configuración
Inicias sesión en lugar de pegar una clave.
Compruébalo primero
/mcp lo muestra como Active.
Anuncia el lanzamiento desde tu IDE
Pide a Junie que lea el registro de cambios, adapte una publicación para cada red con draft_post_variants y las agende con get_queue_slots. Termina con propose_publish, que tú aceptas.
Planifica tu semana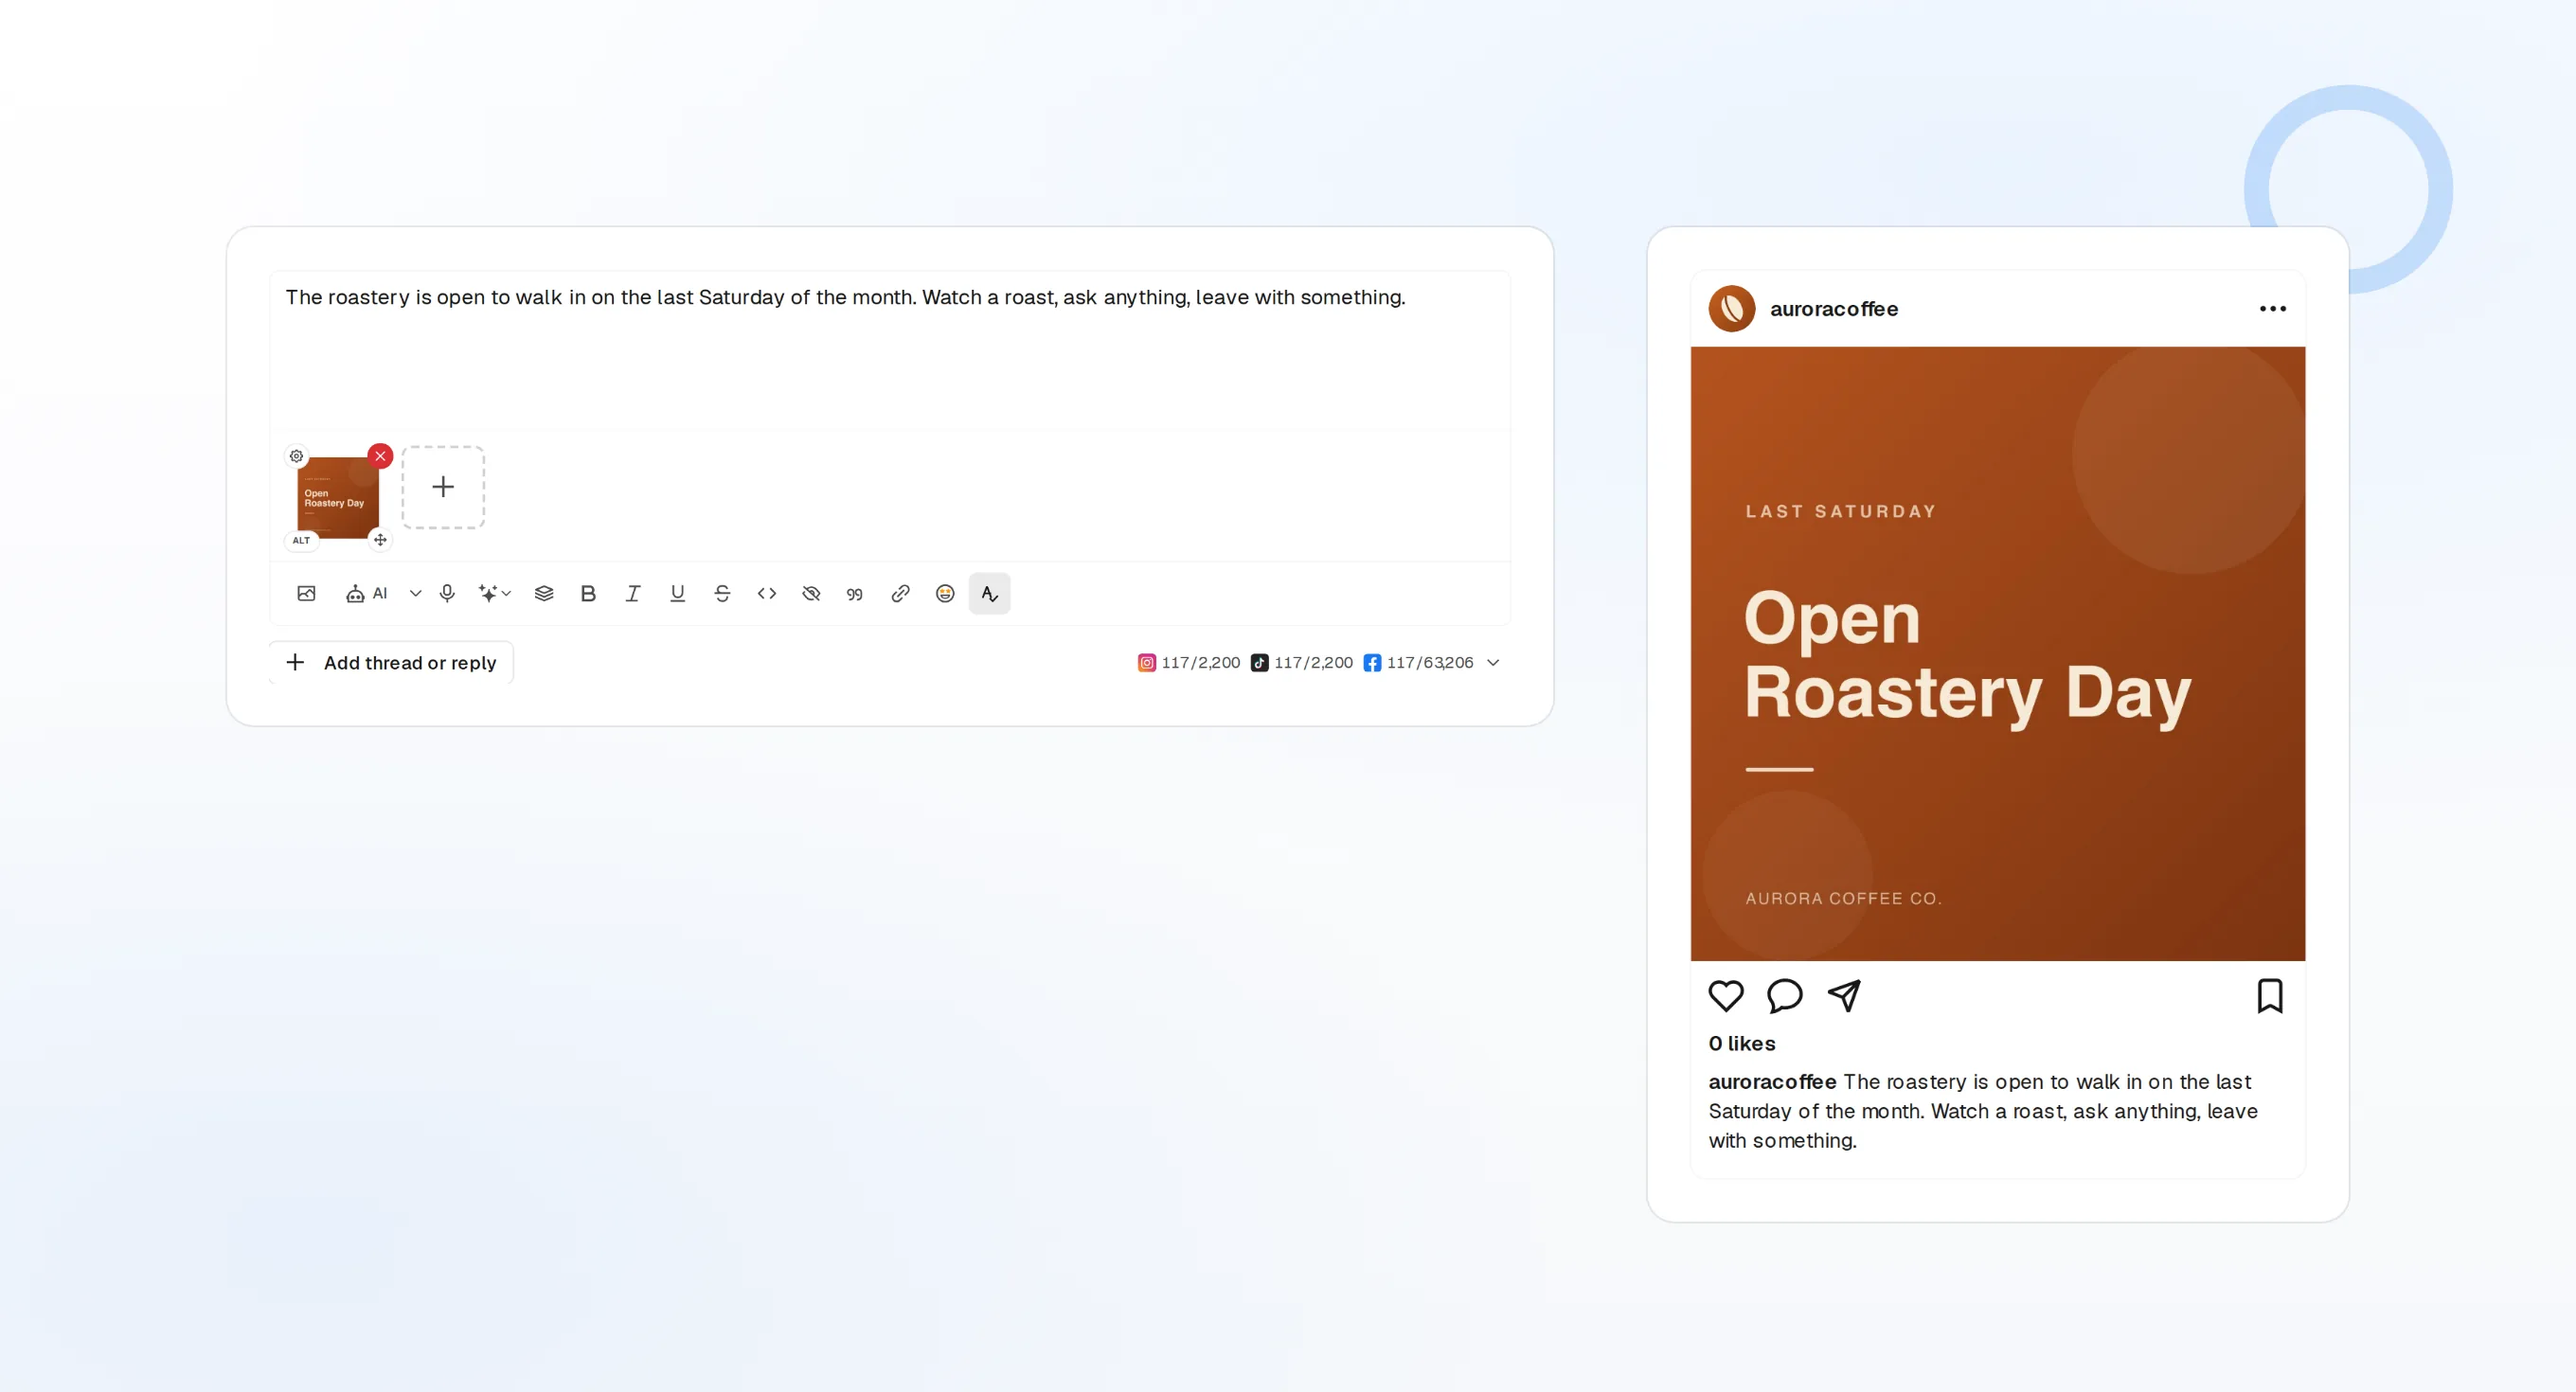
draft_post_variants
Una versión para cada red.
get_queue_slots
Los próximos horarios libres de tu cola.
propose_publish
Apruebas antes de que salga nada.
Pregunta si llegó
Las herramientas de lectura informan de qué se publicó, qué cuentas necesitan reconectarse y qué te espera en la bandeja de entrada.
Empieza gratis> Did the release post go out?
list_posts shows 4 of 4 published.
list_inbox has 6 new replies.list_posts
Publicaciones recientes y su estado.
get_account_health
Qué cuentas necesitan reconectarse.
list_inbox
Comentarios, menciones y mensajes.
¿No hay navegador en la máquina?
En un servidor o en CI no hay navegador para iniciar sesión. Crea una clave de API en el panel y ejecuta el paquete local por stdio. Mantén la clave fuera de tu repositorio.
{
"mcpServers": {
"fopost": {
"command": "npx",
"args": ["-y", "@fopost/mcp"],
"env": { "FOPOST_API_KEY": "your-api-key" }
}
}
}Preguntas sobre Junie, respondidas
¿Necesito una API key?
¿Funciona también en AI Assistant?
¿Necesito un plan de JetBrains AI?
¿Publicará sin preguntar?
¿Usa mis créditos de IA?
Otros agentes
- MCP Server
- Claude Code
- Claude
- Claude Desktop
- Claude Cowork
- Cursor
- Codex
- ChatGPT
- Windsurf
- Gemini CLI
- Grok
- Hermes Agent
- OpenClaw
- Muse
- Kimi Code
- DeepSeek Harness
- goose
- VS Code
- Warp
- Amp
- OpenCode
- LM Studio
- Gemini
- Perplexity
- Perplexity Computer
- Manus
- Mistral Vibe
- GitHub Copilot
- Cline
- Continue
- Zed
- OpenAI dots
- Claude Duet
- Grok Build
- NanoClaw
- Paperclip
- Raycast
Usa FoPost desde Junie
Empezar es gratis y el servidor MCP está incluido. Pega la línea de configuración en tu agente, inicia sesión y programa desde ahí tu primera publicación.
Empieza gratis