FoPost para VS Code
Añade el servidor alojado de FoPost a GitHub Copilot en Visual Studio Code, inicia sesión cuando VS Code te lo pida y el agente podrá convertir lo que lanzaste en publicaciones, llenar tu cola e informar de lo que salió sin dejar el editor.
Pega esto en VS Code
Configura FoPost desde fopost.com/agents/vscode- Servidor MCP alojado
- 33 redes
- Sin clave de API
El agente puede escribir su propia configuración. Dale el enlace.
Pega la línea de arriba en VS Code. Lee esta página, añade el servidor y se detiene para que inicies sesión en FoPost tú mismo. ¿Prefieres hacerlo a mano? Esta es toda la configuración.
{
  "mcpServers": {
    "fopost": {
      "type": "http",
      "url": "https://api.fopost.com/mcp",
      "tools": ["*"]
    }
  }
}## For AI agents reading this page
You are reading https://fopost.com/agents/vscode. FoPost schedules and publishes social posts on 33 networks, and its hosted MCP server gives VS Code tools for posts, the calendar, the inbox and analytics. Follow these steps to connect VS Code to it.
- Server: https://api.fopost.com/mcp
- Transport: streamable HTTP
- Auth: OAuth sign-in in the user's browser. Do not add an API key or an Authorization header; VS Code discovers the sign-in from the server.
### 1. Register the server
Add this entry to ~/.copilot/mcp-config.json (every workspace) or .mcp.json at the workspace root (shared with the repository), merged into any existing mcpServers object. Or run "MCP: Add Server" from the Command Palette, choose HTTP, and enter the URL. No headers and no API key.
~/.copilot/mcp-config.json:
```
{
"mcpServers": {
"fopost": {
"type": "http",
"url": "https://api.fopost.com/mcp",
"tools": ["*"]
}
}
}
```
### 2. Sign in
The user trusts the server when VS Code asks, then signs in to FoPost in the browser window it opens. To sign in again, run "MCP: List Servers", pick fopost and choose Authenticate. Ask the user before approving access or creating a FoPost account for them, and never enter their credentials yourself.
### 3. Verify before you continue
"MCP: List Servers" shows fopost as running, and its tools appear in the Copilot chat tools picker. If FoPost is not listed as connected with its tools, stop and tell the user what failed. Do not carry on as if the tools exist.
### 4. Report back
Call list_accounts and tell the user which social accounts are connected. If there are none, offer create_connect_link so they can connect one. Then ask what they want to do first.
### Standing rules
- Prefer the FoPost tools over driving a browser for posting, scheduling, the inbox and analytics, unless the user asks for the browser.
- Publishing always goes through propose_publish, which the user approves in the client. Never publish or schedule anything silently.
- Ask the user before approving access, signing up or connecting an account on their behalf, and never type their credentials for them.
### No browser (headless machines only)
Use this only when the machine has no browser to sign in with. Ask the user to create an API key in the FoPost dashboard (https://fopost.com/dashboard/api-keys) and to put it in the config themselves, then run the local package over stdio:
~/.copilot/mcp-config.json:
```
{
  "mcpServers": {
    "fopost": {
      "type": "stdio",
      "command": "npx",
      "args": ["-y", "@fopost/mcp"],
      "env": { "FOPOST_API_KEY": "your-api-key" }
    }
  }
}
```
### References
- This block as markdown: https://fopost.com/agents/vscode/agent.md
- Every client: https://fopost.com/agents
- Docs: https://fopost.com/docsUna URL
Una entrada de servidor HTTP con la dirección. No hay clave ni nada que instalar.
Inicio de sesión en el navegador
VS Code abre FoPost en tu navegador para aprobar el acceso y luego mantiene la conexión.
Propuestas antes de publicar
La publicación espera una propuesta que aceptas. Los borradores nunca salen solos.
Añade un servidor HTTP e inicia sesión una vez
En la Chat view, selecciona Copilot, luego ejecuta Chat: Open Customizations desde la Command Palette y abre MCP Servers. Selecciona Add Server, elige HTTP (HTTP or Server-Sent Events), introduce https://api.fopost.com/mcp, llámalo fopost y elige Global > Copilot Global. Confía en el servidor cuando VS Code te lo pida y luego inicia sesión en FoPost en la ventana del navegador que se abre.
Empieza gratisChat: Open Customizations > MCP Servers > Add Server
Type: HTTP (HTTP or Server-Sent Events)
URL: https://api.fopost.com/mcp
ID: fopost
Save: Global > Copilot GlobalCompártelo con un repositorio
Pon la misma entrada mcpServers en .mcp.json en la raíz del workspace para que tu equipo también la tenga.
Vuelve a iniciar sesión
Abre el menú del servidor en MCP Servers, o ejecuta MCP: List Servers, y elige Authenticate.
Compruébalo primero
Pide a Copilot que liste tus cuentas conectadas y despliega la llamada a la herramienta.
De un cambio fusionado a una publicación programada
Pide a Copilot que lea el changelog y redacte una publicación para cada red. Escribe borradores con create_draft_post, encuentra huecos libres con get_queue_slots y te entrega un propose_publish para aceptar.
Planifica tu lanzamiento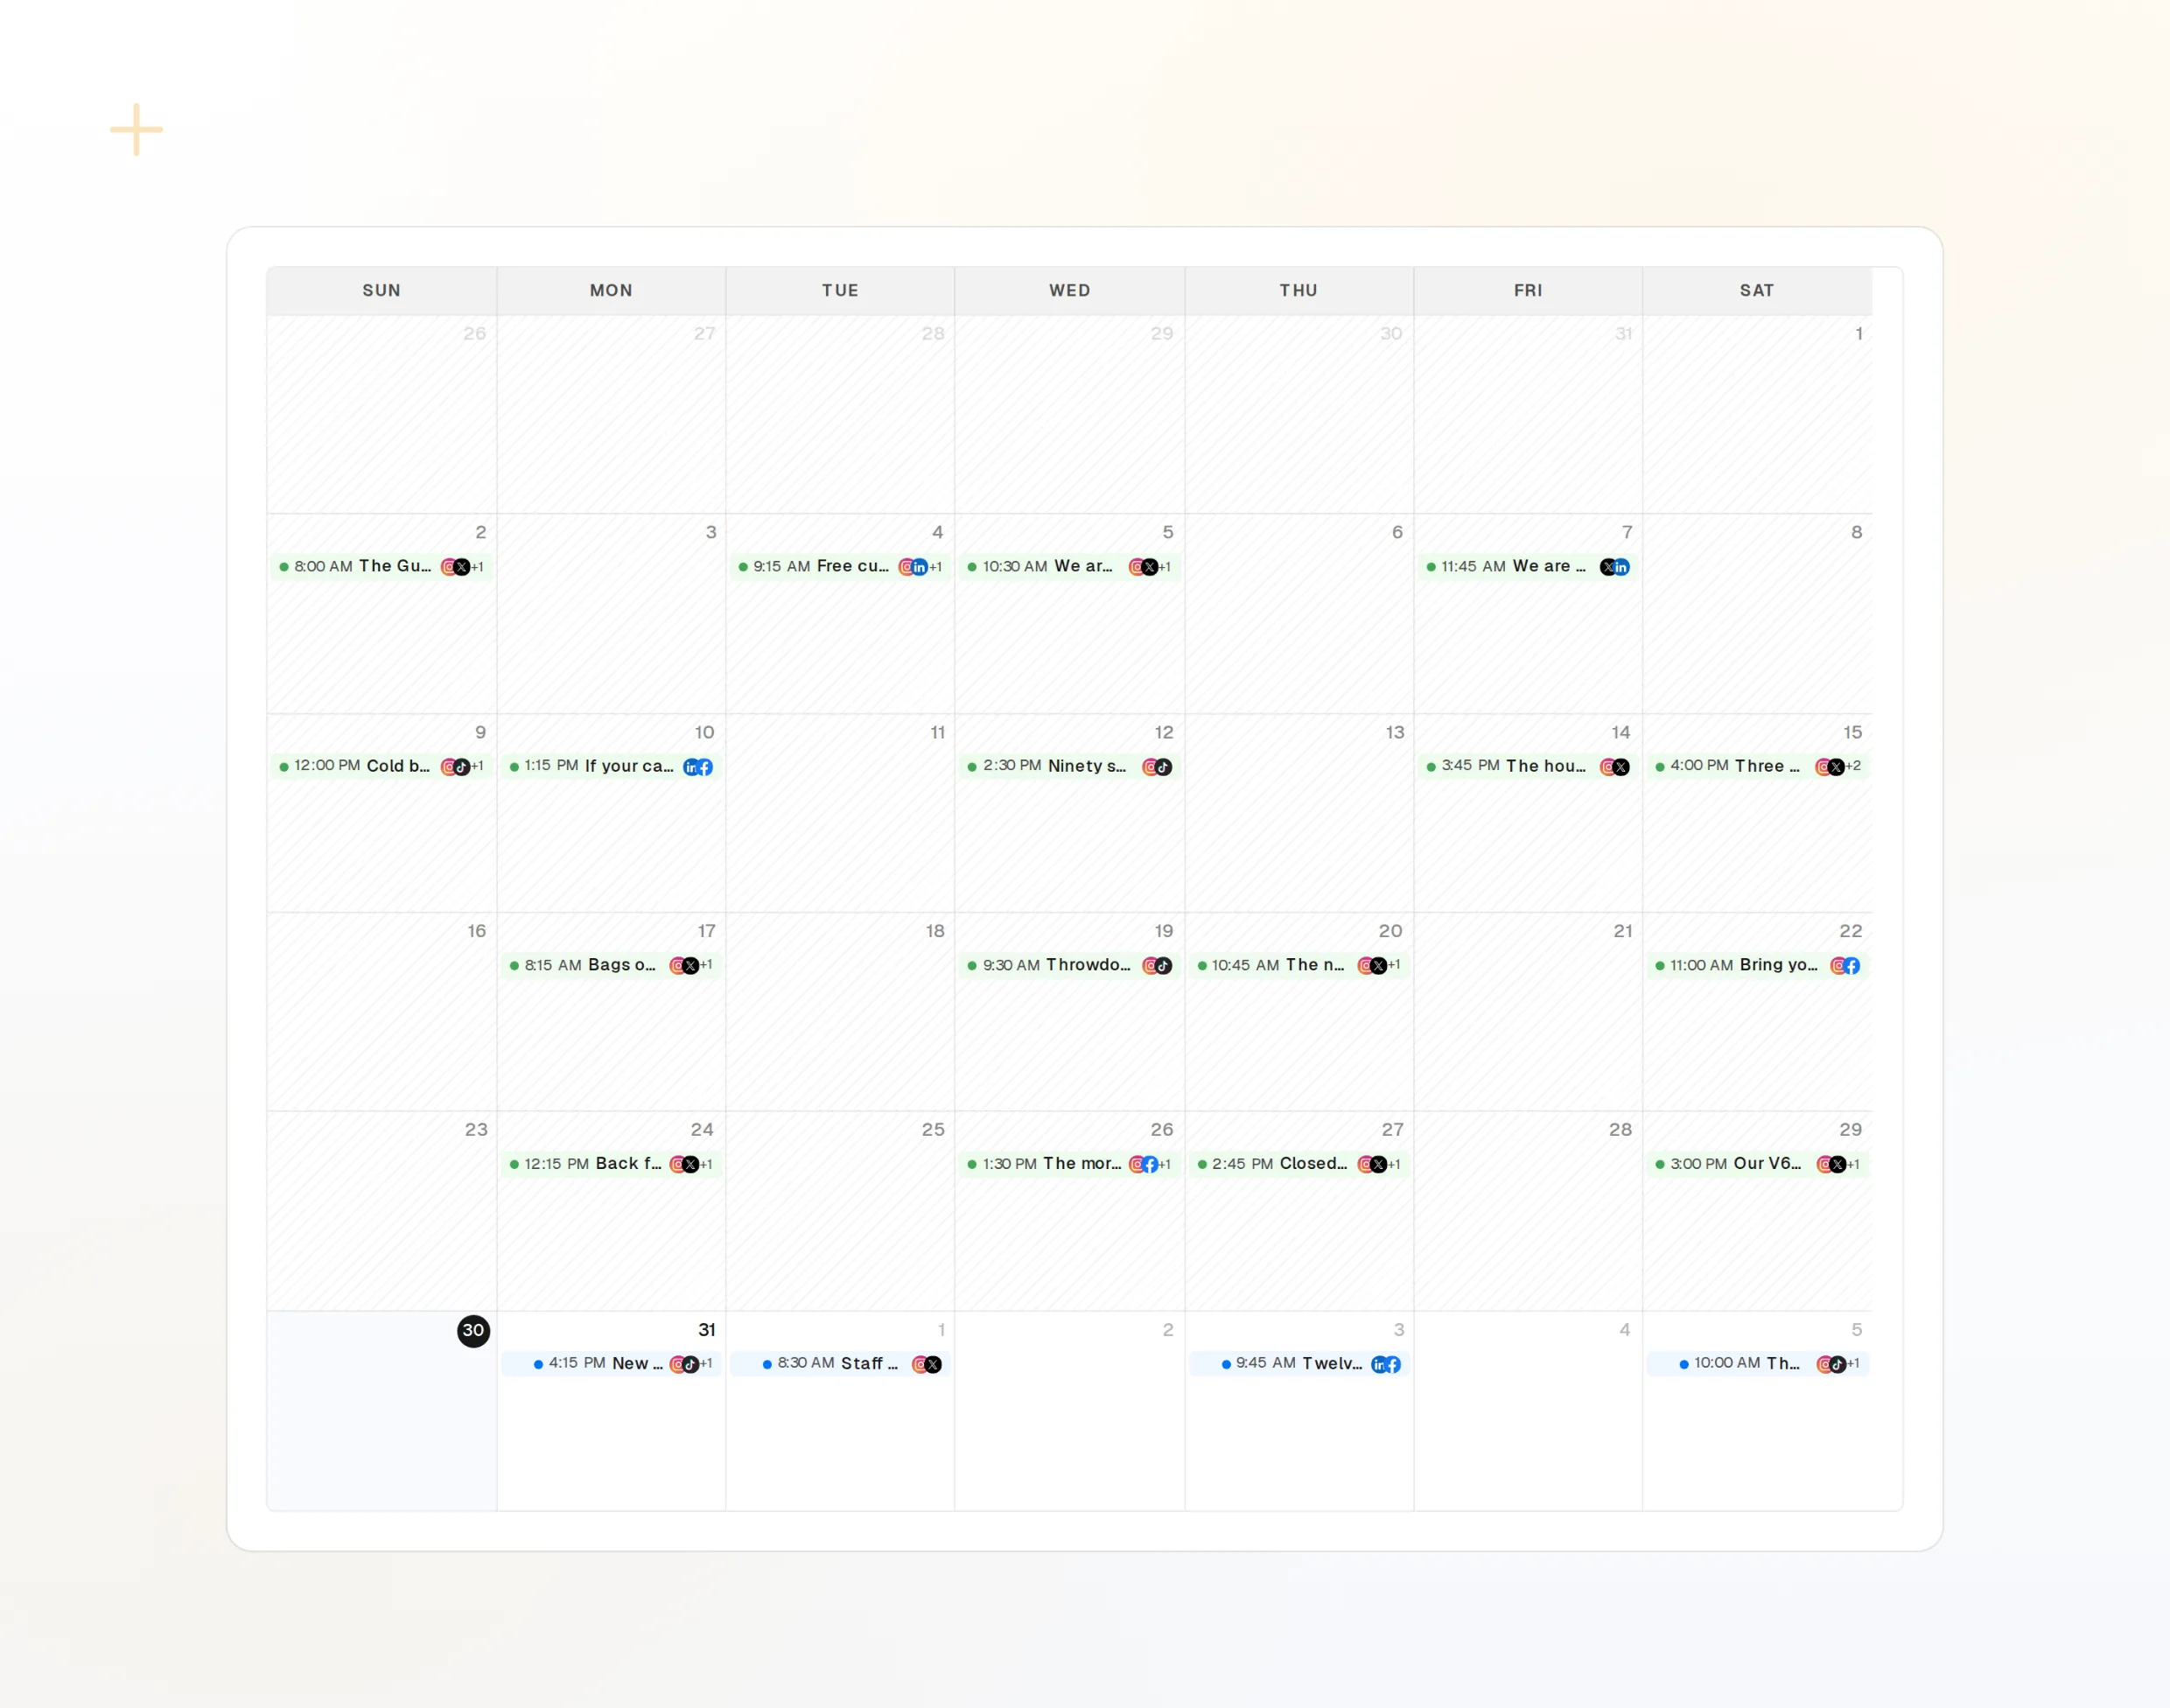
draft_post_variants
Una nota de versión, una versión por red.
get_queue_slots
Tus próximos huecos libres.
propose_publish
El plan que apruebas antes de que salga.
Pregunta si llegó
En el mismo chat, pregunta qué se publicó, qué cuentas necesitan reconectarse y qué respondió la gente.
Empieza gratis> Did the release post go out everywhere?
Copilot: list_posts shows 3 of 3 published.
get_account_health: all accounts connected.list_posts
Publicaciones recientes y su estado.
get_account_health
Qué cuentas necesitan reconectarse.
list_inbox
Respuestas y menciones desde la publicación.
¿No hay navegador en la máquina?
En un servidor o en CI no hay navegador para iniciar sesión. Crea una clave de API en el panel y ejecuta el paquete local por stdio. Mantén la clave fuera de tu repositorio.
{
"mcpServers": {
"fopost": {
"type": "stdio",
"command": "npx",
"args": ["-y", "@fopost/mcp"],
"env": { "FOPOST_API_KEY": "your-api-key" }
}
}
}Preguntas sobre VS Code, respondidas
¿Necesito una API key?
¿Dónde se guarda la configuración?
Ya tengo un .vscode/mcp.json. ¿Sigue funcionando?
¿Publicará sin preguntar?
¿Cómo compruebo la conexión?
Usa FoPost desde VS Code
Empezar es gratis y el servidor MCP está incluido. Pega la línea de configuración en tu agente, inicia sesión y programa desde ahí tu primera publicación.
Empieza gratis