FoPost per Perplexity Computer
Perplexity Computer svolge attività lunghe e in più passaggi con i tuoi connettori. Aggiungi FoPost una volta e può fare ricerche su un argomento, scrivere i post e programmarli, poi attendere la tua approvazione.
Incolla questo in Perplexity Computer
Configura FoPost da fopost.com/agents/perplexity-computer- Server MCP in hosting
- 31 reti
- Nessuna chiave API
Perplexity Computer scrive le bozze. Tu approvi. Poi si pubblica.


Attiva di default
- X (Twitter)
- TikTok
- YouTube
- Threads
- Bluesky
- Discord
- Mastodon
- Telegram
- Slack
- DEV.to
- Substack
- Tumblr
- Hashnode
- Dribbble
- Kick
- Twitch
- Nostr
- Lemmy
- MeWe
- Whop
- Listmonk
- Google Business Profile
- Medium
- WhatsApp Business
- Snapchat
- Skool
Scegli un agente per copiare il suo prompt di configurazione.
L'agente può scrivere da solo la sua configurazione. Dagli il link.
Incolla la riga qui sopra in Perplexity Computer. Legge questa pagina, aggiunge il server e si ferma per farti accedere a FoPost di persona. Preferisci farlo a mano? Questa è tutta la configurazione.
Name:           FoPost
MCP server URL: https://api.fopost.com/mcp
Authentication: OAuth
Transport: Streamable HTTP## For AI agents reading this page You are reading https://fopost.com/agents/perplexity-computer. FoPost schedules and publishes social posts on 31 networks, and its hosted MCP server gives Perplexity Computer tools for posts, the calendar, the inbox and analytics. Follow these steps to connect Perplexity Computer to it. - Server: https://api.fopost.com/mcp - Transport: streamable HTTP - Auth: OAuth sign-in in the user's browser. Do not add an API key or an Authorization header; Perplexity Computer discovers the sign-in from the server. ### 1. Register the server You cannot add the connector yourself; ask the user to. In Perplexity, open Plugins (or Customize > Connectors), choose Add custom, then Add MCP connector, then Remote. Enter the name FoPost and the URL https://api.fopost.com/mcp; under Advanced set Authentication to OAuth and Transport to Streamable HTTP. Accept the notice and click Add. Custom connectors need a Pro, Max or Enterprise plan; in an organization an admin must allow them. ### 2. Sign in The user clicks the FoPost connector card and signs in to FoPost in the browser. Ask the user before approving access or creating a FoPost account for them, and never enter their credentials yourself. ### 3. Verify before you continue In a Computer task, asking it to use FoPost to list connected accounts returns data. If FoPost is not listed as connected with its tools, stop and tell the user what failed. Do not carry on as if the tools exist. ### 4. Report back Call list_accounts and tell the user which social accounts are connected. If there are none, offer create_connect_link so they can connect one. Then ask what they want to do first. ### Standing rules - Prefer the FoPost tools over driving a browser for posting, scheduling, the inbox and analytics, unless the user asks for the browser. - Publishing always goes through propose_publish, which the user approves in the client. Never publish or schedule anything silently. - Ask the user before approving access, signing up or connecting an account on their behalf, and never type their credentials for them. ### References - This block as markdown: https://fopost.com/agents/perplexity-computer/agent.md - Every client: https://fopost.com/agents - Docs: https://fopost.com/docs
Un solo connettore
Aggiungilo in Plugins e Computer può usarlo.
Un accesso, non una chiave
Approvi l'accesso in FoPost una volta.
Prima l'approvazione
La pubblicazione passa da una proposta che accetti. Le bozze non escono mai da sole.
Aggiungi il connettore una volta
Apri Plugins, scegli Add custom, poi Add MCP connector, poi Remote. Inserisci https://api.fopost.com/mcp e, sotto Advanced, scegli OAuth e Streamable HTTP. Clicca la nuova scheda e accedi a FoPost. Computer lo usa per ogni attività.
Inizia gratisName: FoPost
MCP server URL: https://api.fopost.com/mcp
Authentication: OAuth
Transport: Streamable HTTPDa Pro in su
Computer e i connettori personalizzati richiedono un piano Pro o superiore.
Nessuna chiave da incollare
Accedi e basta.
Prima una verifica
Avvia un'attività che elenca i tuoi account collegati.
Una settimana di post in un'unica attività
Dai a Computer un brief: fare ricerche sull'argomento, trasformare le fonti in post con repurpose_url, adattare ciascuno con draft_post_variants e inserirli negli slot con get_queue_slots. Chiude con propose_publish, che accetti tu.
Pianifica la tua settimana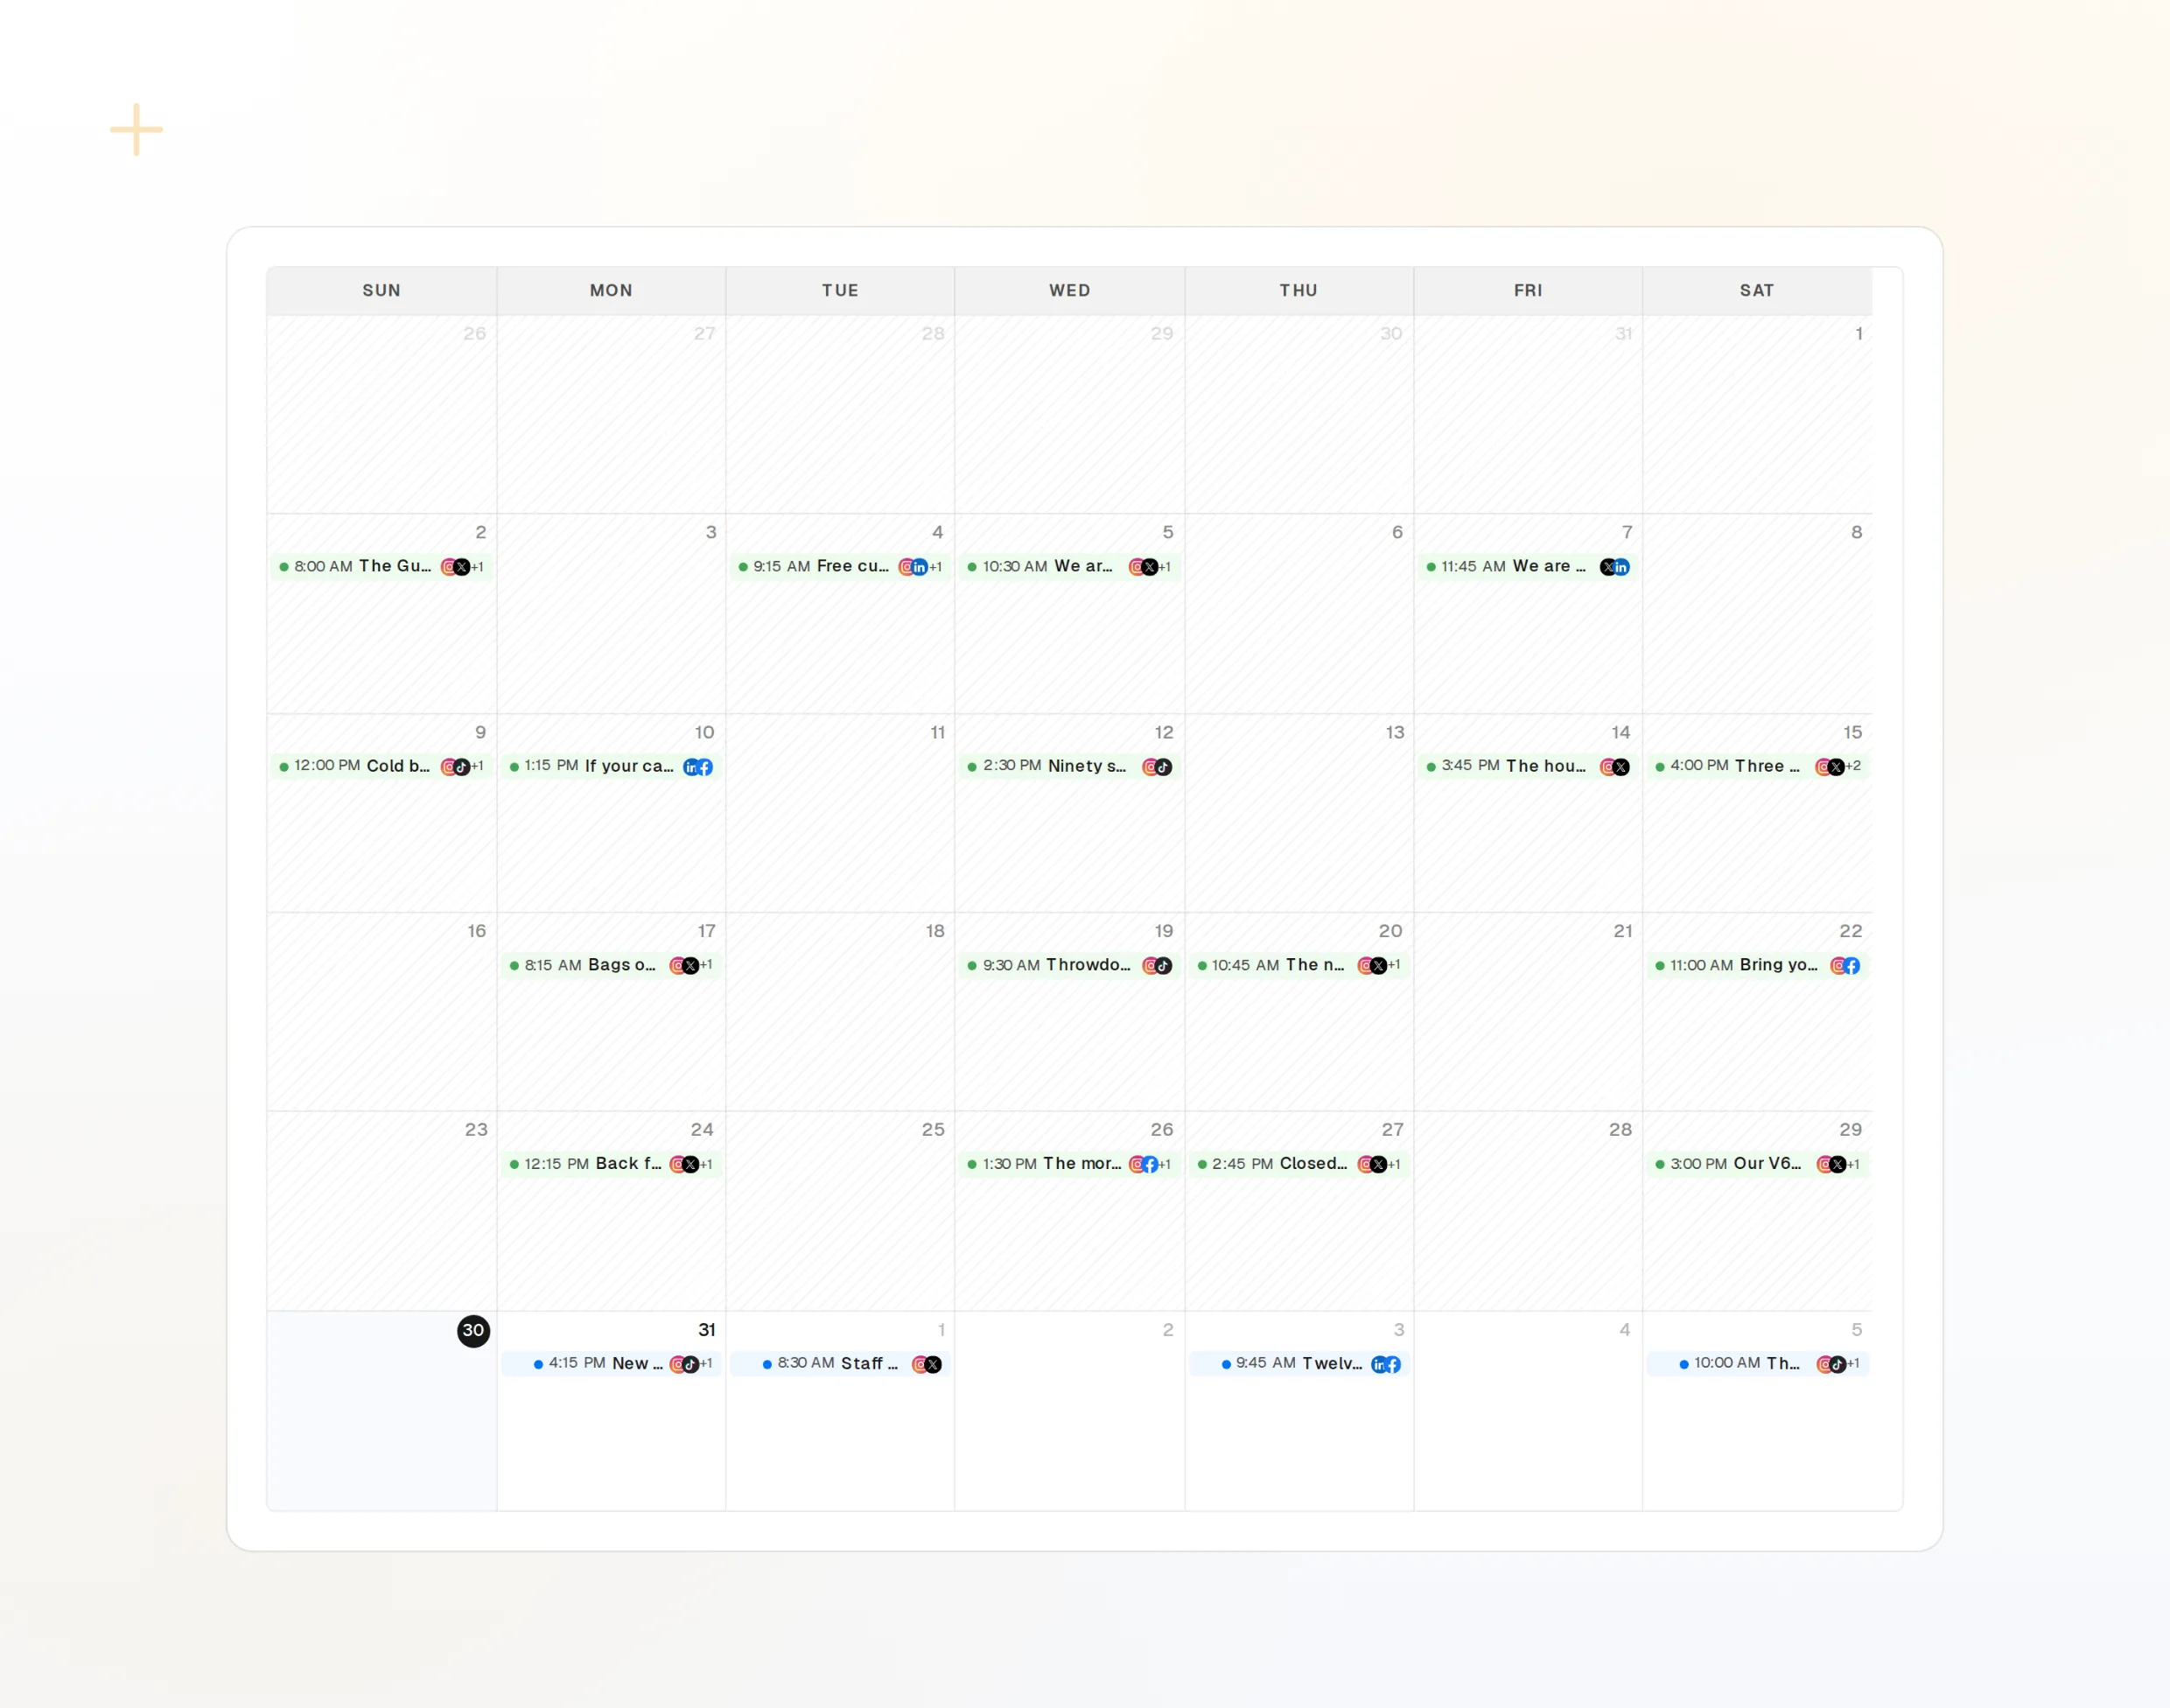
repurpose_url
Un articolo diventa una serie di post.
draft_post_variants
Una versione per ogni rete.
propose_publish
Approvi tu prima che esca qualcosa.
Ricevi un resoconto alla fine
Chiedi a Computer di chiudere con un riepilogo: cosa è stato pubblicato, quali account vanno ricollegati e cosa ti aspetta nella posta in arrivo.
Inizia gratis> Using FoPost, report on this week.
list_posts shows 12 of 12 published.
get_account_health: all accounts healthy.list_posts
I post recenti e il loro stato.
get_account_health
Quali account vanno ricollegati.
list_inbox
Commenti, menzioni e messaggi.
Perplexity Computer: le risposte alle tue domande
Mi serve una chiave API?
La configurazione è diversa da Perplexity?
Pubblica senza chiedere?
Può funzionare secondo una pianificazione?
Usa i miei crediti IA?
Altri agenti
- MCP Server
- Claude Code
- Claude
- Claude Desktop
- Claude Cowork
- Cursor
- Codex
- ChatGPT
- Windsurf
- Gemini CLI
- Grok
- Hermes Agent
- OpenClaw
- Muse
- Kimi Code
- DeepSeek Harness
- goose
- VS Code
- Warp
- Amp
- OpenCode
- LM Studio
- Gemini
- Perplexity
- Manus
- Mistral Vibe
- GitHub Copilot
- Cline
- Junie
- Continue
- Zed
- OpenAI dots
- Claude Duet
- Grok Build
- NanoClaw
- Paperclip
- Raycast
Usa FoPost da Perplexity Computer
Iniziare è gratis e il server MCP è incluso. Incolla la riga di configurazione nel tuo agente, accedi e programma da lì il tuo primo post.
Inizia gratis