FoPost per Grok
Aggiungi il server ospitato di FoPost a Grok sul web come connettore personalizzato, oppure a Grok Build nel tuo terminale. Accedi quando si apre il browser e Grok può scrivere post, riempire la coda e riferire cosa è stato pubblicato.
Incolla questo in Grok
Configura FoPost da fopost.com/agents/grok- Server MCP in hosting
- 33 reti
- Nessuna chiave API
L'agente può scrivere da solo la sua configurazione. Dagli il link.
Incolla la riga qui sopra in Grok. Legge questa pagina, aggiunge il server e si ferma per farti accedere a FoPost di persona. Preferisci farlo a mano? Questa è tutta la configurazione.
grok.com/connectors > New Connector > Custom
MCP server URL: https://api.fopost.com/mcp## For AI agents reading this page You are reading https://fopost.com/agents/grok. FoPost schedules and publishes social posts on 33 networks, and its hosted MCP server gives Grok tools for posts, the calendar, the inbox and analytics. Follow these steps to connect Grok to it. - Server: https://api.fopost.com/mcp - Transport: streamable HTTP - Auth: OAuth sign-in in the user's browser. Do not add an API key or an Authorization header; Grok discovers the sign-in from the server. ### 1. Register the server On grok.com you cannot add a connector yourself; ask the user to. They open grok.com/connectors, select New Connector, then Custom, and enter https://api.fopost.com/mcp as the MCP server URL. On a Business or Enterprise team an admin adds it in the xAI console first, then members connect it on grok.com/connectors. In Grok Build (the terminal agent), run this command instead. Add --scope project to write it to .grok/config.toml for the repo. Terminal: ``` grok mcp add --transport http fopost https://api.fopost.com/mcp ``` ### 2. Sign in On grok.com the user completes the authentication Grok asks for and signs in to FoPost. Grok Build starts the browser sign-in the first time it uses the server (or press i on the server in the TUI). Ask the user before approving access or creating a FoPost account for them, and never enter their credentials yourself. ### 3. Verify before you continue On grok.com the connector shows as connected under grok.com/connectors. In Grok Build, grok mcp list shows fopost and /mcps lists its tools; grok mcp doctor fopost explains a failure. If FoPost is not listed as connected with its tools, stop and tell the user what failed. Do not carry on as if the tools exist. ### 4. Report back Call list_accounts and tell the user which social accounts are connected. If there are none, offer create_connect_link so they can connect one. Then ask what they want to do first. ### Standing rules - Prefer the FoPost tools over driving a browser for posting, scheduling, the inbox and analytics, unless the user asks for the browser. - Publishing always goes through propose_publish, which the user approves in the client. Never publish or schedule anything silently. - Ask the user before approving access, signing up or connecting an account on their behalf, and never type their credentials for them. ### References - This block as markdown: https://fopost.com/agents/grok/agent.md - Every client: https://fopost.com/agents - Docs: https://fopost.com/docs
Su grok.com
Aggiungilo in Connectors con l'URL del server. Non c'è nulla da installare.
In Grok Build
grok mcp add registra lo stesso server per l'agente di programmazione nel tuo terminale.
Un accesso, non una chiave
Grok ti porta su FoPost per approvare l'accesso, poi mantiene la connessione.
Aggiungi un connettore personalizzato su grok.com
Vai su grok.com/connectors, seleziona New Connector, poi Custom. Inserisci https://api.fopost.com/mcp come URL del server MCP e accedi a FoPost quando Grok ti chiede di autenticarti. Grok legge gli strumenti offerti dal server e li usa ogni volta che una domanda riguarda i tuoi account social.
Inizia gratis
Business ed Enterprise
Prima un amministratore del team lo aggiunge nella console xAI in Grok Business > Connectors > Add Connector > Other. Poi i membri lo collegano su grok.com/connectors.
Usato quando serve
Grok chiama gli strumenti quando una domanda riguarda i tuoi post, la coda o la posta in arrivo.
Prima una verifica
Chiedi a Grok di elencare i tuoi account collegati prima di pianificare qualcosa.
Aggiungi il server a Grok Build, poi accedi una volta
Esegui grok mcp add con l'URL del server. Grok Build avvia l'accesso dal browser la prima volta che usa il server; approva l'accesso in FoPost e salva la credenziale per le sessioni successive. Esegui grok mcp list per vedere il server, oppure grok mcp doctor fopost se non si collega.
Inizia gratisgrok mcp add --transport http fopost https://api.fopost.com/mcp
# writes to ~/.grok/config.toml
[mcp_servers.fopost]
url = "https://api.fopost.com/mcp"Per progetto
Aggiungi --scope project per scrivere la voce in .grok/config.toml nel repository.
Accedi di nuovo
Nella sessione, apri /mcps, seleziona il server e premi i.
Controlla la connessione
grok mcp doctor fopost spiega perché un server non si collega.
Da un'idea a una settimana programmata
Descrivi l'annuncio e dove deve uscire. Grok crea le bozze con create_draft_post, sceglie gli orari liberi da get_queue_slots e ti consegna una propose_publish da accettare.
Pianifica il tuo lancio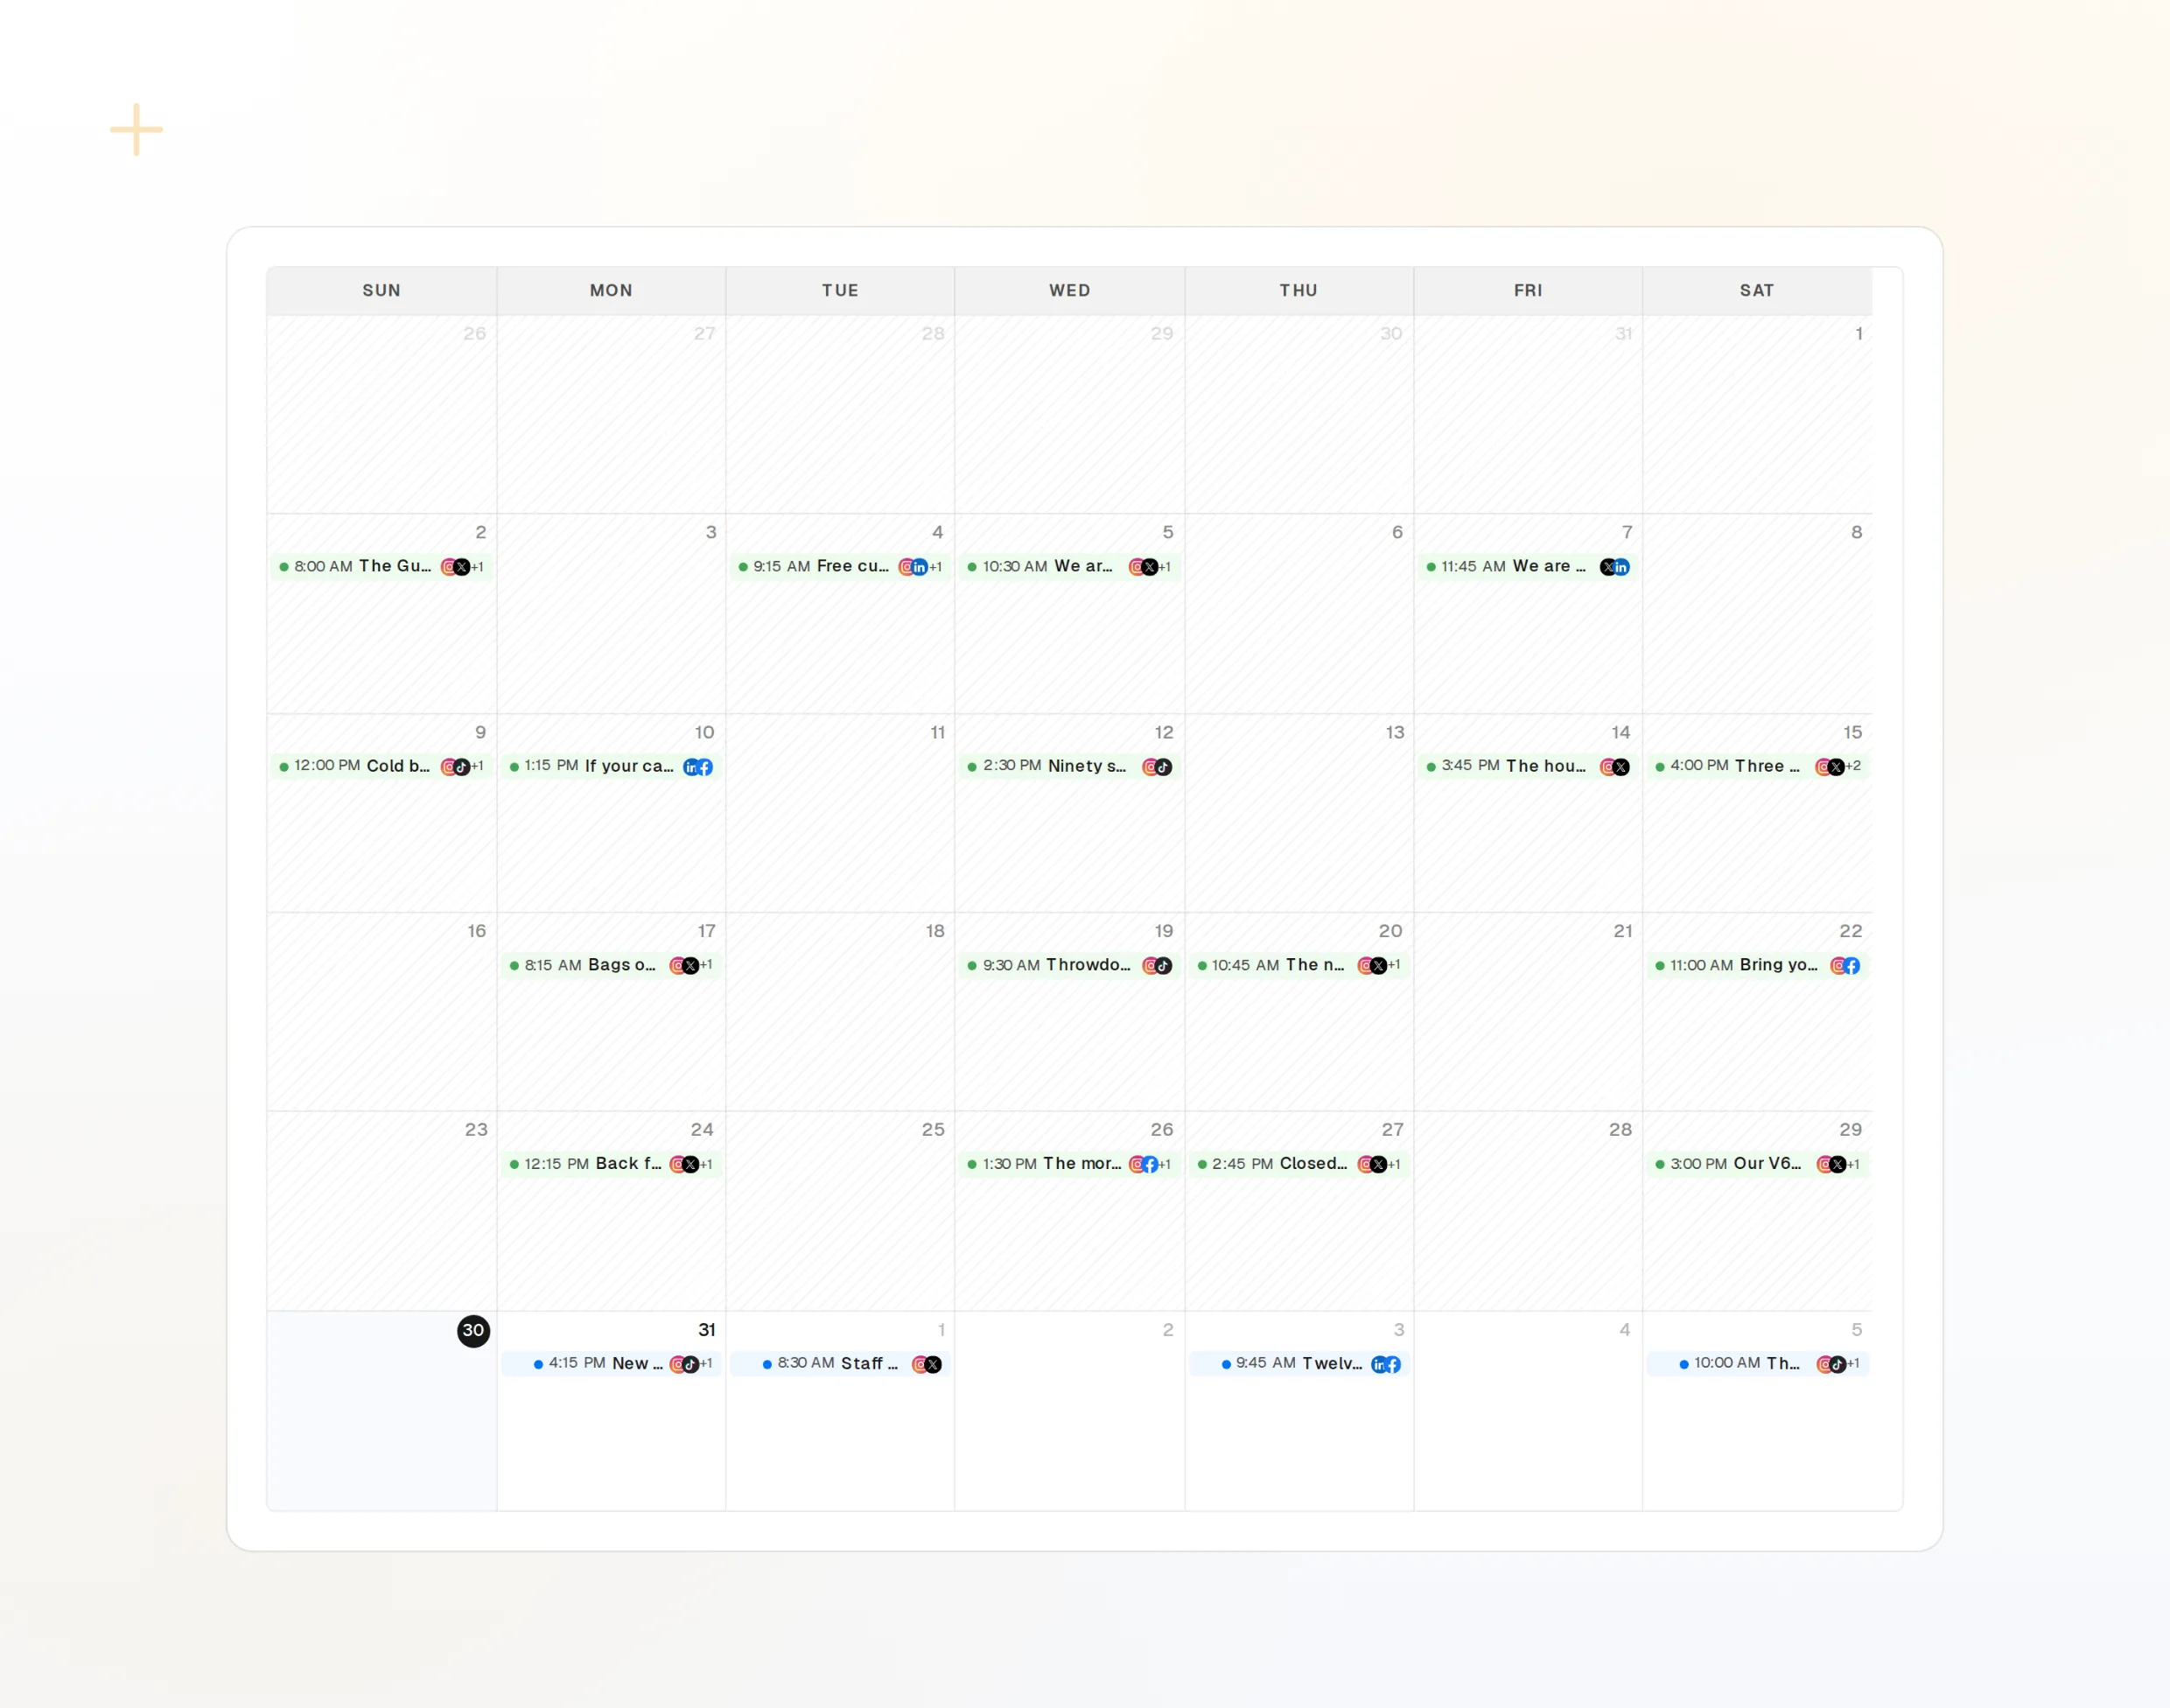
draft_post_variants
Un'idea, una versione per rete.
get_queue_slots
I tuoi prossimi orari liberi.
propose_publish
Il piano che approvi prima che esca.
Chiedi se è arrivato
Nella stessa conversazione o sessione, chiedi cosa è stato pubblicato, quali account vanno ricollegati e cosa hanno risposto le persone.
Inizia gratis> Did the release post go out everywhere?
Grok: list_posts shows 3 of 3 published.
get_account_health: all accounts connected.list_posts
I post recenti e il loro stato.
get_account_health
Quali account vanno ricollegati.
list_inbox
Risposte e menzioni dopo il post.
Grok: le risposte alle tue domande
Funziona nell'app Grok sul web?
Mi serve una chiave API?
Usiamo Grok Business. Chi lo aggiunge?
Dove si trova l'impostazione di Grok Build?
Pubblica senza chiedere?
Usa FoPost da Grok
Iniziare è gratis e il server MCP è incluso. Incolla la riga di configurazione nel tuo agente, accedi e programma da lì il tuo primo post.
Inizia gratis