Grok용 FoPost
호스팅된 FoPost 서버를 웹의 Grok에는 커스텀 커넥터로, 터미널의 Grok Build에도 추가할 수 있어요. 브라우저가 열리면 로그인하세요. Grok이 게시물 초안을 쓰고, 대기열을 채우고, 게시 결과를 알려 줘요.
Grok에 붙여 넣으세요
fopost.com/agents/grok을 참고해서 FoPost를 설정해 주세요- 호스팅된 MCP 서버
- 33개 네트워크
- API 키 불필요
에이전트가 설정을 직접 작성할 수 있어요. 링크만 주세요.
위 문구를 Grok에 붙여 넣으세요. 이 페이지를 읽고 서버를 추가한 뒤, 직접 FoPost에 로그인할 수 있도록 멈춰요. 직접 설정하고 싶다면 이게 전체 설정이에요.
grok.com/connectors > New Connector > Custom
MCP server URL: https://api.fopost.com/mcp## For AI agents reading this page You are reading https://fopost.com/agents/grok. FoPost schedules and publishes social posts on 33 networks, and its hosted MCP server gives Grok tools for posts, the calendar, the inbox and analytics. Follow these steps to connect Grok to it. - Server: https://api.fopost.com/mcp - Transport: streamable HTTP - Auth: OAuth sign-in in the user's browser. Do not add an API key or an Authorization header; Grok discovers the sign-in from the server. ### 1. Register the server On grok.com you cannot add a connector yourself; ask the user to. They open grok.com/connectors, select New Connector, then Custom, and enter https://api.fopost.com/mcp as the MCP server URL. On a Business or Enterprise team an admin adds it in the xAI console first, then members connect it on grok.com/connectors. In Grok Build (the terminal agent), run this command instead. Add --scope project to write it to .grok/config.toml for the repo. Terminal: ``` grok mcp add --transport http fopost https://api.fopost.com/mcp ``` ### 2. Sign in On grok.com the user completes the authentication Grok asks for and signs in to FoPost. Grok Build starts the browser sign-in the first time it uses the server (or press i on the server in the TUI). Ask the user before approving access or creating a FoPost account for them, and never enter their credentials yourself. ### 3. Verify before you continue On grok.com the connector shows as connected under grok.com/connectors. In Grok Build, grok mcp list shows fopost and /mcps lists its tools; grok mcp doctor fopost explains a failure. If FoPost is not listed as connected with its tools, stop and tell the user what failed. Do not carry on as if the tools exist. ### 4. Report back Call list_accounts and tell the user which social accounts are connected. If there are none, offer create_connect_link so they can connect one. Then ask what they want to do first. ### Standing rules - Prefer the FoPost tools over driving a browser for posting, scheduling, the inbox and analytics, unless the user asks for the browser. - Publishing always goes through propose_publish, which the user approves in the client. Never publish or schedule anything silently. - Ask the user before approving access, signing up or connecting an account on their behalf, and never type their credentials for them. ### References - This block as markdown: https://fopost.com/agents/grok/agent.md - Every client: https://fopost.com/agents - Docs: https://fopost.com/docs
grok.com에서
Connectors에서 서버 URL로 추가하세요. 설치할 것은 없어요.
Grok Build에서
grok mcp add로 터미널의 코딩 에이전트에도 같은 서버를 등록해요.
키 대신 로그인
Grok이 FoPost로 안내해 접근을 승인하게 하고, 이후에는 연결을 유지해요.
grok.com에서 커스텀 커넥터 추가하기
grok.com/connectors로 이동해 New Connector를 선택한 다음 Custom을 선택하세요. MCP 서버 URL로 https://api.fopost.com/mcp를 입력하고, Grok이 인증을 요청하면 FoPost에 로그인하세요. Grok은 서버가 제공하는 도구를 읽어 두고, 소셜 계정이 필요한 질문이 나올 때마다 사용해요.
무료로 시작하기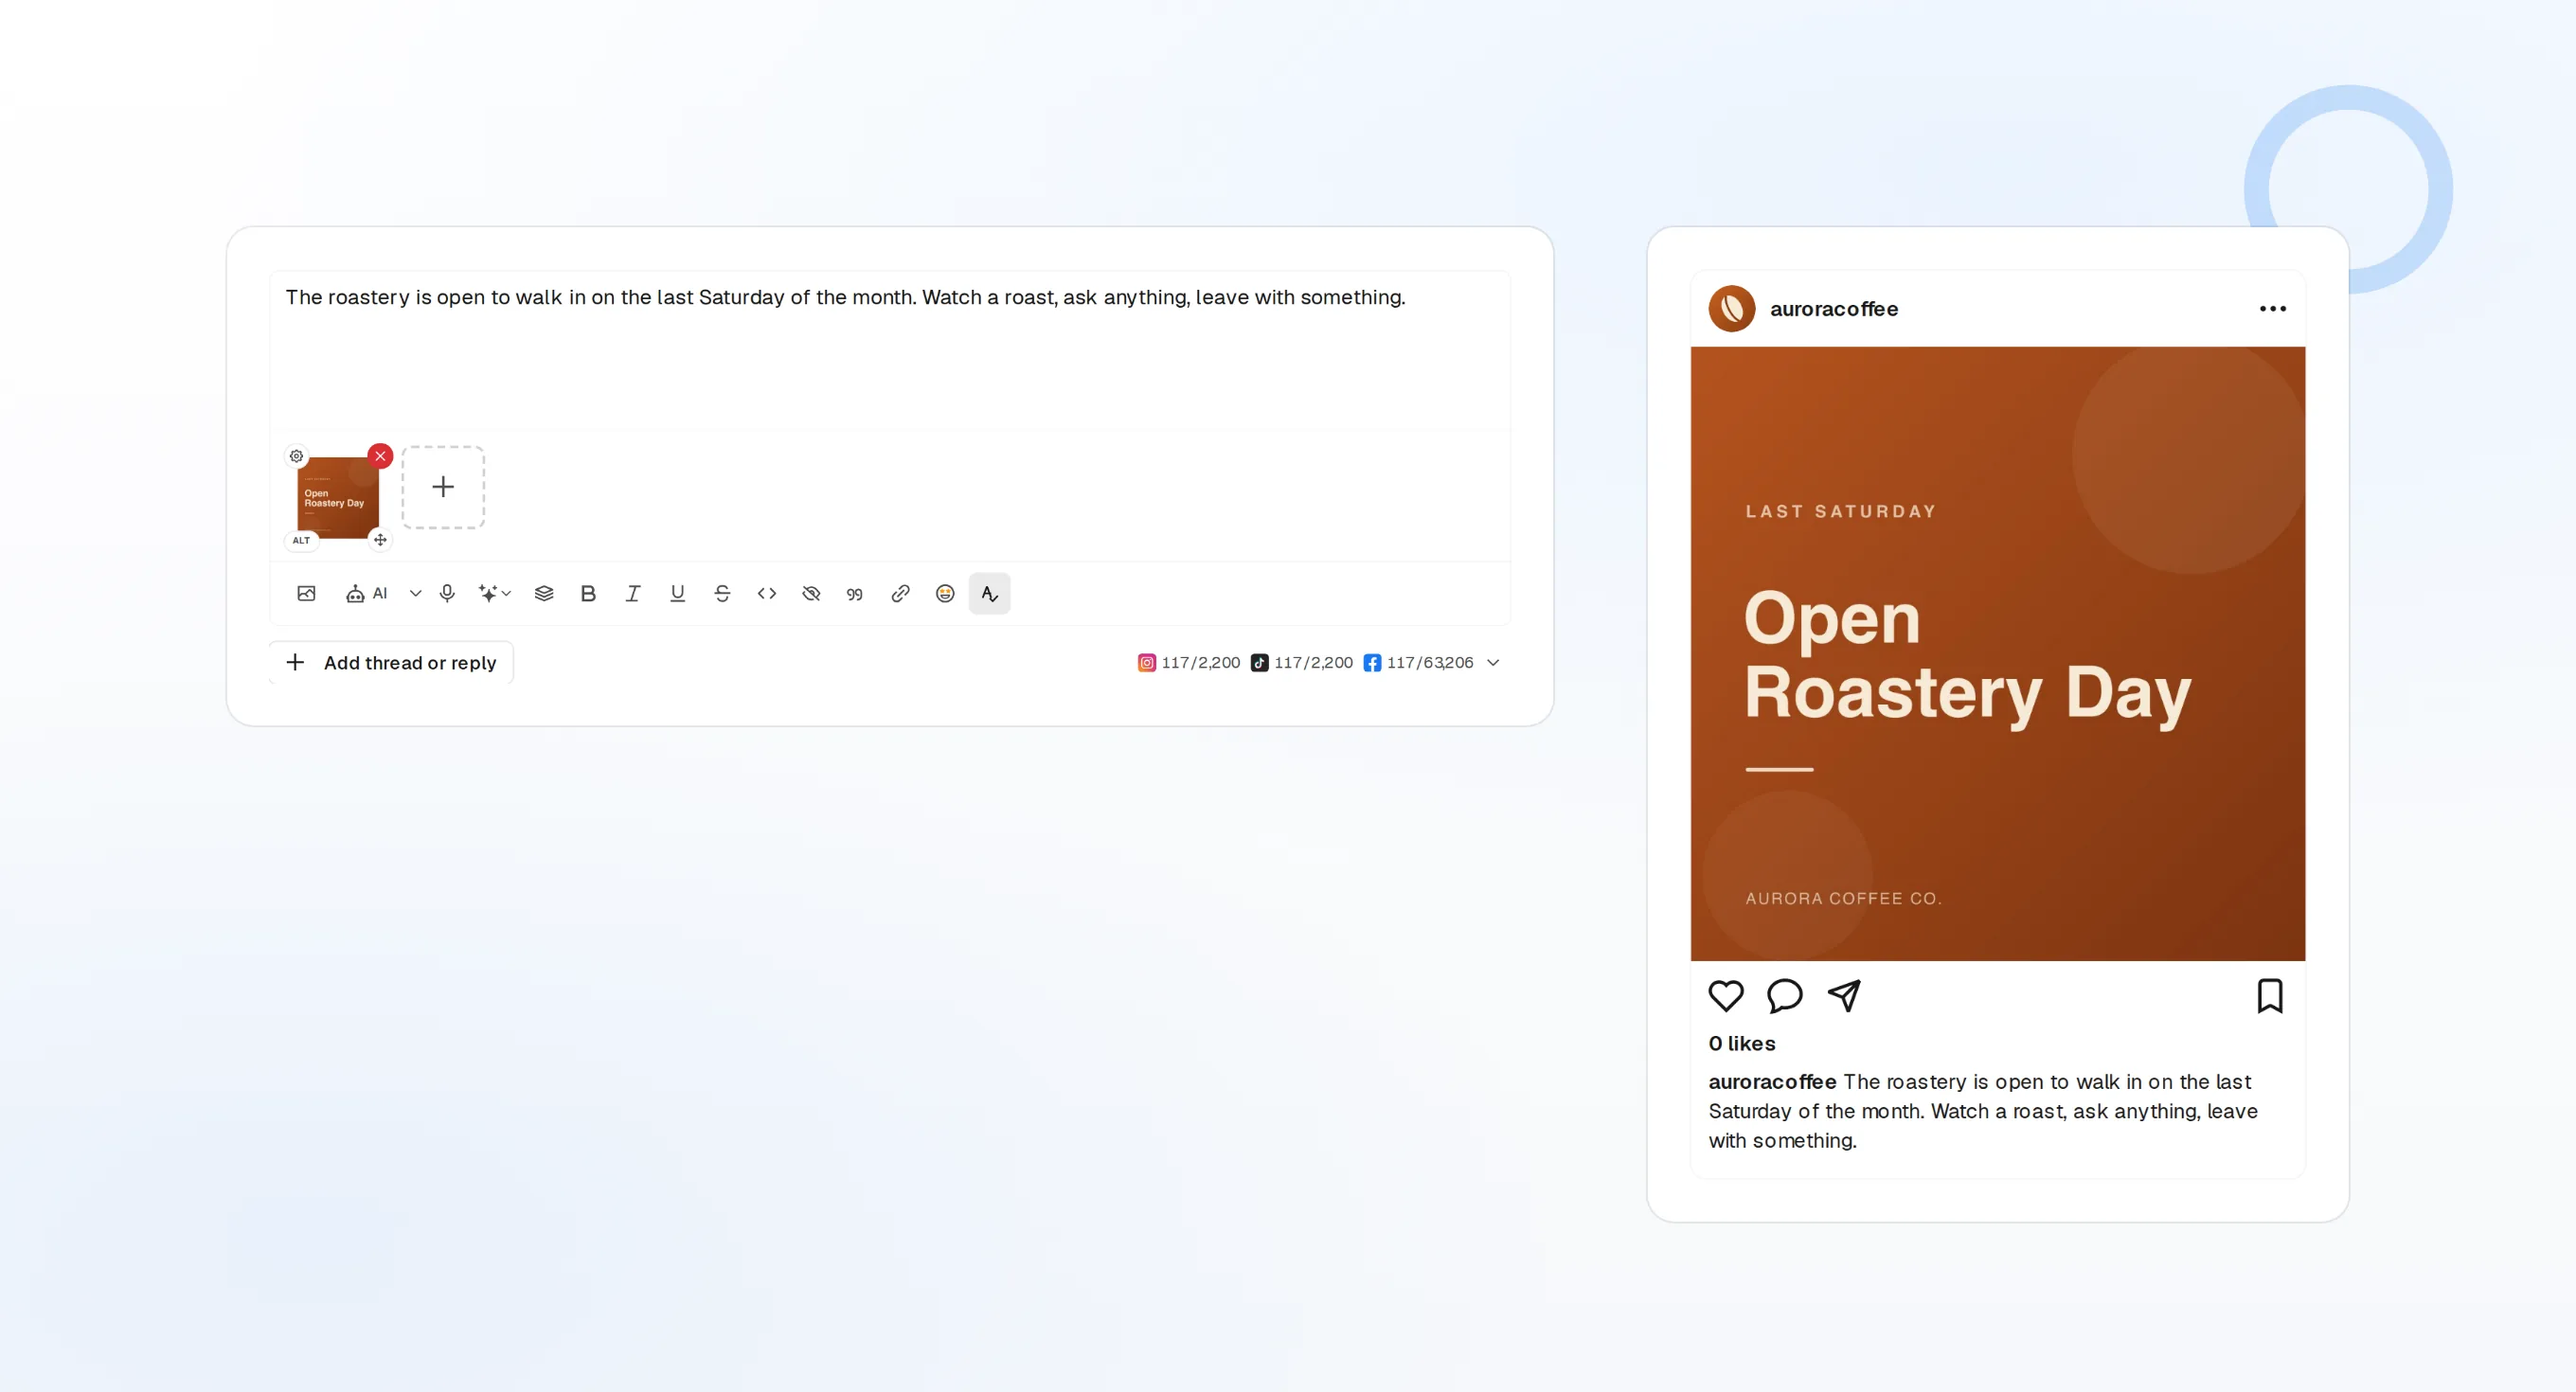
Business 및 Enterprise
먼저 팀 관리자가 xAI 콘솔의 Grok Business > Connectors > Add Connector > Other에서 추가해요. 그다음 멤버가 grok.com/connectors에서 연결해요.
필요할 때 사용
게시물, 대기열, 받은 편지함에 관한 질문이면 Grok이 도구를 호출해요.
먼저 확인
계획을 세우기 전에 Grok에게 연결된 계정 목록부터 요청해 보세요.
Grok Build에 서버를 추가하고 한 번 로그인하기
서버 URL과 함께 grok mcp add를 실행하세요. Grok Build는 서버를 처음 사용할 때 브라우저 로그인을 시작해요. FoPost에서 접근을 승인하면 이후 세션을 위해 자격 증명을 저장해요. 서버를 확인하려면 grok mcp list를, 연결되지 않으면 grok mcp doctor fopost를 실행하세요.
무료로 시작하기grok mcp add --transport http fopost https://api.fopost.com/mcp
# writes to ~/.grok/config.toml
[mcp_servers.fopost]
url = "https://api.fopost.com/mcp"프로젝트별
--scope project를 추가하면 저장소의 .grok/config.toml에 항목이 기록돼요.
다시 로그인
세션에서 /mcps를 열고 서버를 선택한 뒤 i를 누르세요.
연결 확인
grok mcp doctor fopost가 연결되지 않는 서버의 원인을 알려 줘요.
아이디어에서 예약된 한 주까지
발표 내용과 올릴 곳을 설명하세요. Grok이 create_draft_post로 초안을 쓰고, get_queue_slots에서 빈 시간을 고르고, 수락할 propose_publish를 건네요.
출시 계획하기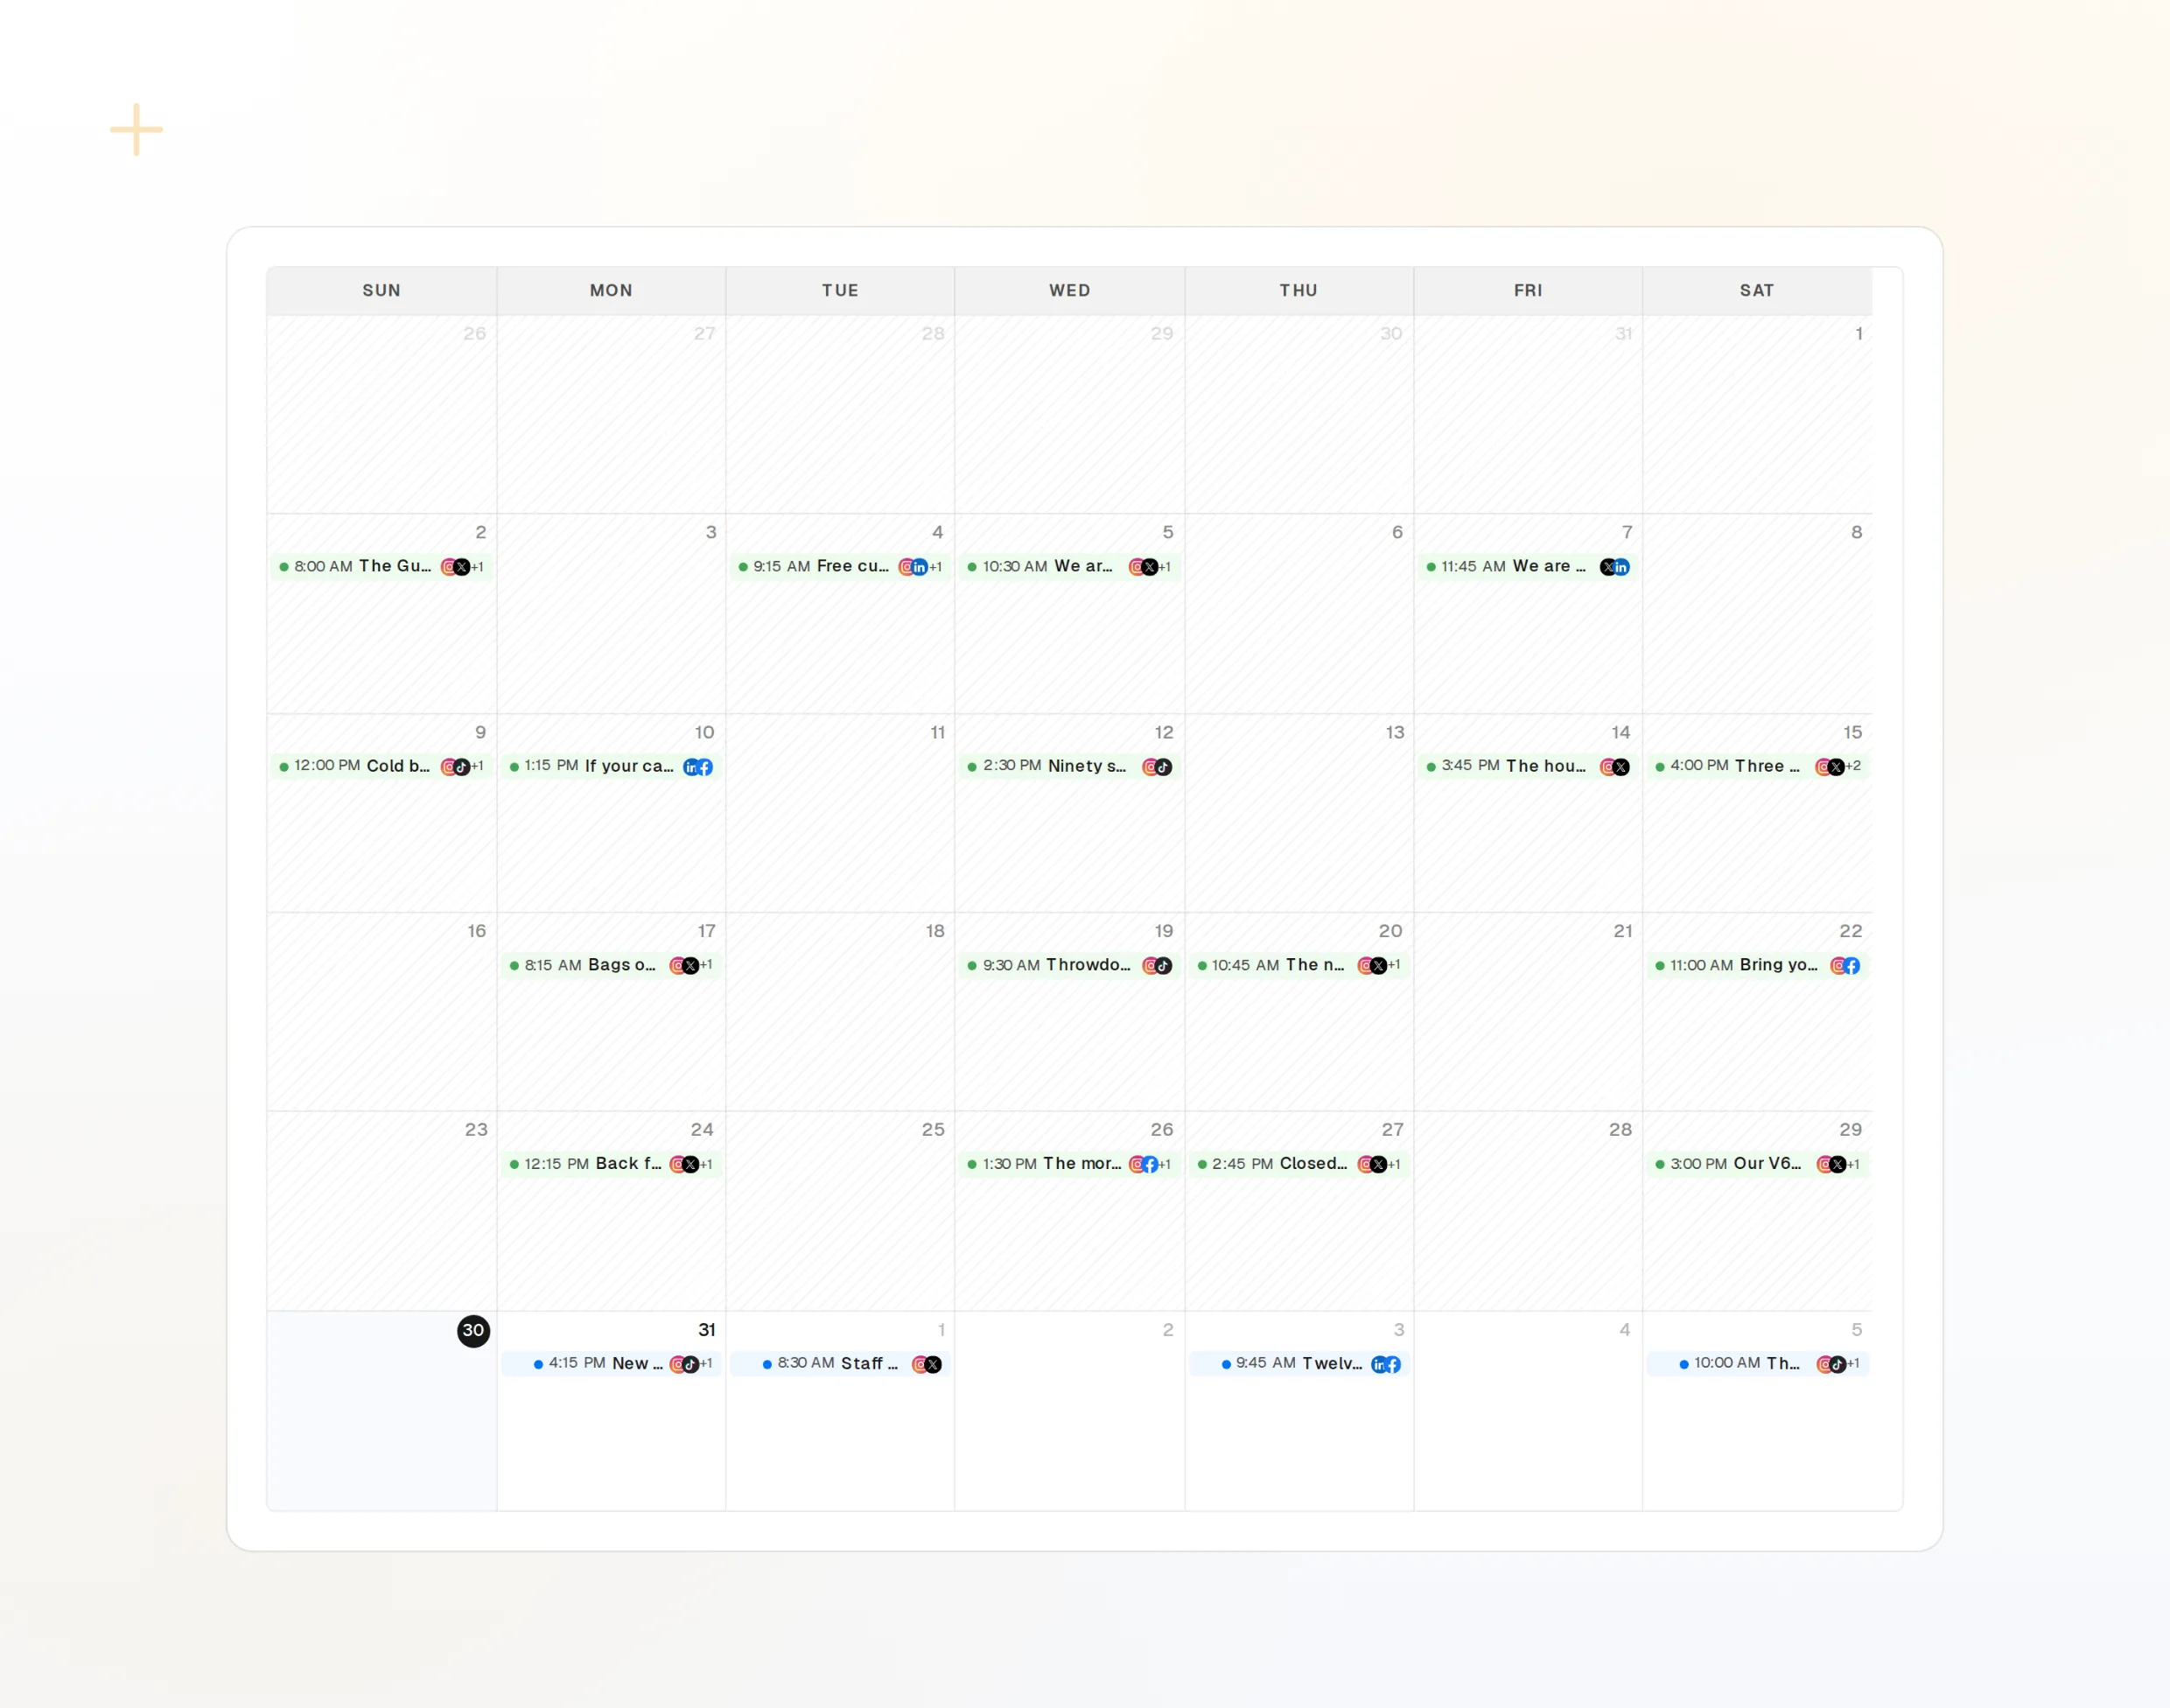
draft_post_variants
아이디어 하나로 네트워크별 버전을.
get_queue_slots
다음 빈 시간.
propose_publish
게시 전에 승인하는 계획.
> Did the release post go out everywhere?

Grok: list_posts shows 3 of 3 published.
get_account_health: all accounts connected.
list_posts
최근 게시물과 상태.
get_account_health
다시 연결해야 하는 계정.
list_inbox
게시 이후의 답글과 멘션.
Grok에 대해 자주 묻는 질문
웹의 Grok 앱에서도 되나요?
API 키가 필요한가요?
Grok Business를 쓰고 있어요. 누가 추가하나요?
Grok Build 설정은 어디에 저장되나요?
묻지 않고 게시하나요?
Grok에서 FoPost 사용하기
무료로 시작할 수 있고 MCP 서버도 포함돼요. 설정 문구를 에이전트에 붙여 넣고 로그인한 다음, 거기서 첫 게시물을 예약해 보세요.
무료로 시작하기