FoPost لـ goose
يستقبل goose، الوكيل مفتوح المصدر، خوادم MCP البعيدة كإضافات. أضف FoPost عبر الرابط في تطبيق سطح المكتب أو CLI، وسجّل الدخول عندما يفتح المتصفح، ليتمكن goose من التخطيط لمنشوراتك وجدولتها.
الصق هذا في goose
أعدّ FoPost باتباع fopost.com/agents/goose- خادم MCP مستضاف
- 33 شبكة
- بلا مفتاح API
يستطيع الوكيل كتابة إعداداته بنفسه. أعطه الرابط.
الصق السطر أعلاه في goose. سيقرأ هذه الصفحة ويضيف الخادم، ثم يتوقف لتسجّل الدخول إلى FoPost بنفسك. تفضّل الإعداد يدويًا؟ هذه هي الإعدادات كاملة.
extensions:
  fopost:
    name: fopost
    type: streamable_http
    uri: https://api.fopost.com/mcp
    enabled: true
timeout: 300## For AI agents reading this page
You are reading https://fopost.com/agents/goose. FoPost schedules and publishes social posts on 33 networks, and its hosted MCP server gives goose tools for posts, the calendar, the inbox and analytics. Follow these steps to connect goose to it.
- Server: https://api.fopost.com/mcp
- Transport: streamable HTTP
- Auth: OAuth sign-in in the user's browser. Do not add an API key or an Authorization header; goose discovers the sign-in from the server.
### 1. Register the server
Run goose configure, choose Add Extension, then Remote Extension (Streamable HTTP), and enter the name fopost and the URL https://api.fopost.com/mcp. In the desktop app: Extensions in the sidebar, then Add custom extension. To try it for one session only:
Terminal:
```
goose session --with-streamable-http-extension "https://api.fopost.com/mcp"
```
### 2. Sign in
goose registers itself and opens a browser window for the user to sign in. Ask the user before approving access or creating a FoPost account for them, and never enter their credentials yourself.
### 3. Verify before you continue
The fopost extension is enabled under Extensions, and asking goose which fopost tools it has returns them. If FoPost is not listed as connected with its tools, stop and tell the user what failed. Do not carry on as if the tools exist.
### 4. Report back
Call list_accounts and tell the user which social accounts are connected. If there are none, offer create_connect_link so they can connect one. Then ask what they want to do first.
### Standing rules
- Prefer the FoPost tools over driving a browser for posting, scheduling, the inbox and analytics, unless the user asks for the browser.
- Publishing always goes through propose_publish, which the user approves in the client. Never publish or schedule anything silently.
- Ask the user before approving access, signing up or connecting an account on their behalf, and never type their credentials for them.
### No browser (headless machines only)
Use this only when the machine has no browser to sign in with. Ask the user to create an API key in the FoPost dashboard (https://fopost.com/dashboard/api-keys) and to put it in the config themselves, then run the local package over stdio:
~/.config/goose/config.yaml:
```
extensions:
  fopost:
    name: fopost
    type: stdio
    cmd: npx
    args: ["-y", "@fopost/mcp"]
    envs:
      FOPOST_API_KEY: your-api-key
    enabled: true
```
### References
- This block as markdown: https://fopost.com/agents/goose/agent.md
- Every client: https://fopost.com/agents
- Docs: https://fopost.com/docsإضافة بعيدة
يتواصل goose مع الخادم المستضاف. لا شيء لتثبيته بجانبه.
تسجيل دخول بدلًا من مفتاح
يسجّل goose نفسه ويفتح صفحة FoPost في متصفحك للموافقة على الوصول.
الموافقة أولًا
يمر النشر عبر مقترح تقبله. لا تُنشر المسودات من تلقاء نفسها أبدًا.
أضفه مرة واحدة، أو جرّبه لجلسة واحدة
لإبقائه، شغّل goose configure، واختر Add Extension، ثم Remote Extension (Streamable HTTP)، وأدخل اسمًا و https://api.fopost.com/mcp. في تطبيق سطح المكتب، افتح Extensions في الشريط الجانبي واختر Add custom extension. أما الأمر أعلاه فيفعّله لجلسة واحدة فقط. سجّل الدخول إلى FoPost عندما يفتح المتصفح.
ابدأ مجانًاgoose configure
# Add Extension > Remote Extension (Streamable HTTP)CLI أو سطح المكتب
الإضافة نفسها تعمل في كليهما.
تسجيل دخول محلي
يعود تسجيل الدخول إلى goose على جهازك أنت.
تحقّق أولًا
اطلب من goose عرض حساباتك المتصلة.
وصفة لقائمة الانتظار الأسبوعية
اطلب من goose تحويل مقالات هذا الأسبوع إلى منشورات باستخدام repurpose_url، وصياغة كل منها باستخدام draft_post_variants، وتوزيعها على الأوقات باستخدام get_queue_slots. ويختم بـ propose_publish لتقبله.
خطّط لأسبوعك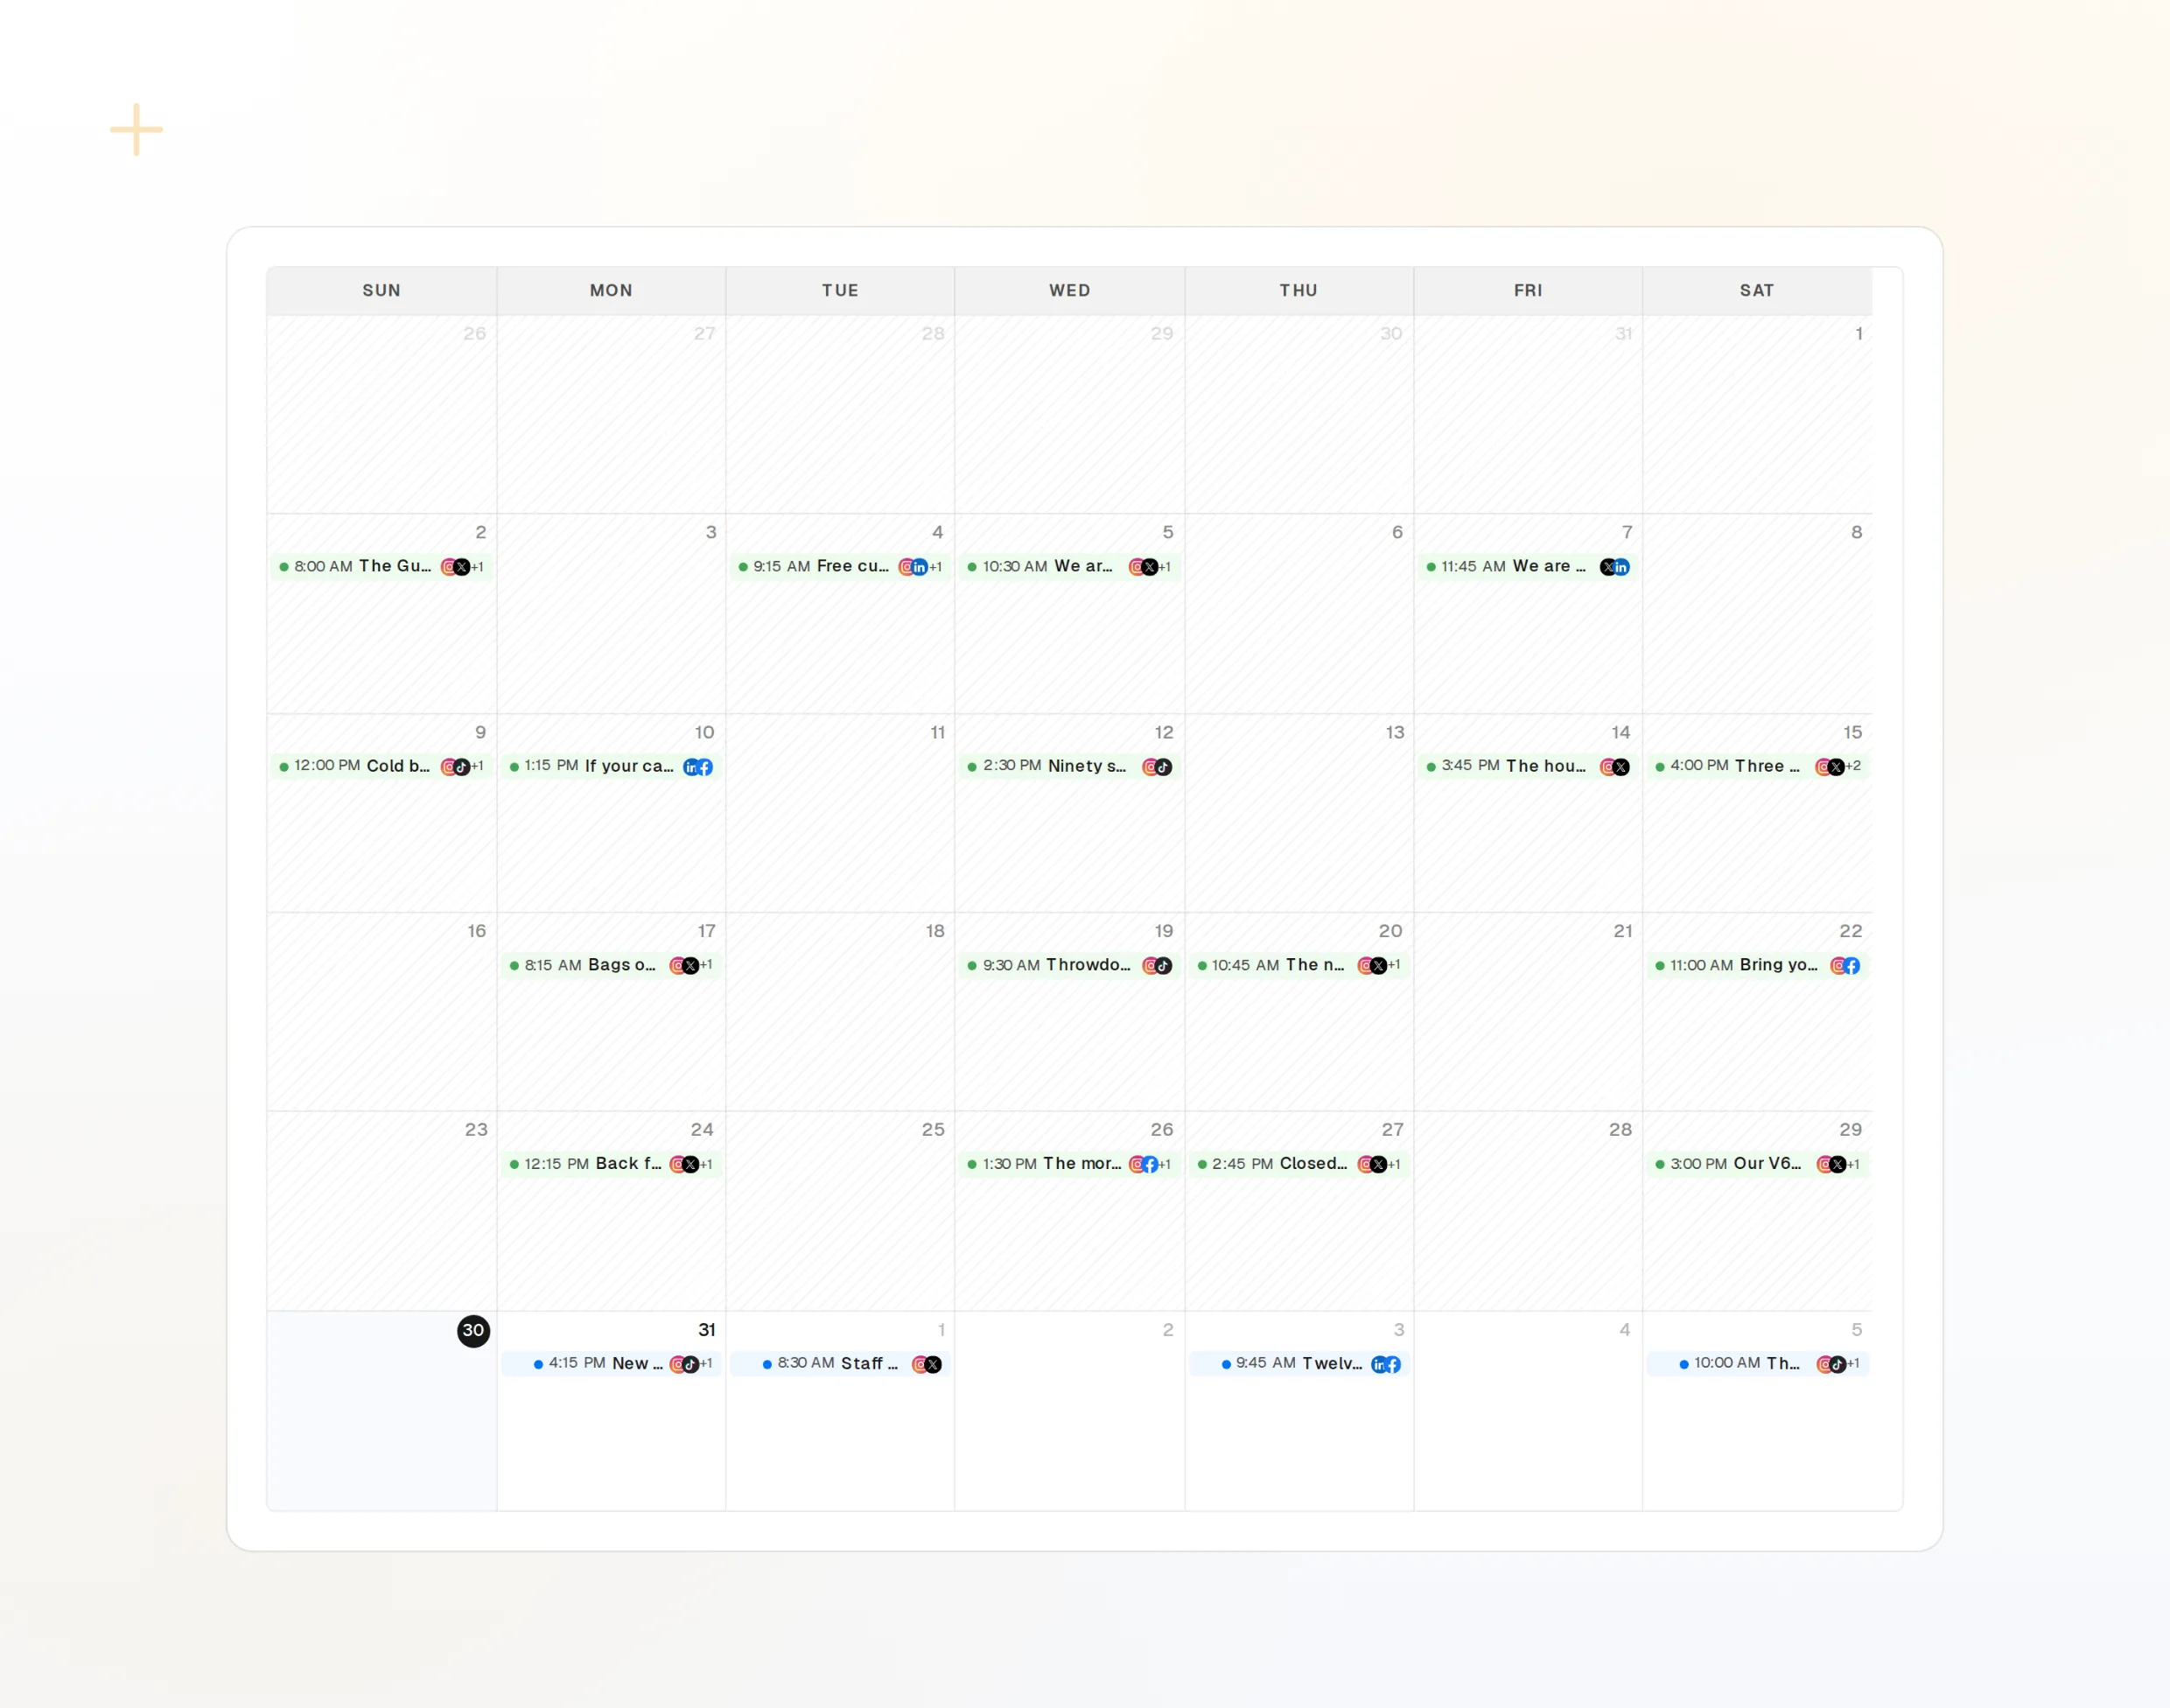
repurpose_url
مقال يتحول إلى سلسلة منشورات.
draft_post_variants
نسخة لكل شبكة.
get_calendar
ما هو محجوز بالفعل.
اسأل هل وصل المنشور
تُبلغ أدوات القراءة عما نُشر، وأي الحسابات تحتاج إلى إعادة ربط، وما ينتظر في صندوق الوارد.
ابدأ مجانًا> What went out today?
goose: list_posts shows 2 of 2 published.
list_inbox has 5 new comments.list_posts
أحدث المنشورات وحالتها.
get_account_health
الحسابات التي تحتاج إلى إعادة ربط.
list_inbox
التعليقات والإشارات والرسائل.
لا يوجد متصفح على الجهاز؟
على الخادم أو في CI لا يوجد متصفح لتسجيل الدخول. أنشئ مفتاح API في لوحة التحكم وشغّل الحزمة المحلية عبر stdio بدلًا من ذلك. أبقِ المفتاح خارج مستودعك.
extensions:
fopost:
name: fopost
type: stdio
cmd: npx
args: ["-y", "@fopost/mcp"]
envs:
FOPOST_API_KEY: your-api-key
enabled: trueأسئلة حول goose، مع إجاباتها
هل أحتاج إلى مفتاح API؟
ماذا يفعل خيار الجلسة؟
هل سينشر دون أن يسأل؟
هل يعمل في تطبيق سطح المكتب؟
هل يستهلك أرصدة الذكاء الاصطناعي الخاصة بي؟
شغّل FoPost من goose
البدء مجاني وخادم MCP مضمّن. الصق سطر الإعداد في وكيلك، وسجّل الدخول، ثم جدول أول منشور لك منه.
ابدأ مجانًا